

Living in a tiny home means embracing simplicity. But there’s one problem that can quietly destroy your dream: mold. In such a small space, moisture builds up fast. And mold follows close behind. The good news? With the right habits and a few smart upgrades, you can stay mold free for years. Here are the tiny house mold prevention tips that actually work.
Key Takeaways
Before diving into the details, here are the most critical points for keeping your tiny house mold free:
- Use exhaust fans religiously. Every tiny home should have a vented range hood or exhaust fan in the kitchen, as well as an exhaust fan in the bathroom to run during and after showers to control humidity levels.
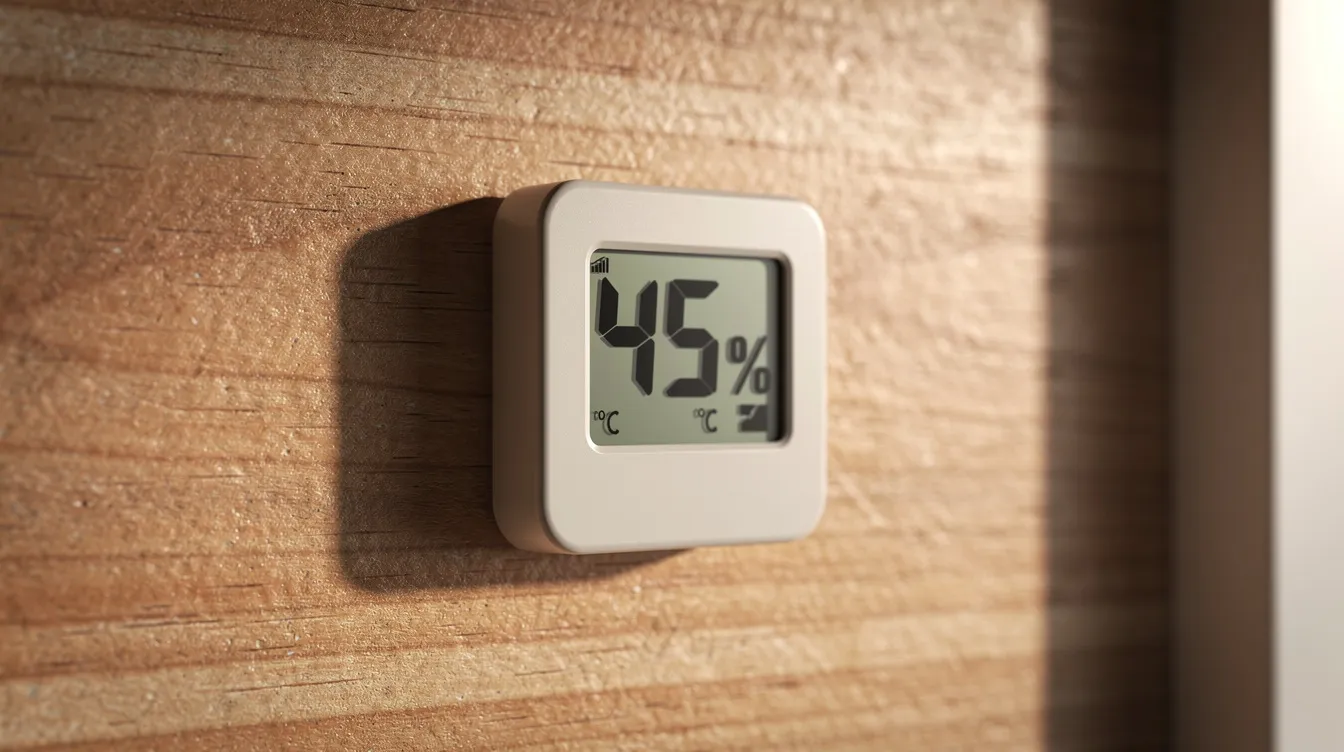
- Monitor indoor humidity daily. Monitoring indoor humidity with a hygrometer and aiming to keep it between 30-50% during the winter is essential for preventing mold growth in tiny homes.
- Tiny homes in a cold climate face higher risk. Warm, humid air hitting cold exterior surfaces and metal framing causes condensation. That’s where mold growth starts.
- Find the moisture source first. Don’t just buy a dehumidifier. Trace where moisture is coming from—leaks, cooking, showers, drying clothes inside—and fix those problems.
- Make inspections a habit. Regular checks of exterior surfaces, air leaks, and hidden corners aren’t a one-time project. They’re ongoing maintenance for the life of your own tiny home.
- Why Tiny Houses Are So Vulnerable to Mold
- Step One: Find Where the Moisture Is Coming From
- Control Humidity: The Heart of Mold Prevention
- Ventilation and Air Circulation: Keep Air Moving
- Insulation, Thermal Bridges, and Condensation Control
- Designing for Healthy Air Circulation in a Tiny Layout
- Moisture-Smart Materials and Exterior Maintenance
- Cold Climate Tips: Extra Protection When Temperatures Drop
- Routine Inspections and Maintenance Habits
- FAQ
- How can I tell if high humidity is really a problem in my tiny house?
- Is it safe to use a portable propane heater in a tiny house during winter?
- What should I do if I already see mold spots on a wall or ceiling?
- Do I need a professional to design ventilation for my tiny house?
- How often should I run my dehumidifier in a tiny house?
Why Tiny Houses Are So Vulnerable to Mold
Mold damage in tiny homes is widespread yet underreported. Many owners share their moisture issues in forums, then delete posts when problems get worse or builders push back. Even highly publicized builds from popular tiny house builders have faced complaints that were later scrubbed from the internet. Here’s why these small spaces struggle:
- High surface-area-to-volume ratio. A 200 sq ft tiny house might have 800-1000 sq ft of exterior wall exposure. Compare that to 400-600 sq ft in a standard 1200 sq ft home. More exterior surface means more places where cold air outside chills the interior surface, creating condensation points.
- Concentrated moisture from daily activities. A single person exhales 1-2 pints of water vapor daily. Cooking adds 1-2 quarts per meal. Showers contribute up to a pint every 10 minutes. In a small volume of indoor air, relative humidity can spike to 70-80% within hours without adequate ventilation.
- Metal framing and trailer construction. Most tiny homes sit on steel trailers or use metal framing. Steel’s R-value is effectively zero. It conducts heat 50 times faster than wood. These metal components act as thermal bridges where condensation forms first, often right at the trailer-to-floor connection.
- Cathedral ceilings and lots of windows. Without vented attics, warm air and moisture get trapped. Windows—often single-pane in budget builds—multiply cold surfaces. Built-in furniture pressed against exterior walls creates hidden dead zones where mold can grow unnoticed.
- Very few builders prioritize moisture management. The tiny home movement celebrates affordability and simplicity. But that sometimes means corners get cut on vapor control and insulation details. Even “professional” builds from a tiny home builder can have serious moisture problems baked into the wall assembly from day one, so working with custom tiny home specialists who prioritize building science is worth the investment.
Step One: Find Where the Moisture Is Coming From
Effective mold prevention always starts by identifying moisture sources. Before buying a dehumidifier or installing more ventilation fans, you need to trace where water is entering or being created. Here’s what to look for:
Interior moisture sources:
- Long hot water showers generating 0.5-1 gallon of vapor each
- Unvented cooking on stovetops, adding similar amounts
- Drying laundry indoors, releasing 2-5 pints per load
- Indoor plants transpiring 1-2 quarts daily in humid conditions
- People and pets breathing and sweating in a confined living space
Building-related moisture:
- Roof or window leaks from failed flashing or caulking
- Poorly sealed exterior surfaces where rain penetrates
- Plumbing leaks under sinks, showers, or at the hot water heater
- Water leaks at the trailer-to-sub floor connection
- Ground moisture wicking up through an unprotected trailer frame
How to do a weekend inspection:
- Check all corners, lofts, underbuilt seating, and cabinets
- Look for dampness, water stains, musty smell, or soft spots
- Use a basic moisture meter ($15 pin-type) to compare suspected wet spots to known dry wood
- Dry framing reads 10-12% moisture content; anything above 18-20% signals trouble
- Document each problem area with photos and notes
- Create a repair list prioritized by severity
Conducting regular inspections for leaks and signs of water damage is crucial; addressing these issues early can prevent extensive repairs and maintain the structural integrity of your tiny home.
Control Humidity: The Heart of Mold Prevention
Why is humidity level so critical? Mold spores are everywhere—500-1000 per cubic meter of indoor air is normal. They only become a problem when indoor humidity stays high enough for them to germinate. Control the moisture, and you control the mold.
Set concrete targets:
- Keep indoor humidity between 30-50% year-round
- Never let it stay above 55% for extended periods
- In a cold climate, high humidity plus cold surfaces equals condensation—and mold growth follows within 24-48 hours
Get the right tools:
- Buy a digital hygrometer (under $20, brands like ThermoPro are accurate to ±3%)
- Place it at eye level, away from windows and direct heat sources
- Check readings daily, especially after cooking or showering
Use a dehumidifier when needed:
Using a dehumidifier can effectively reduce humidity levels in tiny homes, especially in areas prone to moisture buildup, such as bathrooms and kitchens. For spaces around 150-300 sq ft, a 20-30 pint/day unit ($150-250) works well. Expect to collect 1-3 pints daily during winter months.
Change daily habits:
- Put lids on boiling pots to cut cooking vapor by 50%
- Take 5-minute showers instead of 15-minute ones
- Use cooler water (100°F vs 120°F) to reduce steaming
- Avoid drying clothes inside the enclosed space
- Vent steam outside immediately through exhaust fans
These behavioral changes cost nothing but prevent moisture buildup dramatically.
Ventilation and Air Circulation: Keep Air Moving
There’s an important difference between ventilation and air circulation. Ventilation brings fresh air from outside and exhausts moist air out. Air circulation moves indoor air around to prevent stagnant pockets. You need both.
Exhaust fans are non-negotiable:
Proper ventilation is crucial in tiny house living to prevent moisture buildup, which can lead to mold and mildew issues. Inadequate ventilation in places like the bathroom and kitchen can create moisture buildup that leads to condensation and mold growth.
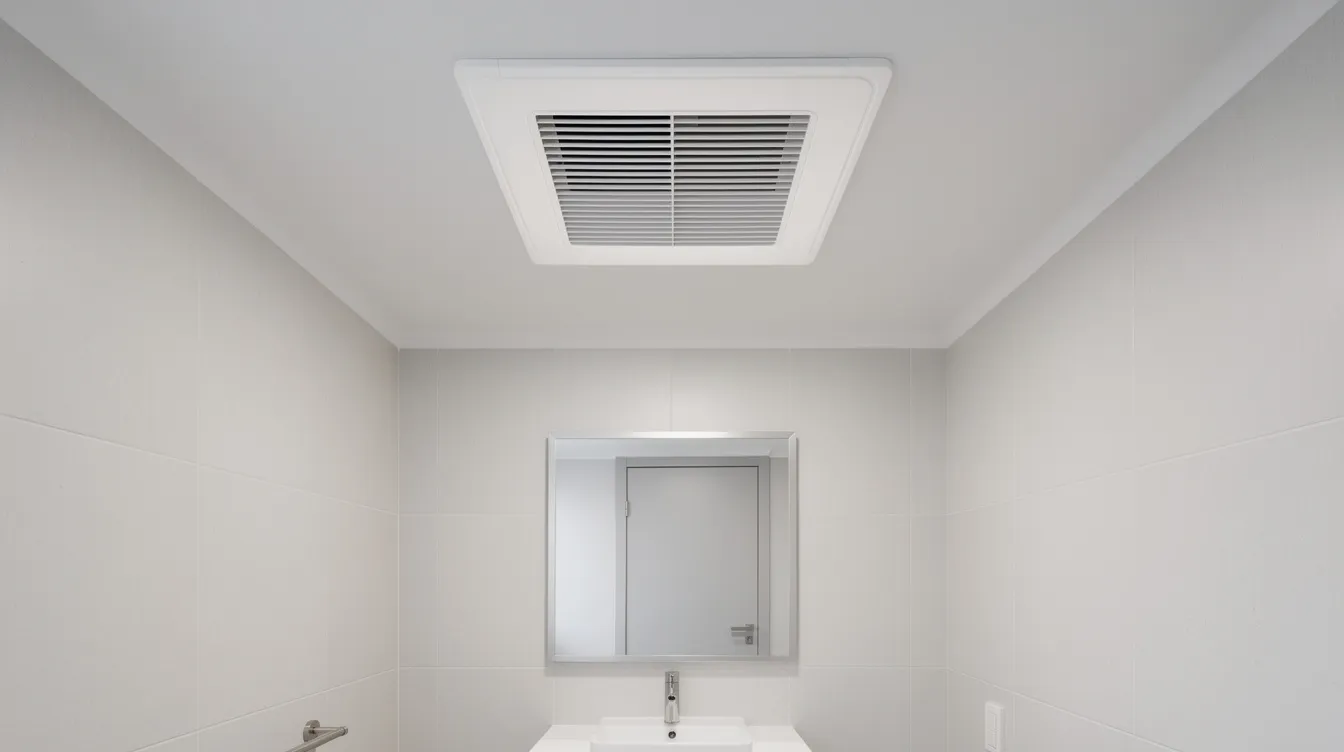
- Install quiet, efficient exhaust fans (50-100 CFM, under 1 sone) in bathrooms and kitchens
- Fans must duct directly outside—never into a wall cavity or attic space
- Run the bathroom fan during showers and for 20-30 minutes afterward
- In a humid climate, extend that runtime even longer
Circulate air throughout the space:
Air circulation can be improved by using several smaller fans placed strategically around the house to prevent stagnant areas where moisture can accumulate. Options include:
- Ceiling fans if headroom allows (20-50W, low energy cost)
- Small oscillating fans in corners and near lofts
- USB-powered computer case fans (2-5 inches, 5W) for tight spots
Encouraging air circulation in confined spaces can be achieved by adding small computer case fans, which can help promote evaporation and reduce the likelihood of mold growth.
Create regular air exchange:
To maintain good air circulation, it is recommended to open windows and doors for a few minutes every day to exchange stale indoor air with fresh outdoor air. This “air flushing” works especially well:
- Open windows on opposite sides for 5-15 minutes
- Even in winter, outdoor air is often drier than indoor air
- Winter dew points below 20°F mean cold air holds very little moisture
Consider balanced ventilation systems:
For full-time tiny house living, a heat recovery ventilator or air exchange system can maintain fresh air flow while recovering 70-90% of heat. These air exchanger units cost $800-2000 installed but dramatically improve indoor air quality and reduce condensation.
Insulation, Thermal Bridges, and Condensation Control
Condensation occurs when indoor surfaces become too cold or the indoor air is too humid, leading to moisture buildup that can foster mold growth. Understanding this physics is key to mold prevention.
How thermal bridges create problems:
- Metal trailer frames, metal studs, and dense framing at corners act as thermal bridges
- These low R-value paths cool interior surfaces below the dew point
- At 70°F and 50% humidity, the dew point is about 50°F
- Any interior surface below 50°F will collect condensation
- Steel framing can chill 10-20°F below surrounding air temperature
Strategies to limit thermal bridging:
R-value is a material’s resistance to the transfer of heat through it, and a higher R-value indicates greater insulating ability, which helps keep interior surfaces warmer and reduces condensation risk.
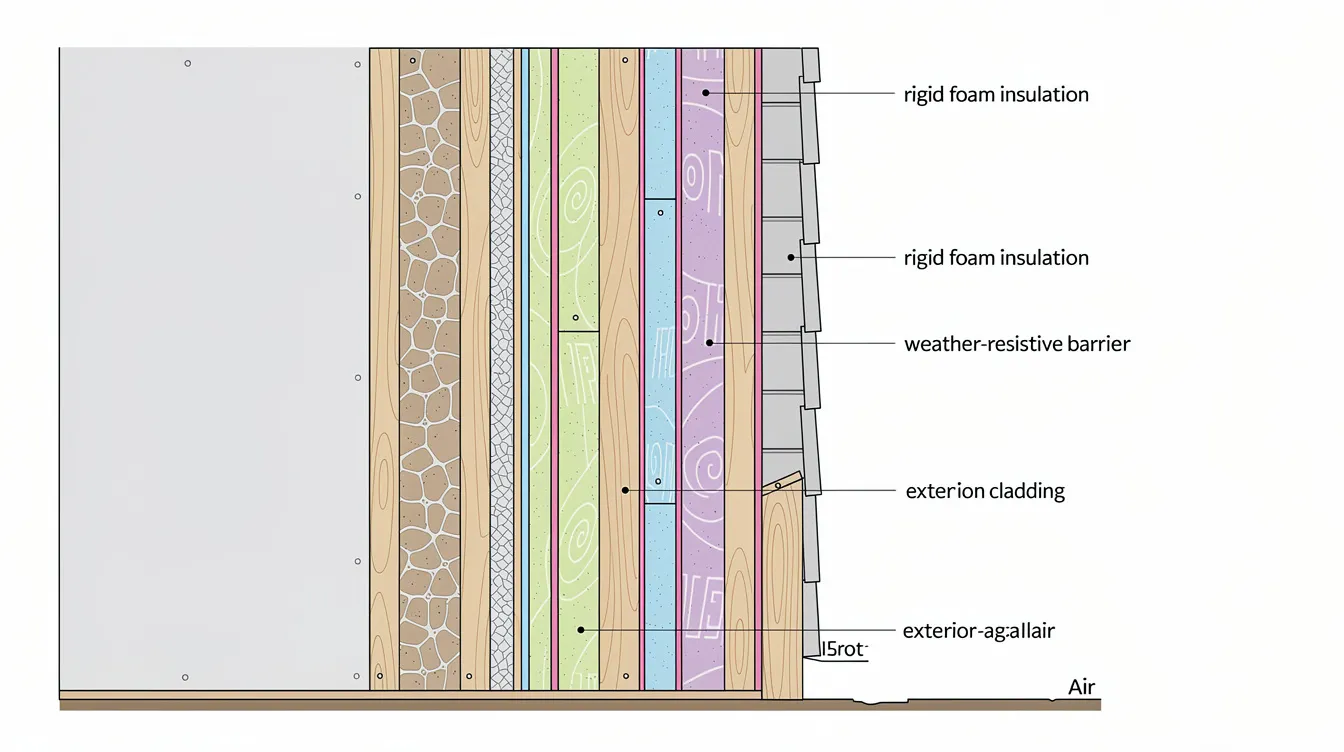
- Add continuous rigid foam insulation (R-5 per inch for XPS) over metal framing and trailer members
- Use thermal break materials like G10 phenolic sheets (R-3 in thin profiles)
- Ensure interior surfaces stay above dew point temperature
- Benefits: surfaces above dew point cut condensation risk by 90%
Air barriers matter more than vapor barriers:
Effective insulation plays a crucial role in maintaining optimal temperature levels within your tiny house, helping to control moisture diffusion which can be dangerous for your home.
- A continuous air barrier (using intumescent caulk, tape, or spray foam) prevents warm, moist indoor air from leaking into wall, floor, and roof cavities
- Sealing gaps and cracks in your tiny home can help prevent moisture from entering, which is a key aspect of regular maintenance to keep the living space dry and comfortable
- Don’t rely solely on a plastic vapor barrier—it can trap moisture and prevent drying if water does get in
Closed-cell spray foam option:
Closed-cell spray foam insulation provides insulation, air sealing, and vapor control all in one, making it a suitable choice for preventing moisture issues in tiny homes. It works especially well in tight cavities and around thermal bridges.
Cathedral ceiling details:
Cathedral ceilings common in tiny houses need careful attention:
- Using a continuous layer of vapor-closed rigid insulation board above the rafters, with batt insulation in the rafter cavities below, can help prevent condensation in unvented roof assemblies
- Alternatively, a well-designed vented roof with a 1-inch air gap works if properly detailed
- Seal all penetrations at the ceiling
Designing for Healthy Air Circulation in a Tiny Layout
Interior layout directly affects how well air moves through your tiny house, so choosing tiny house floor plans that actually work is critical. Poor design creates dead zones where moist air stagnates and mold issues begin.
Keep furniture off exterior walls:
- Built-in seating, wardrobes, and cabinets should sit at least 2 inches off exterior surfaces
- This gap lets air circulate behind furniture and move freely
- Without it, warm air contacts cold walls, condensation forms, and you won’t see the damage until wood rot sets in
Address lofts and high spaces: In addition to structural considerations, thoughtful tiny house interiors that maximize every square foot make it easier to keep air (and moisture) moving.
- Lofts and high shelves trap warm air rising from below
- This warm air is also humid air from cooking and breathing
- Use low-profile fans or vent openings to keep air moving in these spaces
- Even a small USB fan pointed down from a loft can prevent stagnation
Distribute air movement throughout:
- Place supply vents, returns, and small fans so every zone has some circulation, just as the most innovative tiny homes that redefine small-space living do
- Include the bathroom, kitchen, sleeping loft, and under-stair storage
- No corner should remain stagnant for days at a time
Design for natural ventilation: Many of the best tiny house designs for modern living integrate natural ventilation into the layout from day one.
- Install operable windows in opposite walls or at different heights
- This creates cross-breezes and stack-effect ventilation when weather allows
- Passive ventilation costs nothing to operate once installed
Choose smart interior finishes:
- Light-colored surfaces make early signs of moisture or mold visually obvious
- Easy-to-clean finishes in tight corners simplify routine inspections while still allowing you to enjoy cute tiny house designs for your dream home
- You want to spot problems during regular cleaning, not months later
Moisture-Smart Materials and Exterior Maintenance
Building materials and exterior care matter as much as mechanical systems. Choosing reputable micro house builders focused on quality and moisture-smart construction from the start—or making smart upgrades later—reduces your long-term moisture problems significantly.
Choose moisture-resistant interior materials: When you’re planning finishes, borrowing ideas from modernist tiny house designs that emphasize sustainable materials can help you prioritize moisture-resistant surfaces.
Using moisture-resistant materials such as vinyl flooring, fiberglass insulation, and water-resistant paint can significantly reduce the likelihood of moisture-related problems in tiny homes.
- High-quality vinyl or sealed hardwood for flooring (Class 1 flame rating, near-zero absorption)
- Mold-resistant drywall is an effective option for tiny homes, as it helps to prevent mold growth in areas prone to moisture
- Water-resistant paints in bathrooms and kitchens
- Avoid organic materials like paper-faced drywall or untreated wood in splash zones
Exterior envelope details:
- Rot-resistant trim at all window and door openings
- Properly flashed windows and doors per ASTM E2112 standards (prevents 95% of water intrusion)
- Quality roofing materials with sealed seams and fasteners
- These details are essential for keeping rainwater out
Seasonal inspection schedule:
- Check roof seams, skylights, fasteners, caulking, and siding joints every spring and fall
- Look for gaps, cracks, or lifted materials
- Catch small problems before they become major water leaks
Site drainage matters: This is especially important in regions like Texas, where tiny house living is rapidly growing in popularity and heavy rains can quickly expose drainage mistakes.
- Slope ground away from the home (5% minimum grade)
- Add gutters and downspouts to direct roof water away
- Prevent water from pooling under the trailer
- Good drainage keeps ground moisture from rising into floor assemblies
Protect exposed metal:
- Coat trailer components and exposed metal framing with rust-preventive finishes
- Signs of corrosion plus dampness suggest ongoing condensation issues
- Address these before mold problems compound
Cold Climate Tips: Extra Protection When Temperatures Drop
A cold climate amplifies every moisture risk in your tiny house. When outdoor temperatures drop below freezing and indoor temps stay comfortable, the physics work against you.
Why cold climates are challenging:
- Indoor-outdoor temperature differences of 60-80°F are common
- Condensation risk on cold glass, metal framing, and uninsulated corners increases dramatically
- Windows stay closed for weeks, trapping all that humid air inside
Insulated skirting and floor sealing:
- Install insulated skirting around the trailer (R-10 foam board minimum)
- This warms the underfloor area by 20°F or more
- Seal obvious air infiltration paths at the sub floor level
- Keep plumbing and floor cavities warmer and drier
Boost dehumidifier use:
- Run your dehumidifier more during long cold snaps
- Peak collection can reach a gallon per day when windows stay sealed
- Monitor hygrometer readings daily to adjust runtime
Daily condensation checks:
- Look for frost or water droplets on windows every morning
- Check wall-floor junctions and exposed metal surfaces
- Any recurring wet spots need immediate attention before mold sets in
Balance heat and ventilation:
- Keep the space warm enough to prevent cold spots
- A wood stove or vented heater adds heat without adding moisture
- Avoid unvented combustion heaters inside—they produce roughly 1 pint of water vapor per hour of operation plus combustion byproducts
- Proper air exchange prevents carbon monoxide buildup and humidity spikes
- Energy efficiency matters, but not at the cost of your health
Routine Inspections and Maintenance Habits
Mold prevention isn’t a one-time project. It’s an ongoing routine for as long as you live in your own home. Building good habits now prevents expensive problems later.
Monthly inspection checklist:
- Check under sinks for drips or standing water
- Look around the shower and behind the toilet for dampness
- Inspect window sills for condensation stains or soft spots
- Sniff for musty odors in corners and storage areas
Seasonal deep inspections:
- Pull out movable furniture at least once per season
- Open storage compartments and inspect inside
- Let fresh air and light into these hidden zones
- Look for any discoloration, warping, or mold starting
Keep equipment clean:
- Clean exhaust fan grilles monthly to maintain good airflow
- Wipe window tracks where condensation collects
- Empty and clean dehumidifier filters and water reservoirs
- Dirty equipment can’t maintain air quality effectively
Keep a maintenance log:
- Track humidity readings over time
- Note any leak repairs, cleaning, or mold cleanups
- Record seasonal patterns (winter humidity spikes from showers, etc.)
- This log helps spot recurring moisture problems before they escalate
Regular maintenance of your tiny home is essential to prevent moisture issues and ensure longevity, which includes inspecting and repairing any damaged materials promptly.
Know when to call a professional:
- Any visible mold larger than a few square feet needs expert assessment
- Mold that returns after cleaning indicates an unfixed moisture source
- Complex wall system failures or persistent condensation may require building-science expertise
- From personal experience, most DIYers can handle prevention, but active mold problems often need professional remediation
FAQ
How can I tell if high humidity is really a problem in my tiny house?
Mold risk rises sharply once relative humidity stays above 55-60% for extended periods. The only way to know for sure is measurement, not guessing. Buy a digital hygrometer and log readings at different times of day for at least a week. Check readings after cooking, showering, and sleeping. If you see regular spikes above 55%, or if the humidity level never drops below 50%, you have a problem that needs addressing. Visible condensation on windows most mornings is another clear sign that humid air is hitting cold surfaces and excess moisture is present.
Is it safe to use a portable propane heater in a tiny house during winter?
Unvented propane heaters add both moisture and combustion byproducts to indoor air. Burning 10 gallons of propane produces roughly 1 gallon of water vapor. In an enclosed space, this rapidly raises humidity and condensation risk. Beyond moisture, these heaters produce carbon monoxide and other combustion gases that degrade air quality and create health hazards for anyone with chemical sensitivities. For tiny house living, vented heaters, electric heaters, or a properly installed wood stove are safer alternatives that provide heat without adding moisture to the indoor air.
What should I do if I already see mold spots on a wall or ceiling?
Take a cautious approach. Wear an N95 mask and gloves before touching anything. For small areas (under a few square feet), clean with a detergent solution or commercial mold cleaner, then allow the area to dry thoroughly for 48 hours. The critical step: investigate and fix the underlying moisture source before repainting or covering the area. If you just paint over mold without fixing what caused it, the problem returns. For larger areas, recurring mold, or if anyone in your home has respiratory issues, call a professional. Don’t disturb extensive mold growth without proper containment—you’ll spread spores throughout your small space.
Do I need a professional to design ventilation for my tiny house?
Many DIYers can handle basic exhaust fans, window-based passive ventilation, and dehumidifier placement on their own. Standard bathroom and kitchen exhaust fans with proper ducting outside are straightforward installations. However, complex layouts, severe cold climate conditions, or existing moisture issues may justify hiring a building-science–savvy professional. If you’re installing a heat recovery ventilator or need to redesign your wall assembly after discovering mold, expert guidance prevents costly mistakes. Just that consultation can save thousands in remediation costs down the road.
How often should I run my dehumidifier in a tiny house?
Use humidity readings rather than a fixed schedule. Run the unit whenever indoor humidity climbs above 50-55%. Some days that means 4 hours; other days it’s 12 hours or more. Factors affecting runtime include:
- Number of people occupying the space
- Cooking and showering frequency
- Outdoor humidity and temperature
- How air-tight your build is
Most modern dehumidifiers have built-in humidistats that cycle automatically based on your target setting. Set it to 45-50% and let it run as needed. In a humid climate or during wet seasons, expect higher energy use. At 2026 electricity rates, budget $0.10-0.20 per day for continuous operation—a small price for staying mold free.