

Condensation in tiny houses isn’t a mystery. It’s physics meeting small spaces. The good news? It’s completely fixable with the right approach.
Key Takeaways
Condensation in your tiny house comes from everyday moisture sources—showers, cooking, breathing—hitting cold surfaces like windows, the trailer frame, and exterior walls. No single gadget solves it. You need a system.
Quick wins you can apply today:
- Run your bathroom exhaust fan during showers and 20 minutes after
- Cook with lids on and use your range hood
- Crack a window in winter with heat on low
- Use a small dehumidifier during humid periods
- Keep furniture 50–75 mm off exterior walls for air circulation
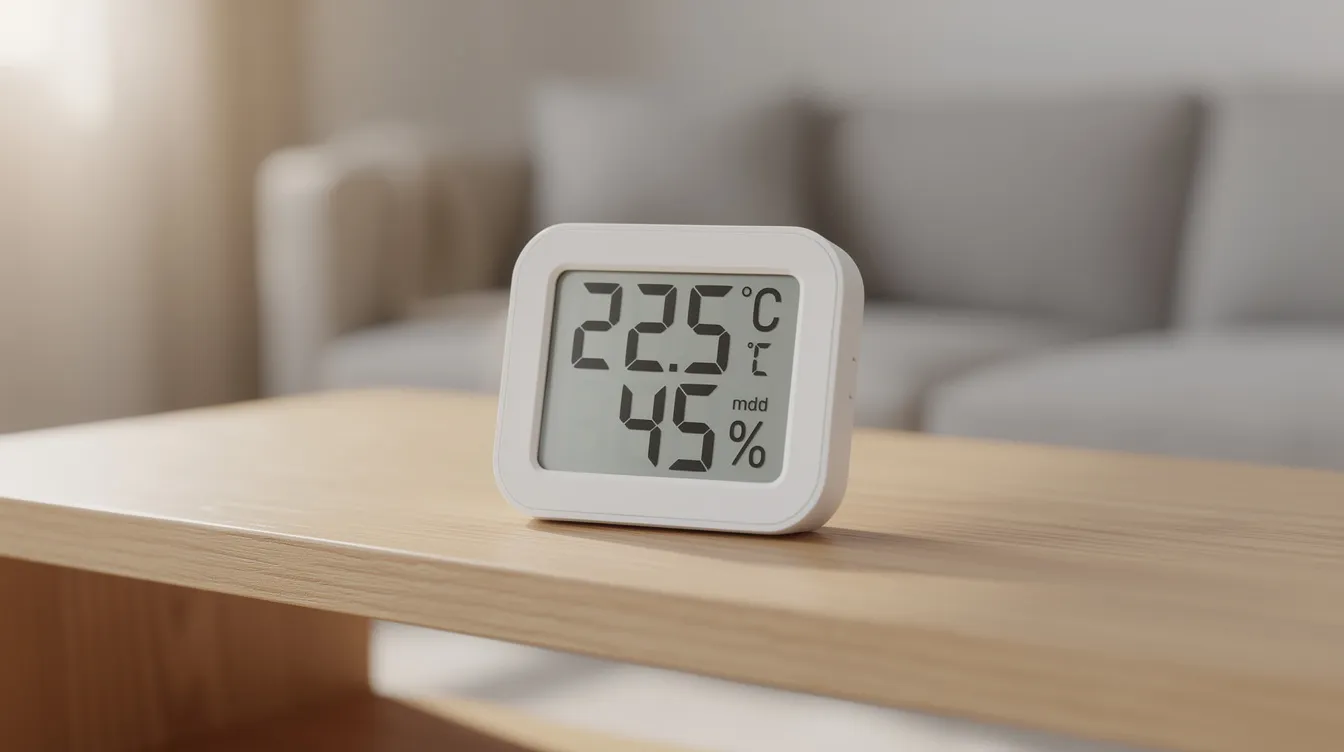
Target winter humidity levels of 30–50% RH. Monitoring humidity levels diligently is important to maintain optimal conditions in your tiny house, and using a hygrometer can help accurately measure moisture content. Basic digital models cost under $20 in 2026.
Most hidden damage starts in floor assemblies, window corners, and behind built-ins. Solving condensation early protects structure, air quality, and health. This guide walks through a layered “moisture map + moisture control system” approach tailored to tiny houses on wheels and small fixed tiny homes.
- Why Tiny Houses Get Condensation So Easily
- Map Your Moisture: Where Tiny House Condensation Problems Start
- The Science in Plain English: Humidity, Dew Point, and Cold Surfaces
- The Five-Layer Tiny House Moisture-Control System
- Quick Wins: Fast Fixes for Existing Tiny Houses with Condensation
- Designing a Condensation-Resistant Tiny House from the Start
- Moisture Control Room by Room
- Materials, Finishes, and Exterior Surfaces That Help Fight Condensation
- Long-Term Maintenance and Seasonal Moisture Checks
- FAQ: Tiny House Condensation Problems
- Is it normal for tiny house windows to fog up in winter?
- Will a single dehumidifier solve all my condensation problems?
- How often should I run my bathroom and kitchen exhaust fans?
- Can I fix floor condensation over the trailer frame without rebuilding my whole tiny house?
- How do I know if my tiny house condensation problem is harming my health?
Why Tiny Houses Get Condensation So Easily
Picture this: A 24-foot tiny home on a cold winter morning. The windows are fogged. The sills are wet. Behind the couch against the exterior wall, damp spots are forming.
Sound familiar?
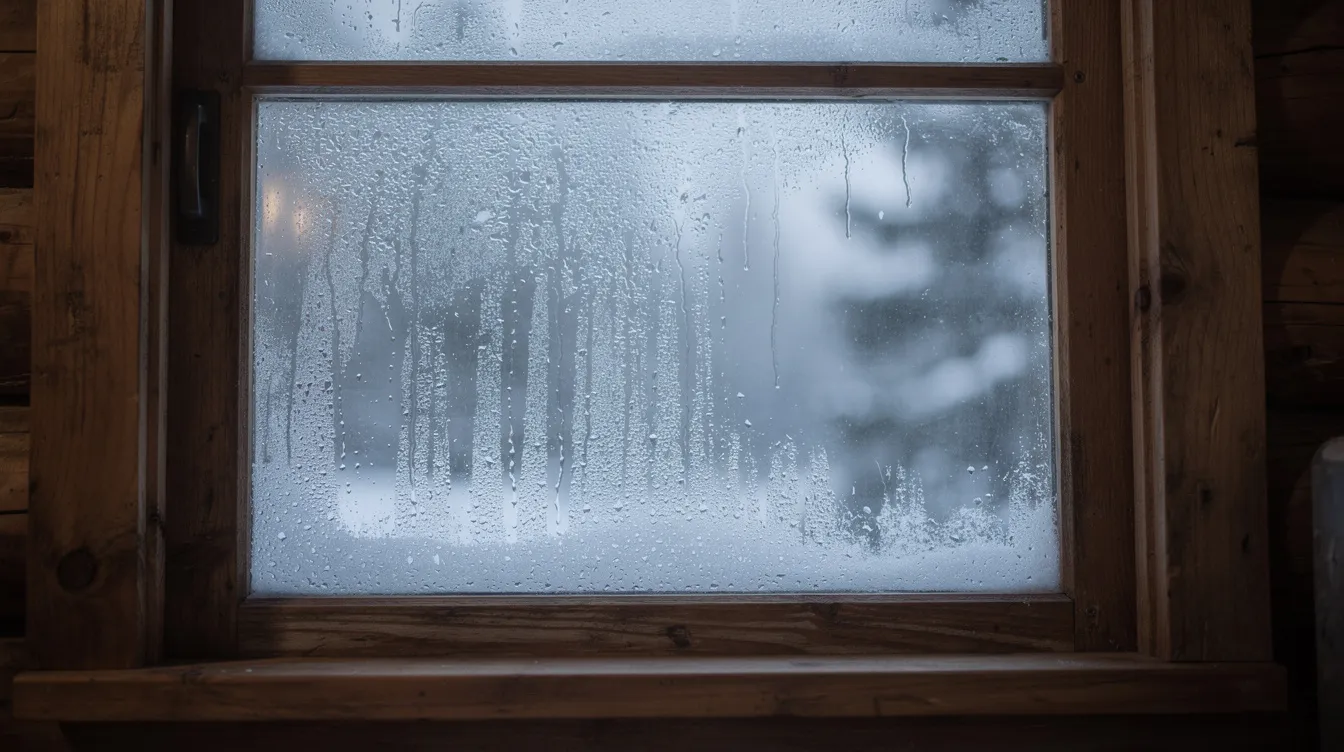
Here’s what’s happening. Condensation occurs when indoor surfaces become too cold, the indoor air is too humid, or both, leading to moisture forming on surfaces like walls and windows. Warm air holds more water vapor than cold air. When that warm, moist air hits a cold surface and reaches its dew point, vapor turns to liquid water.
The numbers matter. At 70°F (21°C) and 50% RH, any interior surface at 50°F (10°C) or below will condense. In tiny houses, cold surfaces are everywhere—exterior surfaces, window frames, metal fasteners, and the steel chassis beneath your floor.
Tiny homes are particularly susceptible to condensation due to high interior humidity levels, cold metal trailer frames, and a large ratio of exterior surface area to interior volume. Your 200-300 square feet of living area has roughly 3-5 times more exterior surface per cubic foot than a standard house. Metal trailers conduct heat 400 times faster than wood. Cathedral ceilings lack attic buffers.
The two main levers to fix condensation issues: controlling humidity and keeping interior surfaces warm. That means combining air circulation, insulation, and exhaust fans into a coordinated system.
Map Your Moisture: Where Tiny House Condensation Problems Start
Before fixing anything, you need to know where moisture problems actually occur. Think of it as creating a “moisture map” of your tiny house—identifying specific, repeatable hotspots rather than random dampness.
Common visible hotspots:
- Lower corners of aluminum or uPVC windows
- Metal stair stringers
- Underside of loft floors
- Wall-floor junctions
- Cold surfaces behind wardrobes or built-in benches
Invisible killers:
- Inside the floor assembly over the metal trailer frame
- Roof assembly in cathedral ceilings
- Behind tongue-and-groove wall boards where warm indoor air leaks into cold cavities
Quick inspection checklist:
- Run hands along exterior walls on a cold morning—damp means below dew point
- Inspect window frames for sweating
- Shine a flashlight under cabinets and along skirting
- Check behind furniture against exterior walls
Identifying these spots early—ideally within your first winter of occupancy—is the first step toward lasting fixes. Don’t just wipe water off windows. Find the source.
The Science in Plain English: Humidity, Dew Point, and Cold Surfaces
You don’t need an engineering degree. You just need a basic mental model to make smart choices.
Relative humidity (RH) measures how much water vapor is in the indoor air compared to how much it could hold at that temperature. Warm air holds more moisture than cold air. That’s why humidity levels rise after a hot shower.
Dew point is the temperature where air becomes saturated. Think of it like this: pull a cold metal pan from an unheated cupboard into your warm, humid tiny kitchen while cooking. It fogs instantly because its surface is below the dew point.
When the relative humidity of the air reaches 100%, excess water vapor condenses into liquid water, which can lead to moisture problems in tiny homes if not managed properly.
Practical target: Keep indoor humidity between 30–50% RH during cold seasons. Above 60% sustained is risky for mold growth on cold surfaces in such a small space.
Condensation risk depends on three factors working together:
- How much moisture is produced indoors
- How quickly fresh air replaces moist air
- How cold interior-facing surfaces become
The Five-Layer Tiny House Moisture-Control System
Think of moisture management as a layered stack:
- Source Control – Reduce moisture at the source
- Ventilation & Fresh Air – Move moist air out
- Air Sealing – Stop warm air from leaking into cavities
- Insulation & Thermal Breaks – Keep surfaces warm
- Drying & Monitoring – Help assemblies dry and track progress
All five layers work together. New builds can integrate everything from the design stage. Existing tiny homes can retrofit 2–3 layers effectively over a few weekends in 2026.
Layer 1: Reduce Moisture at the Source
Controlling moisture starts with cutting down how much water vapor enters your indoor air.
Two people can add over 2–3 liters of moisture daily just from breathing and cooking. Add showers, boiling water, and drying laundry, and you’re saturating your tiny volume fast.
Behavior changes that work:
- Use pot lids while cooking
- Run range hood whenever you’re at the stove
- Avoid air-drying laundry indoors without a dehumidifier
- Cover aquariums
- Take shorter, cooler showers
Hardware upgrades:
- Install low-flow showerheads (1.5 GPM cuts vapor 30-40%)
- Choose sealed-combustion heaters over unvented propane
- Avoid unvented gas cooktops where alternatives exist
Small steps add up. Even reducing shower time by a few minutes meaningfully lowers peak humidity in your tiny house.
Layer 2: Ventilation, Exhaust Fans, and Fresh Air Flow
Proper ventilation is crucial in tiny house living to prevent moisture buildup, which can lead to mold and mildew issues, and should include enough vents and strategically placed fans to promote excellent air circulation.
Your small indoor air volume saturates quickly. You need air moving out of wet rooms.
Spot vs. whole-house ventilation:
- Spot ventilation: Exhaust fans in bathroom and over cooktop
- Whole-house: Trickle vents, HRV/ERV units, or timed exhaust strategies
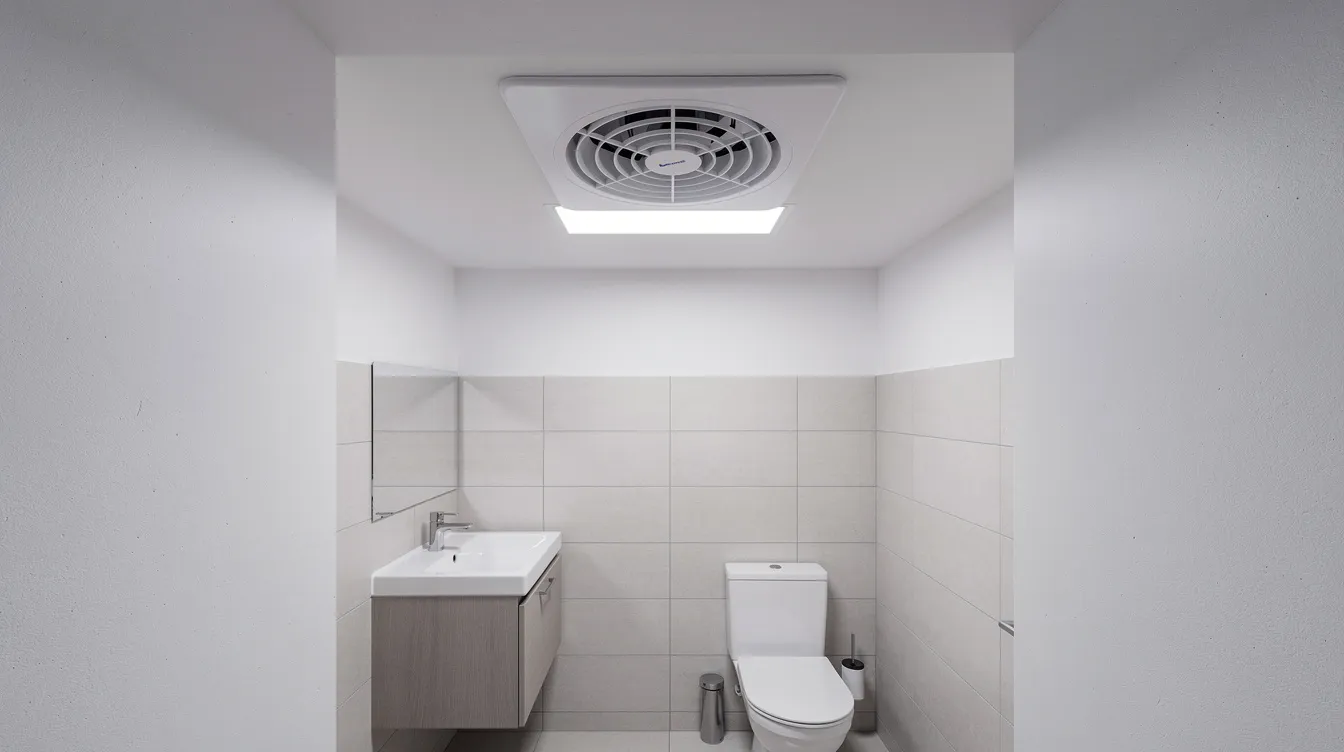
Every tiny home should have a vented range hood or exhaust fan in the kitchen and an exhaust fan in the bathroom to help control humidity levels by introducing fresh air into the home.
Recommended specs for 2026 builds:
- Bathroom fan: 80–110 CFM, ducted directly outdoors
- Run during showers and at least 20 minutes afterward (use a timer switch)
- Kitchen hood: Must actually vent outside, not recirculate
A heat recovery ventilator (HRV) is a mechanical ventilation system that exchanges stale indoor air with fresh outdoor air while transferring heat between the two airstreams, making it an efficient option for tiny homes. Units like the Lunos e2 offer 85% heat recovery at around 50 CFM.
Simple fresh air strategies:
- Crack windows on the lee side of wind
- Use micro-vent settings on uPVC windows
- Install small through-wall fans for winter intake without drafts
Layer 3: Air Sealing to Control Moist Air Movement
Trapped moisture in wall, roof, and floor cavities causes hidden rot. Warm, moist indoor air sneaks through air leaks into cold spaces where it condenses.
Key air-leak paths in tiny homes:
- Gaps at wall–ceiling intersections
- Penetrations for plumbing and wiring
- Under shower pans
- Around recessed lights
- Floor assembly perimeter
Sealing gaps and cracks in your tiny home can prevent air leaks that allow moisture to enter, helping to keep your living space dry and comfortable.
Recommended materials:
- High-quality acrylic or butyl tapes for sheathing seams
- Polyurethane or acrylic sealants at interior joints
- Gaskets or caulk around penetrations
Aim for a continuous interior or exterior air barrier—taped exterior sheathing or sealed interior plywood, even behind tongue-and-groove boards.
Retrofit priority: During a 2026 remodel, seal accessible gaps under sinks, behind access panels, and along baseboards before reinstalling trim.
Layer 4: Insulation, Thermal Bridges, and Floor Assemblies
Good insulation keeps interior surfaces warmer, preventing condensation on walls, ceilings, and in the floor assembly over the steel chassis.
Thermal bridges explained: Places where cold from outside “short-circuits” through metal or dense framing. The trailer frame, steel loft supports, and window frames are prime offenders. Thermal bridging drops surface temperatures below dew point.
Design tips:
- Use continuous insulation on exteriors where possible
- Add rigid XPS foam between trailer frame and subfloor
- Break metal-to-interior connections with a thermal break (G10 strips work well)
Installing continuous exterior insulation can help preserve interior headroom while improving thermal performance by encapsulating the trailer frame, reducing the risk of condensation inside the assembly.
Effective insulation materials with high R-values and a vapor barrier can control moisture diffusion, which is crucial for maintaining optimal temperature levels in tiny homes. Target R-25+ for roofs and R-19 for walls.
Floor assembly best practices:
- Insulate above and/or between steel members
- Protect insulation from road spray on THOWs
- Air seal the underside thoroughly
Climate considerations: In cold zones, use vapor-closed assemblies (polyiso + batts). In milder humid climates, vapor-open approaches with mineral wool and rainscreen air gaps work better.
Layer 5: Drying, Dehumidifiers, and Ongoing Monitoring
Even with good design, some moisture will always be present. Assemblies and finishes must be able to dry toward at least one side.
Everyday drying strategies:
- Leave bathroom door open after fan runs
- Pull furniture a few centimeters from exterior walls
- Don’t block heat from reaching corners
Dehumidifiers for small spaces:
A 30-35 pint/day unit handles most tiny homes. They use 300-500W but prevent expensive rot repairs. Drain continuously where possible.
Monitoring is essential:
- Place a digital hygrometer in the main living area
- Add a second one in the loft or bathroom
- Track readings for a week in winter and summer
Keep a simple 2026 maintenance log noting RH levels, visible condensation events, and your responses. This becomes your personalized moisture control playbook.
Quick Wins: Fast Fixes for Existing Tiny Houses with Condensation
Already seeing wet windows, musty smells, or damp spots? Here’s your “do this first” action plan.
Prioritized upgrades:
- Install or upgrade bathroom exhaust fan (80+ CFM)
- Add a ducted range hood
- Buy a 20-30 pint dehumidifier ($120-150)
- Add a small circulating fan to move air in corners
- Adjust furniture layout for better air circulation around wall space
Step-by-step approach:
- Measure indoor humidity with a hygrometer
- Tackle the bathroom fan
- Address kitchen steam
- Look at cold corners and floor assemblies
Fan usage guidelines:
- Bath fan: During shower + 20–30 minutes after
- Range hood: Whenever boiling water or cooking
- Open two windows briefly to circulate air and create cross-ventilation
Low-cost changes:
- Moisture-absorbing mats on window sills
- Wipe condensation from glass and frames each morning
- Open blinds during the day to allow sun and air movement
Designing a Condensation-Resistant Tiny House from the Start
Planning a new build for 2025–2027? Prevent moisture damage at design stage—far easier than retrofitting.
Layout decisions that help: Thoughtful tiny house floor plans that work for you make it much easier to keep air moving freely and avoid hidden cold corners.
- Avoid deep built-ins on multiple exterior walls
- Allow clear pathways for air moving behind furniture
- Design lofts with space for warm air to escape (trickle vents help)
Integrate ventilation early: When you’re shortlisting modern tiny house designs, check that each concept has clear paths for duct runs and fresh-air intakes from the beginning.
- Specify bath fan locations and duct runs
- Plan outside wall penetrations
- Consider a small HRV/ERV in very cold climates for continuous fresh air
Envelope design details: If you’re focused on affordable tiny house buildings and designs, don’t cut costs on insulation detailing—good moisture control saves money over time.
- Choose appropriate wall assembly for your climate
- Add rainscreen air gaps behind exterior cladding (3/8-inch minimum)
- Use vapor-open exterior wraps with controlled interior vapor retarders
Invest in high-performance windows and doors with thermal breaks to reduce cold surfaces, especially if your tiny house will travel into colder regions.
Moisture Control Room by Room
Different zones need different approaches. Here’s a practical walkthrough, informed by how great tiny homes redefine small space living through careful use of every surface and corner.
Bathroom: Smart tiny house interior design ideas can help you fit storage and ventilation together without crowding this moisture-heavy room.
- Install exhaust fan directly above or near shower
- Use a squeegee on walls and glass after every shower
- Leave door open after fan run to share dry air with the living area
- Run fan for full shower duration + 20 minutes after
Kitchen:
- Cook with lids on
- Use exhaust fan even for quick boiling
- Avoid long simmering without fresh air make-up
- Vent outdoors, never recirculate through a filter (traps 50% of moisture)
Sleeping Loft:
- Breath moisture accumulates overnight near the roof
- Use cracked windows or trickle vents
- Install a quiet fan pointing downward
- Choose breathable mattresses—avoid solid foam on unventilated platforms
Underfloor and Storage Zones:
- Inspect at least twice yearly (spring and fall)
- Look for rust on the trailer frame, damp insulation, or mold
- Add vents or skirts that balance freeze protection with air movement
- Check floor joists for signs of moisture damage

Materials, Finishes, and Exterior Surfaces That Help Fight Condensation
Ventilation and insulation do the heavy lifting. But material choices influence how forgiving your tiny house is to occasional moisture events.
Interior finishes:
Using moisture-resistant materials like vinyl flooring, fiberglass insulation, and water-resistant paint can significantly reduce the likelihood of moisture-related problems in tiny homes.
Using moisture-resistant materials like fiberglass insulation and mold-resistant drywall can significantly reduce the likelihood of moisture-related problems in tiny homes. Consider sheep’s wool insulation for natural moisture buffering in porous materials.
Flooring recommendations: Scandinavian-inspired Swedish tiny house ideas for cozy living often pair durable, moisture-tolerant flooring with warm finishes that handle wet boots and snow melt well.
- Vinyl plank or treated wood near entrances and kitchens
- Proper transitions and sealed joints
- Prevent water infiltration into subfloors
Exterior surface maintenance: Chalet-style tiny house models for modern living rely on well-maintained cladding, trim, and rooflines to shed snow and rain before it can reach vulnerable assemblies.
- Check caulking around windows and doors annually
- Maintain roof sealant at penetrations
- Keep gutters clear to protect walls and floor assemblies
Well-detailed exterior drainage planes and flashing—over windows, at roof–wall intersections—greatly reduce the risk that exterior moisture combines with interior condensation to overwhelm assemblies.
Long-Term Maintenance and Seasonal Moisture Checks
Regular maintenance is essential to identify and address moisture and mold issues promptly, preventing them from worsening and causing harm to your tiny home, especially if you’ve invested in a custom build from one of the leading micro house builders focused on quality and affordability.
Before winter checklist:
- Test exhaust fans
- Inspect window seals
- Verify dehumidifier operation
- Confirm skirting or underfloor insulation protects without trapping water
Mid-winter audit (on a very cold morning):
- Check windows, metal corners, and under-loft surfaces for droplets
- Note where air circulation or insulation needs improvement
- Use dry air from outside to help lower indoor humidity
Spring routine:
- Inspect for mold spots behind furniture, under mattresses, in storage
- Clean and dry affected areas
- Increase air circulation in problem zones
Conducting regular inspections for leaks and signs of water damage is crucial to maintain the structural integrity of your tiny home and prevent costly repairs.
Being proactive with maintenance can help safeguard your tiny home from moisture-related issues, ensuring a comfortable living environment and avoiding extensive repairs—especially in a tiny smart home where efficient systems can automate some monitoring and climate control tasks. Document with photos and notes—track where recurring cold spots appear for future projects.
FAQ: Tiny House Condensation Problems
Common questions not fully covered above.
Is it normal for tiny house windows to fog up in winter?
Light fogging during very cold mornings can be common. But persistent water pooling on sills or running down frames indicates indoor humidity is too high or surfaces are too cold.
Use a hygrometer. If levels consistently exceed 50–55% RH in cold weather, increase exhaust fan use, fresh air intake, and possibly add a dehumidifier.
Consider upgrading to better-insulated windows or adding interior storm panels if condensation remains severe despite good humidity control.
Will a single dehumidifier solve all my condensation problems?
A dehumidifier greatly helps control humidity but cannot fix cold surface issues, air leaks, or missing insulation in the floor assembly or roof.
Use it as part of the five-layer system—not standalone. It complements exhaust fans, air sealing, and insulation improvements.
Size for your small volume: 20–35 pint/day units work for most tiny homes. Drain continuously where possible for consistent use.
How often should I run my bathroom and kitchen exhaust fans?
Run bathroom exhaust fans for your entire shower plus 20–30 minutes afterward. A timer switch makes this automatic.
Run kitchen exhaust whenever boiling, frying, or simmering, and 10–15 minutes after cooking to clear remaining steam.
In very cold or humid climates, balance exhaust with fresh air intake—crack a window or use a supply vent to keep pressure stable.
Can I fix floor condensation over the trailer frame without rebuilding my whole tiny house?
Full access is ideal but not always necessary. Some owners add exterior insulation and air sealing to the floor assembly underside in stages.
Practical steps: Inspect from below for rust and damp insulation. Add rigid foam and a protective layer. Seal seams to reduce air leaks that carry moisture to cold metal.
In severe cases with obvious rot or structural compromise, professional assessment is important for safety and long-term durability.
How do I know if my tiny house condensation problem is harming my health?
Warning signs include musty or earthy smells, visible mold spots on walls or ceilings, and recurring allergies or respiratory symptoms that improve when away from the house.
Have suspicious areas tested if health issues persist. Prioritize immediate drying, cleaning, and moisture-source control if mold is found. Under right conditions, mold can begin forming in 24–48 hours on damp, cold surfaces.
A consistently dry, well-ventilated tiny house with good indoor air circulation is key to maintaining both structural integrity and occupant health over the long term.
A dry tiny house is a healthy tiny house.
Start with a $15 hygrometer today. Tackle one layer at a time. The fixes are straightforward—and the payoff is years of comfortable, mold-free living in your small space.