
Every wall in a tiny home pulls double duty. It holds up the roof, stores your shelves, and sets the entire mood of your interior. The right paint technique can transform a cramped 200-square-foot box into a space that feels open, stylish, and full of life. These wall painting designs ideas for tiny homes require no structural changes, no contractors, and no five-figure budget.
Below are seven creative approaches, each selected for space efficiency, visual impact, and practical execution. Whether your small home has an open floor plan or compartmentalized rooms, at least one of these techniques will work.
How We Chose the Best Wall Painting Designs for Tiny Homes
Each technique on this list was evaluated against six criteria that matter for tiny home dwellers:
- Space efficiency: Does the design make limited square footage feel like more space, or does it shrink it?
- Ease of execution: Can a first-time DIYer achieve clean results with painter’s tape and a roller?
- Visual impact: Does it add personality, depth, or dimension to flat surfaces?
- Versatility: Does it work in a bathroom, a kitchen nook, and a sleeping loft?
- Maintenance: Will it hide scuffs, and can you touch it up without repainting the whole wall?
- Cost: Paint runs $30-$50 per gallon. Techniques that need fewer colors and no specialty tools rank higher.
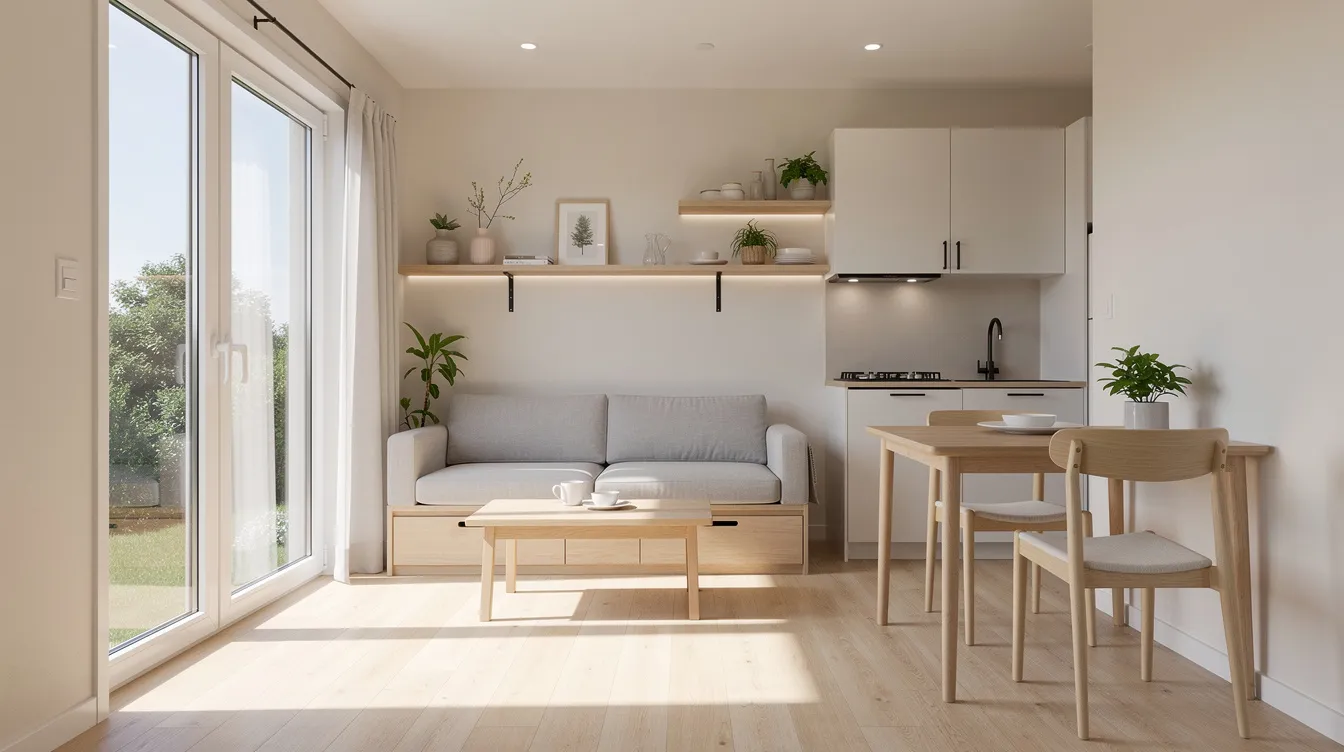
One guiding number: colors with a Light Reflectance Value above 65 bounce enough natural light to make a small room feel open. Choosing a paint finish like eggshell or low-satin can enhance light reflection without harsh glare. Light neutral color palettes make compact spaces feel expansive.
Top 7 Wall Painting Design Ideas for Tiny Homes
1. Light Color Blocking and Two-Tone Walls
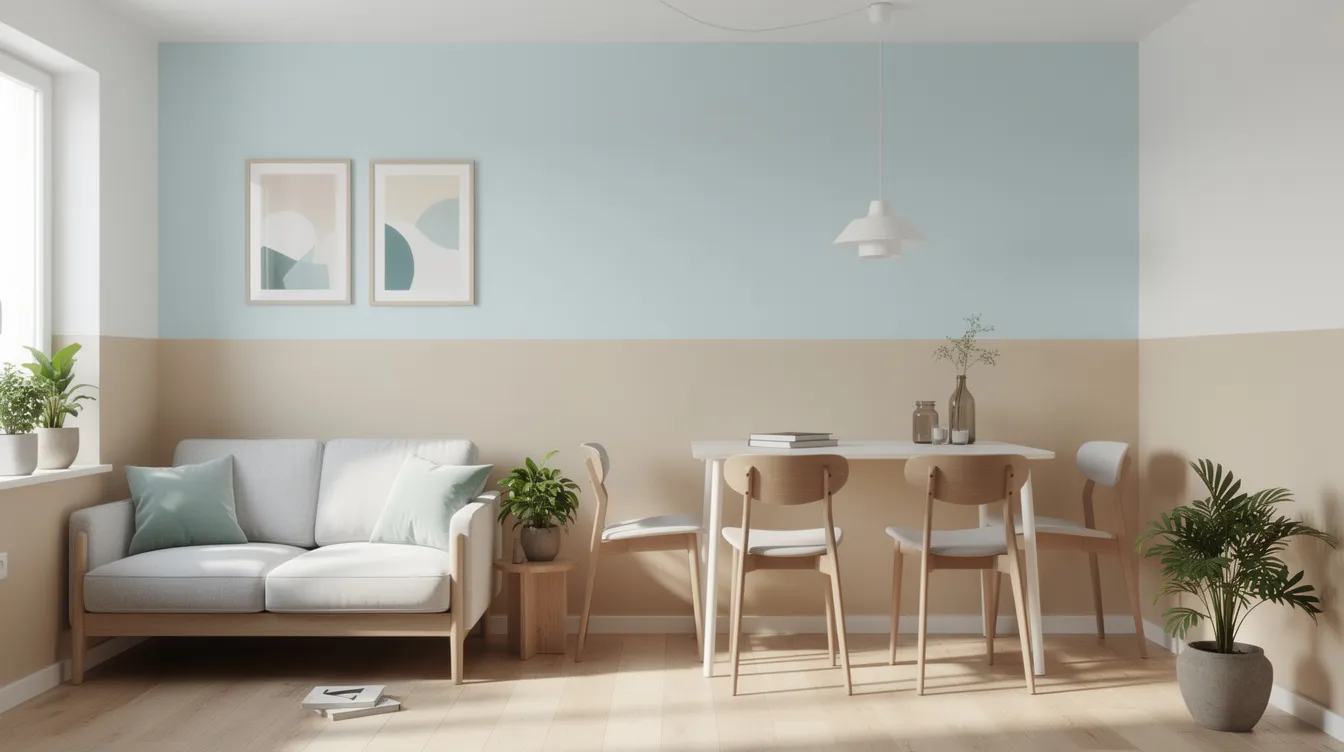
Two-tone painting divides one wall into two color zones, typically split horizontally at a height between 28 and 36 inches. Paint can visually define zones in an open-plan tiny home without adding physical partitions, and this technique is one of the simplest ways to do it.
Why It Stands Out
In open tiny home layouts, you often need a kitchen area to feel separate from a living area. Color blocking creates that separation with paint alone. Two-tone walls enhance dimension and contrast in any space. When the bottom half is darker and the top half is a lighter shade, ceilings appear taller. If you pair this with smart furniture placement, you can define functional zones in under 250 square feet.
Best For
Open floor plans, studio layouts, and homes where the kitchen, living, and sleeping areas share one room. Light colors on the upper portion make small rooms feel larger, while a warm tone on the lower half grounds the space.
Key Strengths
- Defines zones without walls or room dividers
- Creates the illusion of height when the lighter shade sits above the darker one
- Easy to execute; a roll of painter’s tape and two paint colors are all you need
Possible Limitations
- In rooms under 80 square feet, splitting the wall can feel choppy
- Tape bleed is more noticeable on accent surfaces, so press edges firmly before rolling
2. Accent Walls with Bold Colors
An accent wall applies a single bold color to one wall while the rest stay in light shades. Accent walls add personality without overwhelming small spaces, and they give the eye a focal point that distracts from tight dimensions.
Why It Stands Out
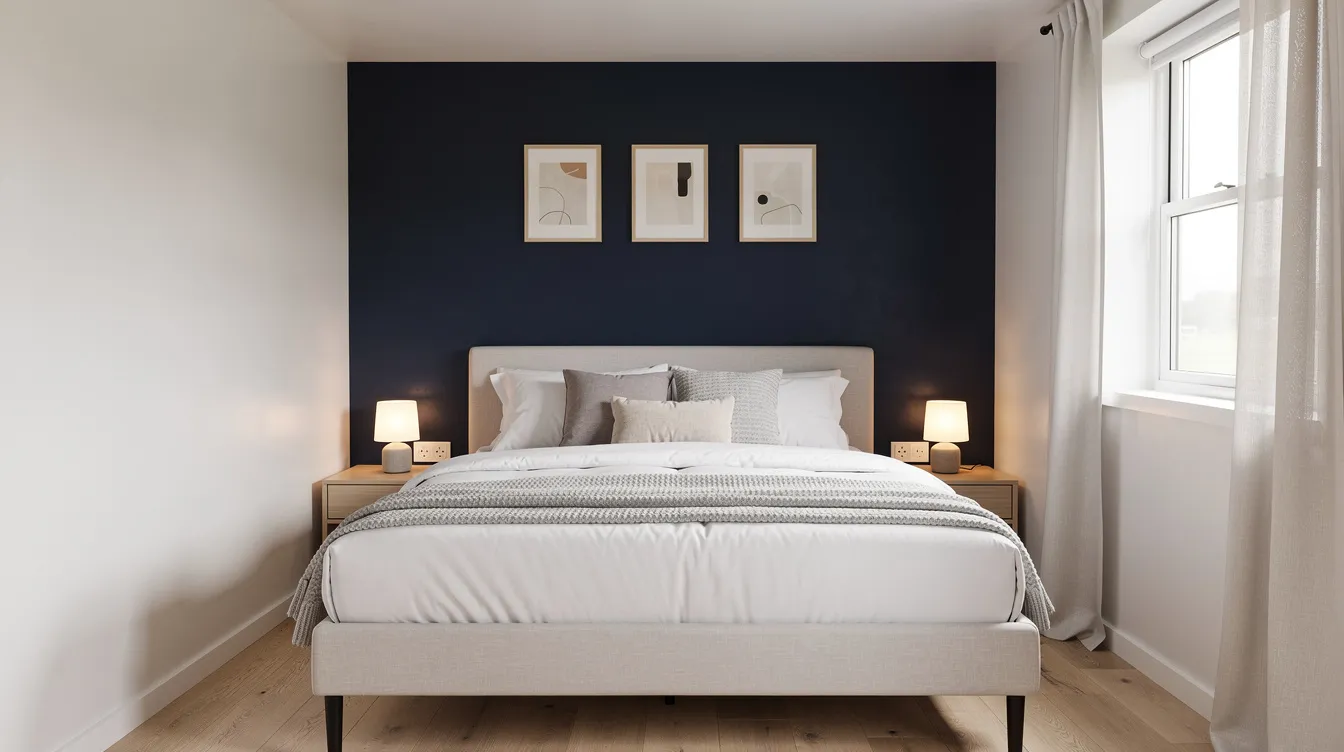
Deep colors on the farthest wall create an impression of depth in narrow rooms. For example, a navy blue accent wall behind a bed or at the end of a hallway draws attention forward. Bold shades like navy can highlight accent walls effectively, and pairing them with off-white on adjacent surfaces keeps the room bright. Darker colors can add coziness to small rooms when limited to a single surface.
Accent walls also pair well with art. Hanging art above eye level makes ceilings appear taller, and mini gallery walls add personality without taking up floor space. Framed prints can even double duty as hidden storage spaces. Painted arches on an accent wall add depth and character without any carpentry. Imagine a forest green arch framing a doorway or a reading nook.
Best For
Bedrooms (wall behind the bed), living areas (wall opposite the entry), and kitchen backsplash zones. The wall you choose should be the one your eye lands on first when you enter. For more inspiration on bold color choices, see our guide to colorful tiny houses.
Key Strengths
- Creates a focal point that pulls attention away from tight floor plans
- Adds depth and dimension to flat walls
- Affordable; you only need one gallon of your bold paint colors
Possible Limitations
- Choosing the wrong wall can make a tiny home feel lopsided
- Trendy hues like hot orange or neon accents can date quickly; stick with deeper, muted shades for longevity
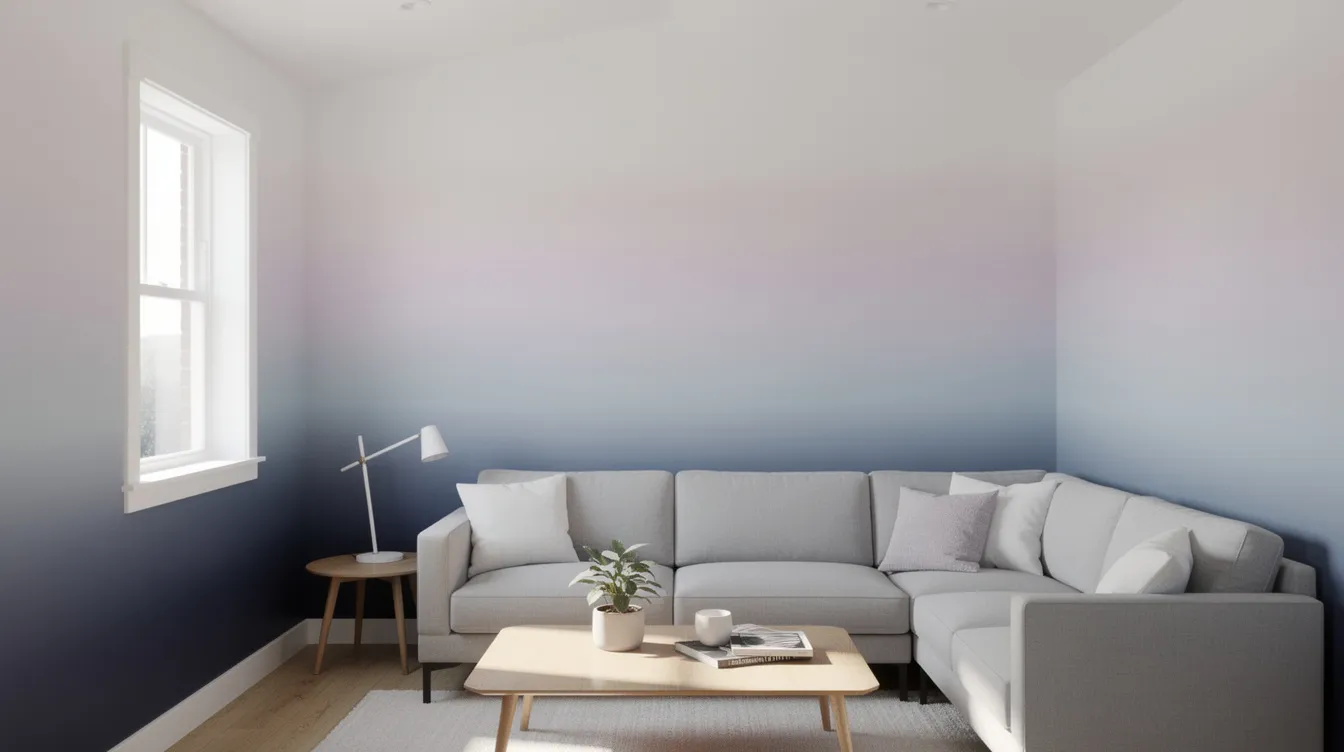
3. Ombre and Gradient Effects
Ombre painting blends two to three shades of the same color from dark at the bottom to light at the top (or the reverse). Pale and pastel colors create an airy effect when the lightest tone fades into the ceiling.
Why It Stands Out
Gradient transitions blur the boundary between wall and ceiling, making surfaces feel continuous. The soft blues and greens common in ombre designs recede visually, pushing walls back. This technique works with both warm and cool palettes.
Best For
Bathrooms, sleeping lofts, and spaces with slanted ceilings. In A-frame interiors, an ombre that follows the slope of the ceiling reduces the angular feeling and creates flow.
Key Strengths
- Creates a spa-like atmosphere in a bathroom or loft
- Makes walls appear to recede, adding perceived space
- Two to three hues of one color keep the palette simple
Possible Limitations
- Blending wet paint requires speed and confidence; once it starts drying, fixing uneven spots is difficult
- Best attempted on smaller feature walls first
4. Geometric Patterns and Shapes
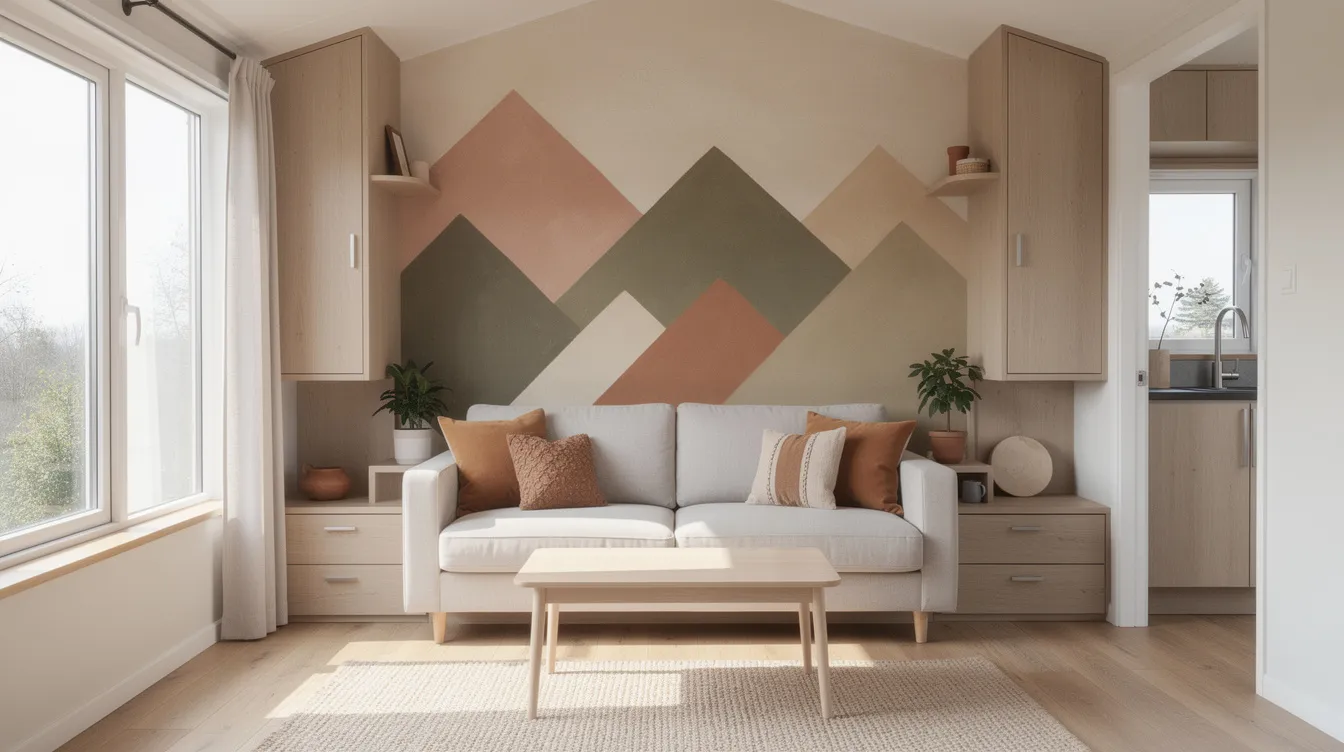
Triangles, hexagons, mountain silhouettes, and checkerboard patterns painted directly on walls function as art. Large-scale prints (or painted shapes that mimic them) create the illusion of more space because fewer, bigger forms read as open rather than busy. Chalkboard-style prints, painted as a rectangle on a kitchen wall, serve as functional wall art for grocery lists and notes.
Why It Stands Out
Geometric patterns add architectural details to plain drywall or wood panels. Checkerboard patterns create visual interest on accent walls without requiring anything beyond tape and two colors. When contrast between the colors stays moderate, the pattern adds fun without closing in the space.
Best For
Feature walls behind built-in shelves, loft railings, and entryway areas. Tiny home dwellers who prefer a modern, creative style will get the most from these designs.
Key Strengths
- Replaces expensive pictures or purchased art with custom wall features
- Adds architectural interest to surfaces that would otherwise be flat
- Multiple colors let you highlight your personality
Possible Limitations
- Requires precise measuring; a triangle off by half an inch is visible at close range
- Dense patterns in a room under 100 square feet can feel overwhelming
5. Stripes and Linear Designs
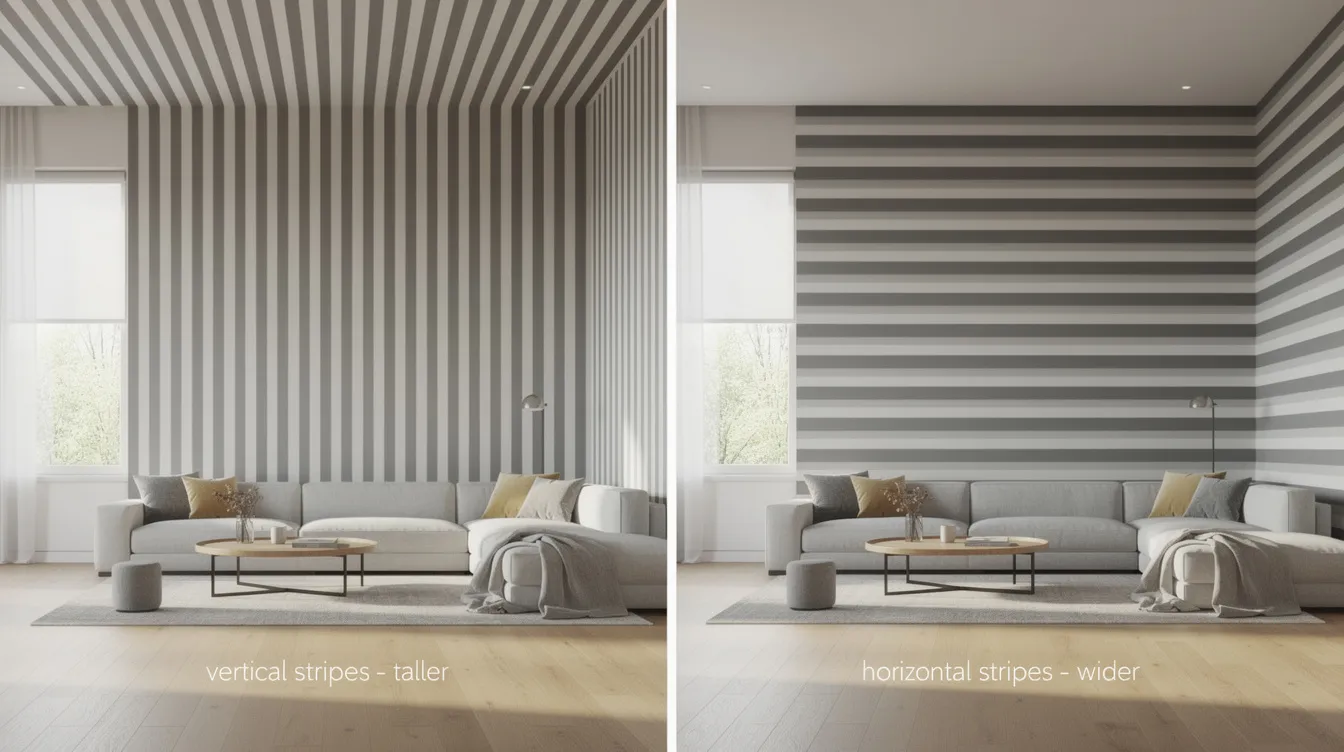
Vertical lines make ceilings look taller. Horizontal stripes make rooms look wider. Vertical painted stripes can create an illusion of higher ceilings; one study found the perceived height increase reached 10-15% when stripe width and color contrast were well-matched.
Why It Stands Out
Stripes manipulate how the eye reads dimension. In a narrow hallway, wide horizontal bands in two light shades widen the corridor visually. On a short wall, vertical lines in soft blues or greens lift the ceiling.
Best For
Hallways, entryways, and any small room where one dimension feels restricted. Keep stripe count low (three to five per wall) to avoid a dizzying effect.
Key Strengths
- Horizontal stripes make rooms appear wider
- Vertical stripes achieve the look of higher ceilings
- A classic design that fits with rustic wood trim, modern doors, or Scandinavian style
Possible Limitations
- Crooked lines are immediately obvious; use a laser level
- Too many narrow stripes in a very small space can feel busy and overwhelming
6. Textured and Faux Finish Effects
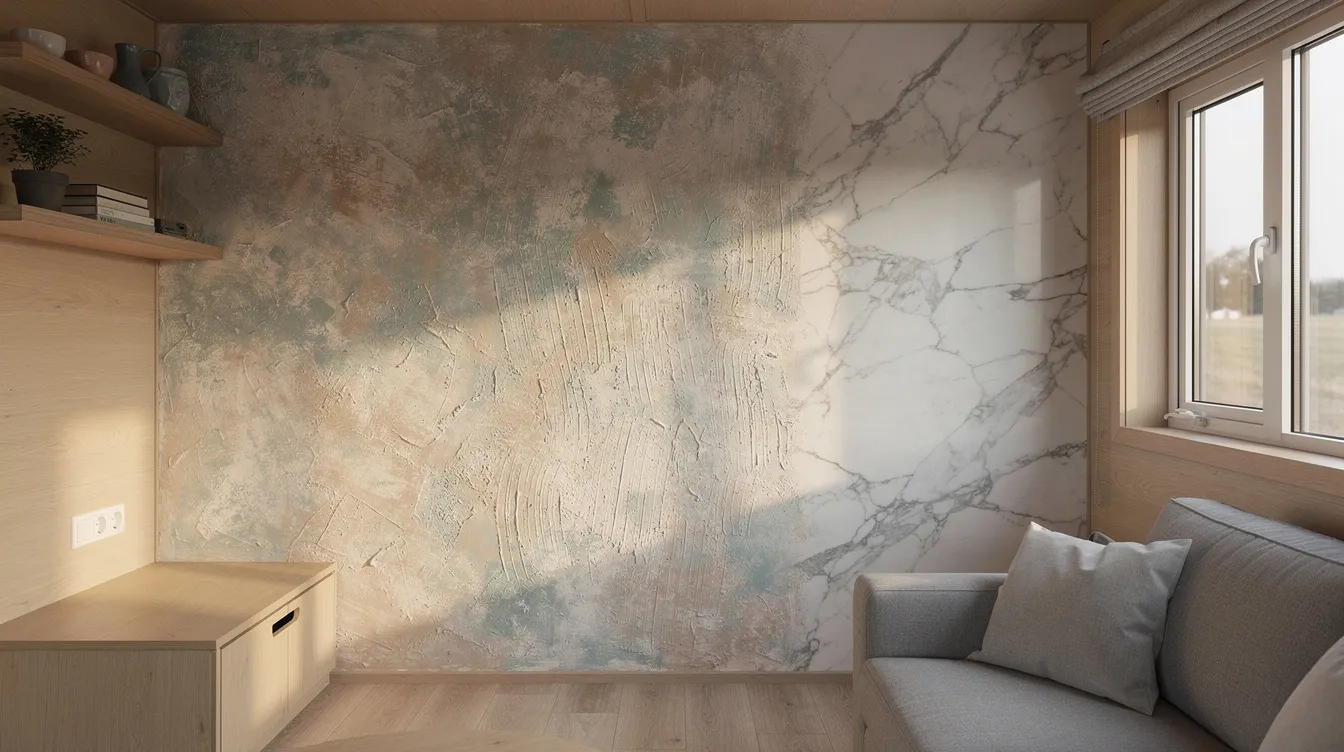
Sponge painting, rag rolling, and faux marble veining add tactile richness to a single wall. These techniques hide wall imperfections common in tiny home construction, where seams in plywood or uneven plaster are a fact of life.
Why It Stands Out
Textured finishes create depth on a flat surface. A faux stone or concrete finish on a bathroom wall reads as high-end without the cost. Smoother faux finishes reflect light and fill a room with soft luminosity.
Best For
Bathroom walls, kitchen backsplash areas, and small accent surfaces behind a window or mirror. Pair with floor-length curtains or a landscape print to complete the look.
Key Strengths
- Hides imperfections that standard flat paint would reveal
- Creates a high-end appearance on a budget
- Adds tactile interest that makes a small space feel layered
Possible Limitations
- Overusing texture on every wall can make a tiny home interior feel cluttered
- Some techniques (marble veining, for example) require practice; test on cardboard first
7. Monochromatic and Tonal Painting
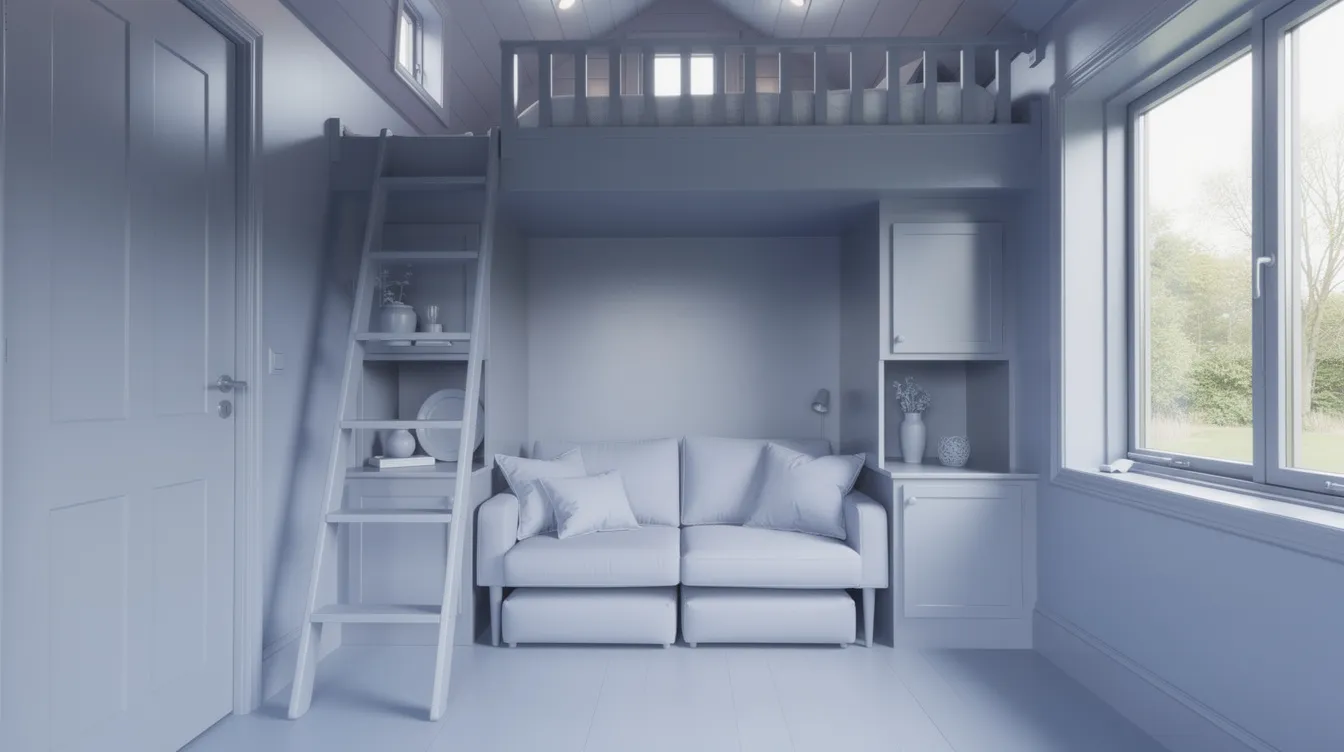
One hue applied across walls, ceiling, trim, and doors. Color drenching creates an uninterrupted flow, making rooms feel larger. Monochromatic paint schemes can eliminate visual clutter in tiny homes by removing the contrast where wall meets ceiling or trim. Painting can eliminate harsh visual boundaries entirely.
Why It Stands Out
When the ceiling color sits within 5-10 LRV points of the wall color, the room’s boundaries dissolve. Soft pastels create a calm atmosphere in small interiors by connecting to the outdoors through window light. Using off-white colors helps reflect light in small spaces while keeping the tone warm. Utilizing the right ceiling color can add perceived height to a room.
Best For
Studio-style tiny homes and minimalist layouts. If you prefer a clean, elegant aesthetic, monochromatic is the fastest way to achieve it.
Key Strengths
- Creates a sophisticated, unified appearance
- Makes spaces appear larger through color continuity
- Easy to coordinate with furnishings; everything matches by default
Possible Limitations
- Can appear bland without texture or varied accents in decor
- Undertone matters: a warm-white with a yellow or pink undertone reads better than stark blue-white in north-facing rooms
Quick Comparison of the Best Wall Painting Designs
Technique | Best For | Skill Level | Colors Needed |
|---|---|---|---|
Light Color Blocking | Defining zones in open layouts | Beginner | 2 |
Accent Walls | Adding pop and personality | Beginner | 1-2 |
Ombre Effects | Spa-like bathrooms and lofts | Intermediate | 2-3 |
Geometric Patterns | Modern, artistic statement walls | Intermediate | 2-4 |
Stripes | Manipulating perceived room dimensions | Intermediate | 2-3 |
Textured Finishes | Adding luxury; hiding imperfections | Advanced | 1-2 |
Monochromatic Schemes | Cohesive, minimalist design | Beginner | 1 |
How to Choose the Right Wall Painting Design for Your Tiny Home
Choose Based on Your Tiny Home Layout
Open floor plans work best with color blocking or monochromatic schemes, because both avoid visual clutter. Compartmentalized layouts with separate rooms benefit from accent walls or geometric patterns in specific zones. Lofted spaces with sloped ceilings suit ombre or gradient techniques that follow the roof angle.
Choose Based on Natural Light Availability
Rooms with large windows and south-facing exposure tolerate deeper, richer color choices. North-facing rooms with limited natural light need paint colors with an LRV above 65 and warm undertones. Warm colors along with natural lighting can make a small space feel inviting.
Choose Based on Your Design Experience Level
If this is your first time painting, stick with two-tone walls or a monochromatic scheme. Both require only straight lines or full-wall coverage. Geometric patterns and ombre demand more practice; rest assured the results are worth it, but test on a scrap board first.
Which Design Approach Is Best for You?
- Choose light color blocking if you need to define spaces in open layouts without building walls.
- Choose accent walls if you want maximum personality with minimal risk; one wall, one bold color.
- Choose stripes if your priority is making rooms appear larger or taller with vertical or horizontal lines.
- Choose monochromatic schemes if you prefer a seamless, minimalist feeling throughout your house.
Final Thoughts
The right wall color and technique can reshape how your tiny home feels without a single structural change. Your best choice depends on layout, natural light, skill level, and personal style. Many of these techniques combine well: an accent wall with a textured faux finish, for instance, or color blocking with a geometric pattern on one section.
Before committing to a full wall, test your chosen color on a 2×2-foot section. Live with it for 48 hours under both daylight and artificial light. For more design inspiration, browse our collection of aesthetic tiny home styles.