
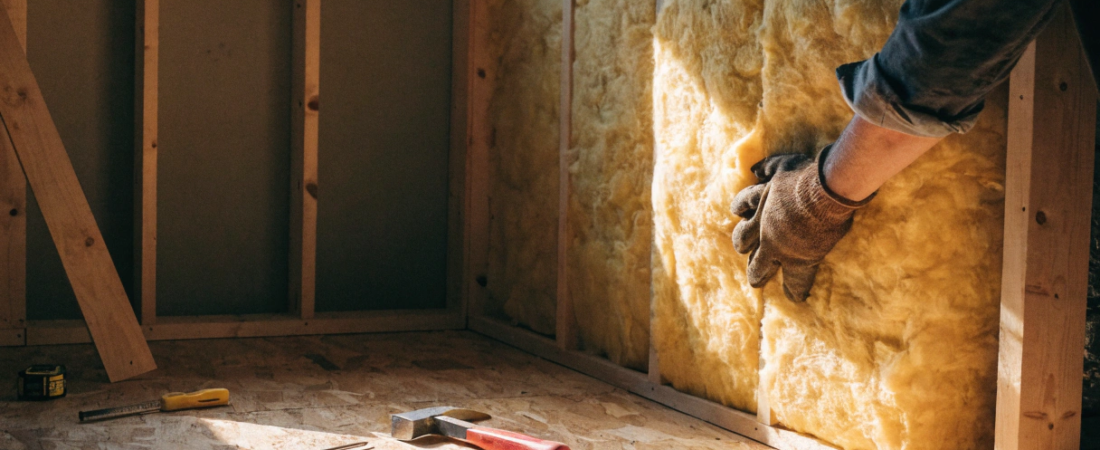
Quick answer: Fiberglass batts tiny house insulation costs $0.30–$1.50 per square foot—making it one of the cheapest options available. It works well in walls and floors with standard framing, but it loses effectiveness in tight spaces and is often outperformed by spray foam or rigid foam board in extreme climates.
Fiberglass batts tiny house builders love because they’re cheap, easy to find, and simple to cut and install. But are they actually the best insulation for your build? Not always. The right insulation depends on your climate, your framing style, and your total budget. Tiny homes have far less surface area than standard houses—but that makes every insulation choice count even more. Get it wrong and you’ll be sweating in summer, freezing in winter, and dealing with energy bills that eat into your savings. This guide breaks down your real costs and options, so you can pick what actually works for your home and your wallet.
- What Are Fiberglass Batts? A Plain-English Explanation
- Why Tiny House Insulation Matters More Than You Think
- Fiberglass Batts vs. Other Insulation Types — Budget Comparison
- Cost Breakdown: What You'll Actually Pay for a Tiny House
- R-Value Comparison: How Does Fiberglass Stack Up?
- Pros and Cons of Fiberglass Batts for Tiny Houses
- Tips for Installing Fiberglass Batts in a Tiny House
- Which Insulation Is Best for Your Budget?
- Make Your Insulation Choice Count
- Frequently Asked Questions
What Are Fiberglass Batts? A Plain-English Explanation
Fiberglass batts are pre-cut sections of spun glass fiber, sold in rolls or pre-cut blankets. They come in standard widths—15 inches for 16-inch stud spacing, 23 inches for 24-inch spacing—so they fit right into your wall cavities without custom cutting.
You’ve almost certainly seen them before. They’re the fluffy pink or yellow material you see in almost every home improvement store. They’re light, flexible, and sold nearly everywhere.
Key specs at a glance:
- R-value: R-3.1 to R-4.3 per inch
- Thickness range: 3.5 to 6.25 inches (standard batts)
- Common use: Walls, floors, and ceilings with standard stud framing
- DIY-friendly: Yes—no special equipment needed
The catch? Fiberglass batts only perform well when installed correctly. Any gaps, compression, or moisture exposure will drop their R-value fast.
Why Tiny House Insulation Matters More Than You Think
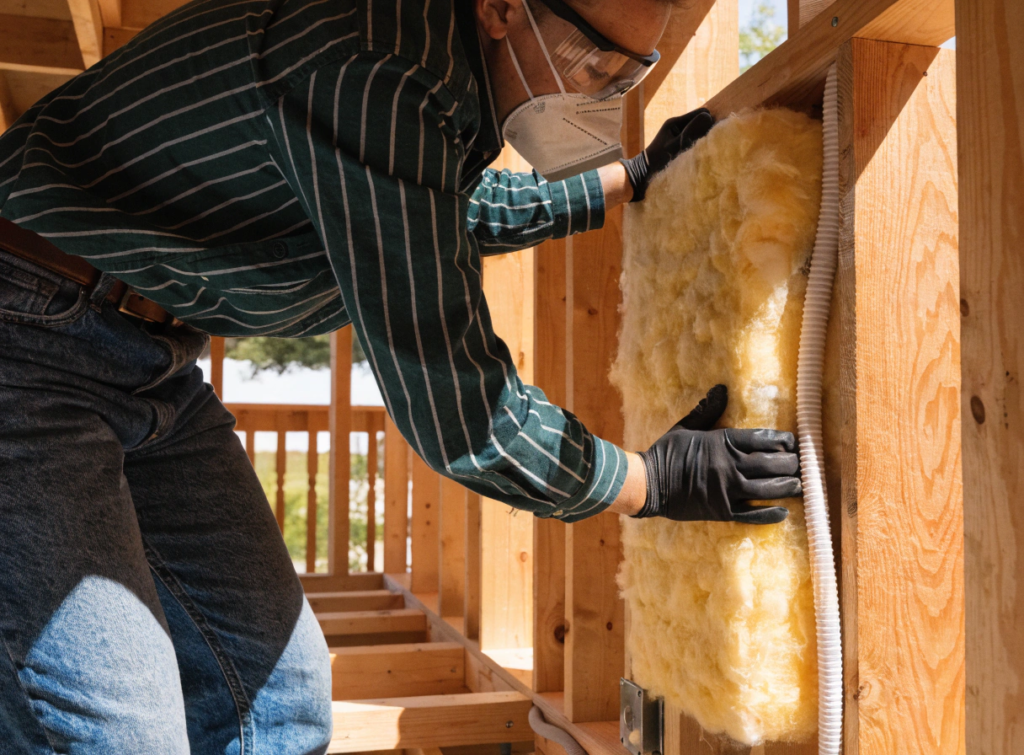
A typical tiny house sits between 150 and 400 square feet. That’s a fraction of a standard home—but it also means you have far less room to manage temperature swings.
Here’s why insulation is critical:
- Thin walls = faster heat loss. Most tiny home walls are 3.5 inches thick (2×4 framing). That limits how much insulation you can pack in.
- High surface-to-volume ratio. Smaller spaces lose heat through walls, floors, and roofs faster relative to their interior volume.
- Climate extremes hit harder. If you’re parking your tiny home in Minnesota winters or Arizona summers, poor insulation turns your home into an oven or a freezer.
- Energy costs add up. Under-insulated tiny homes may need heating or cooling systems that cost more to run—defeating the purpose of affordable living.
Getting insulation right from the start saves money every single month.
Fiberglass Batts vs. Other Insulation Types — Budget Comparison
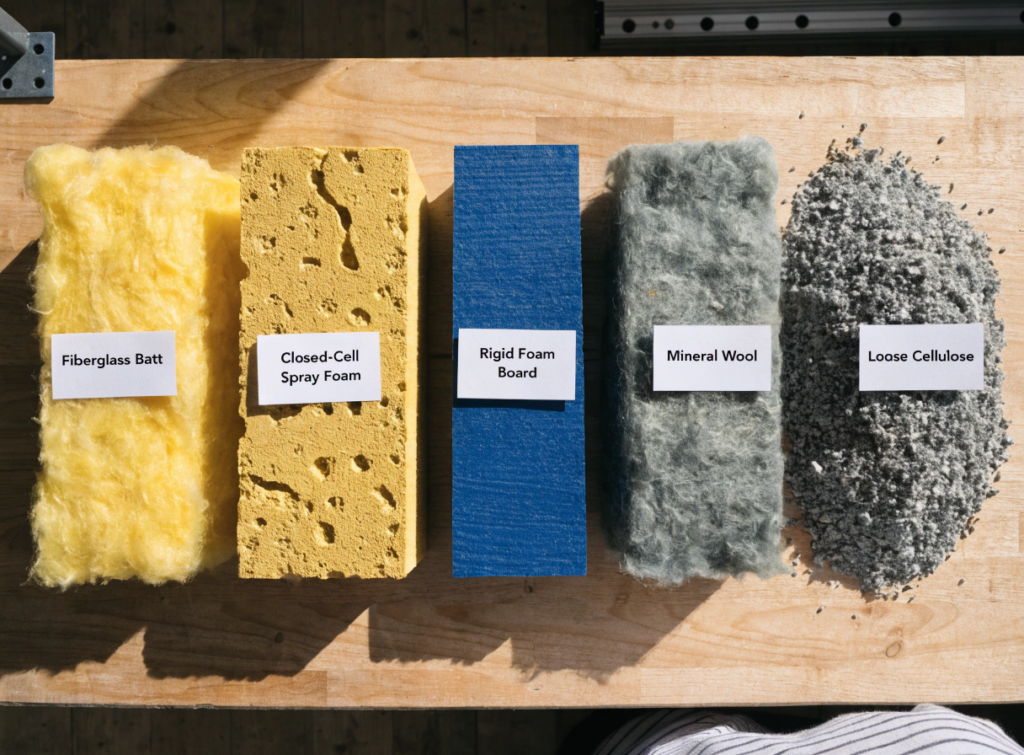
Here’s how the most common insulation types compare for tiny home builds:
Fiberglass Batts
Cost: $0.30–$1.50 per square foot installed
Fiberglass batts are the go-to for budget builds. They’re widely available, require no special tools, and most people can install them over a weekend. They work best in walls and floors with standard 2×4 or 2×6 framing—no air gaps, no moisture exposure.
Best for: Budget builds, mild climates, standard stud framing
Spray Foam
Cost: $1.00–$3.50 per square foot (open-cell); $1.50–$5.00+ per square foot (closed-cell)
Closed-cell spray foam is the gold standard for tiny homes. It seals air gaps, adds structural rigidity, and delivers R-6 to R-7 per inch—nearly double the performance of fiberglass. It’s also a vapor barrier, which matters in humid climates. Open-cell foam is cheaper but less effective and absorbs moisture.
Best for: Cold climates, THOW (tiny homes on wheels), high-performance builds
Rigid Foam Board
Cost: $0.25–$1.50 per square foot (material only)
Rigid foam board—polyiso, XPS, or EPS—is popular for adding insulation to the outside of sheathing or under floors. It doesn’t fill stud cavities the way batts do, but it cuts thermal bridging (heat loss through studs) better than batts alone.
Best for: Adding R-value outside the stud cavity, floor insulation under a trailer
Mineral Wool / Rockwool
Cost: $0.80–$2.00 per square foot installed
Mineral wool batts perform similarly to fiberglass but resist moisture, fire, and mold far better. They’re also denser, which reduces sound transmission—a nice bonus in a tiny space. The downside is cost: mineral wool typically runs 30–50% more than fiberglass.
Best for: Humid climates, fire-resistant builds, sound dampening
Cellulose
Cost: $0.50–$1.50 per square foot installed
Cellulose is made from recycled paper and is one of the most eco-friendly insulation options available. It’s blown in, which makes it great for filling irregular cavities—but tricky to use in open wall framing during a new build. It also settles over time, which can reduce performance.
Best for: Attic spaces, retrofit insulation, eco-conscious builds
Cost Breakdown: What You’ll Actually Pay for a Tiny House
Let’s put real numbers on this. Assume a tiny house with 400 square feet of insulated surface area (walls + floor + ceiling combined).
| Insulation Type | Cost Per Sq Ft | Total Estimated Cost |
|---|---|---|
| Fiberglass Batts | $0.30–$1.50 | $120–$600 |
| Spray Foam (open-cell) | $1.00–$3.50 | $400–$1,400 |
| Spray Foam (closed-cell) | $1.50–$5.00 | $600–$2,000 |
| Rigid Foam Board | $0.25–$1.50 | $100–$600 |
| Mineral Wool | $0.80–$2.00 | $320–$800 |
| Cellulose | $0.50–$1.50 | $200–$600 |
A few things to keep in mind:
- DIY installation cuts labor costs significantly—fiberglass batts are the easiest to self-install
- Spray foam almost always requires a professional, which adds $500–$1,000+ to the job
- Costs vary by region, climate zone, and material availability
- A hybrid approach (fiberglass batts + rigid foam board) can hit a good performance-to-cost balance
R-Value Comparison: How Does Fiberglass Stack Up?
R-value measures how well insulation resists heat flow. Higher is better—especially in extreme climates.
| Insulation Type | R-Value Per Inch |
|---|---|
| Fiberglass Batts | R-3.1–R-4.3 |
| Closed-Cell Spray Foam | R-6.0–R-7.0 |
| Open-Cell Spray Foam | R-3.5–R-3.8 |
| Rigid Foam (Polyiso) | R-5.8–R-7.0 |
| Mineral Wool | R-3.7–R-4.2 |
| Cellulose | R-3.2–R-3.8 |
For a deep breakdown of what R-value you actually need by climate zone—and how these numbers apply to tiny homes specifically—check out this complete guide to tiny house insulation R-values.
Pros and Cons of Fiberglass Batts for Tiny Houses
✅ Pros
- Lowest upfront cost of any common insulation type
- Easy DIY installation—no special tools or training needed
- Widely available at any home improvement store
- No off-gassing after installation (unlike some spray foams)
- Good fire resistance when paired with proper drywall
❌ Cons
- Lower R-value per inch than spray foam or rigid foam board
- Air gaps kill performance—even small installation errors reduce effectiveness
- Moisture is a problem—wet fiberglass loses R-value and can grow mold
- Doesn’t seal air leaks—needs separate air barrier or vapor barrier
- Not ideal for irregular cavities—works best in standard framing only
- Can irritate skin and lungs during installation (wear gloves and a mask)
Tips for Installing Fiberglass Batts in a Tiny House
Good installation makes a huge difference. Here’s how to get it right:
1. Cut batts to fit snugly—no gaps
Any gap between the batt and the stud is a spot where heat escapes. Use a utility knife and a straight edge to get clean cuts.
2. Don’t compress the batts
Squishing fiberglass batts to fit a thinner space actually reduces their R-value. If your cavity is shallower, choose a lower-thickness batt.
3. Add a vapor barrier in humid climates
Fiberglass alone doesn’t stop moisture. In humid or cold climates, add a polyethylene vapor barrier on the warm side of the wall before hanging drywall.
4. Seal electrical boxes and penetrations
Every electrical box and pipe penetration is an air leak. Use foam sealant or acoustic putty pads to seal around them before insulating.
5. Consider pairing with rigid foam board
Adding rigid foam board to the exterior sheathing cuts thermal bridging through the studs. This can boost the effective R-value of your wall assembly by 20–30%.
6. Wear the right safety gear
Fiberglass fibers irritate skin and lungs. Always wear gloves, long sleeves, safety glasses, and an N95 mask during installation.
Which Insulation Is Best for Your Budget?
The honest answer: it depends on your climate and how you plan to use your tiny home.
Choose fiberglass batts if:
- You’re on a tight budget and building in a mild climate
- You’re doing most of the work yourself
- Your walls use standard 2×4 or 2×6 framing
Choose closed-cell spray foam if:
- You’re building a THOW and need a vapor barrier + structural support
- You live in a very cold or very hot climate
- You have a higher budget and want maximum performance in minimal thickness
Choose rigid foam board if:
- You want to boost R-value without touching your stud framing
- You’re insulating a floor over a trailer chassis
- You’re pairing it with fiberglass batts for a hybrid wall system
Choose mineral wool if:
- You’re in a humid or fire-prone area
- Moisture and mold resistance matters more than price
A practical hybrid approach:
Many tiny house builders use fiberglass batts in the stud cavities plus 1–2 inches of rigid foam board on the exterior. This combination balances cost, performance, and ease of installation.
Make Your Insulation Choice Count
Picking the right insulation for your tiny home isn’t complicated once you know your climate zone, your budget, and how much space you’re working with. Fiberglass batts tiny house builders rely on remain one of the most affordable and accessible starting points—especially for first-time builders working with standard framing.
That said, don’t let price alone drive the call. A $200 savings on insulation material could cost you far more in heating and cooling bills over five years. Think about total cost, not just upfront cost.
Start by figuring out the R-value your climate zone requires, pick an insulation type that hits that target within your budget, and plan your install carefully. A well-insulated tiny home stays comfortable year-round—and keeps your energy costs where they belong: low. That’s the real payoff of getting your fiberglass batts tiny house insulation strategy right from day one.
Frequently Asked Questions
Are fiberglass batts good for tiny houses?
Yes—fiberglass batts are one of the most affordable insulation options for tiny houses. They work well in standard stud-framed walls and floors. The main drawback is that they need careful installation to avoid gaps and require a separate air and vapor barrier.
How much does it cost to insulate a tiny house?
Costs range from $120–$600 for fiberglass batts up to $600–$2,000 for closed-cell spray foam, based on a 400 square foot surface area. DIY installation significantly reduces costs for batt-style insulation.
What R-value do I need for a tiny house?
It depends on your climate zone. Cold climates typically need R-13 to R-21 in walls and R-30+ in ceilings. Hot climates can get by with lower values. Check local building codes or consult a climate zone map for your area.
Can I install fiberglass batts myself in a tiny house?
Yes. Fiberglass batts are one of the easiest insulation types to install without professional help. You just need a utility knife, a straight edge, safety gear, and patience. No special equipment or training is required.
What is the best insulation for a tiny house on wheels?
Closed-cell spray foam is widely considered the best choice for THOWs. It doubles as a vapor barrier, adds rigidity to the structure, and delivers the highest R-value per inch—critical when wall thickness is limited.
Is mineral wool worth the extra cost over fiberglass for a tiny house?
Mineral wool costs 30–50% more than fiberglass batts but offers better moisture resistance, fire resistance, and sound dampening. If you’re building in a humid climate or want extra peace of mind, the upgrade is worth considering.