Introduction: Why Mood Boards Matter for Tiny Homes
A mood board is a visual layout combining images and text-a curated collage of photos, color swatches, textures, and labels-that captures the intended look, feel, and design direction of a project before a single nail gets hammered. Creating a mood board is a powerful way to visually communicate a concept or design direction, and for tiny house projects, that communication is non-negotiable. When your entire home fits inside 200 square feet, every material choice, every color, every piece of furniture either contributes to coherence or creates chaos.
Mood boards help visualize abstract ideas effectively. They consolidate different ideas into a shared vision, turning vague notions like “Japandi off-grid cabin” or “Scandi coastal van conversion” into concrete visual references that you, your builder, and your partner can all point at and agree on. Mood boards help align ideas and set emotional tone before execution-which matters enormously when your budget may average around US$21,160 and your footprint around 205 square feet, according to a study of tiny-house villages across the U.S..
In this guide from Explore Tiny House, you’ll learn how to create a mood board-both physical and digital mood board formats-tailored specifically to tiny homes. We’ll cover HDR photoreal imagery, AI powered tools like Adobe Firefly and Firefly Boards, and practical workflows that keep your creative vision grounded in real-world build constraints.
Start with a Clear Tiny House Vision and Constraints
Before you gather images or open any mood board tool, define the project’s goal, audience, and desired feeling. Mood boards help clarify ideas and set project tones, but only if you know what tone you’re setting. Use keywords to define your project goal for the mood board.
Start here:
- Define a specific project statement. Write it in one sentence: “240 sq ft off-grid tiny house on wheels for a couple in Oregon, ready by summer 2027” or “studio-style 8m prefab tiny home in rural UK.” This anchors every decision that follows.
- Choose 3–5 anchor adjectives. These set your visual direction: “warm, minimal, natural light, Japandi” or “industrial, compact, monochrome, urban roof deck.” They become filters for every image you save or discard.
- List hard constraints on the board itself. Max footprint (many tiny houses sit in the 100–400 sq ft range), budget range (use our tiny house cost breakdown as a reference), climate zone (snowy Colorado vs humid Florida), and any towing or road-legal limits for mobile builds.
- Rank your top priorities visually. Storage solutions, sleeping loft vs main-floor bed, work-from-home nook, pet space, or tiny house community living vs solo rural plot-rank them so the board reflects what matters most.
- Include 1–2 site photos. If you know your lot, photograph it. If not, find representative landscape shots (mountain meadow, coastal bluff, suburban backyard) to ground the mood board in reality. Your mood board should answer a specific question about the intended project feel, and that question starts with “where.”
Collect Tiny House Inspiration from Real Projects
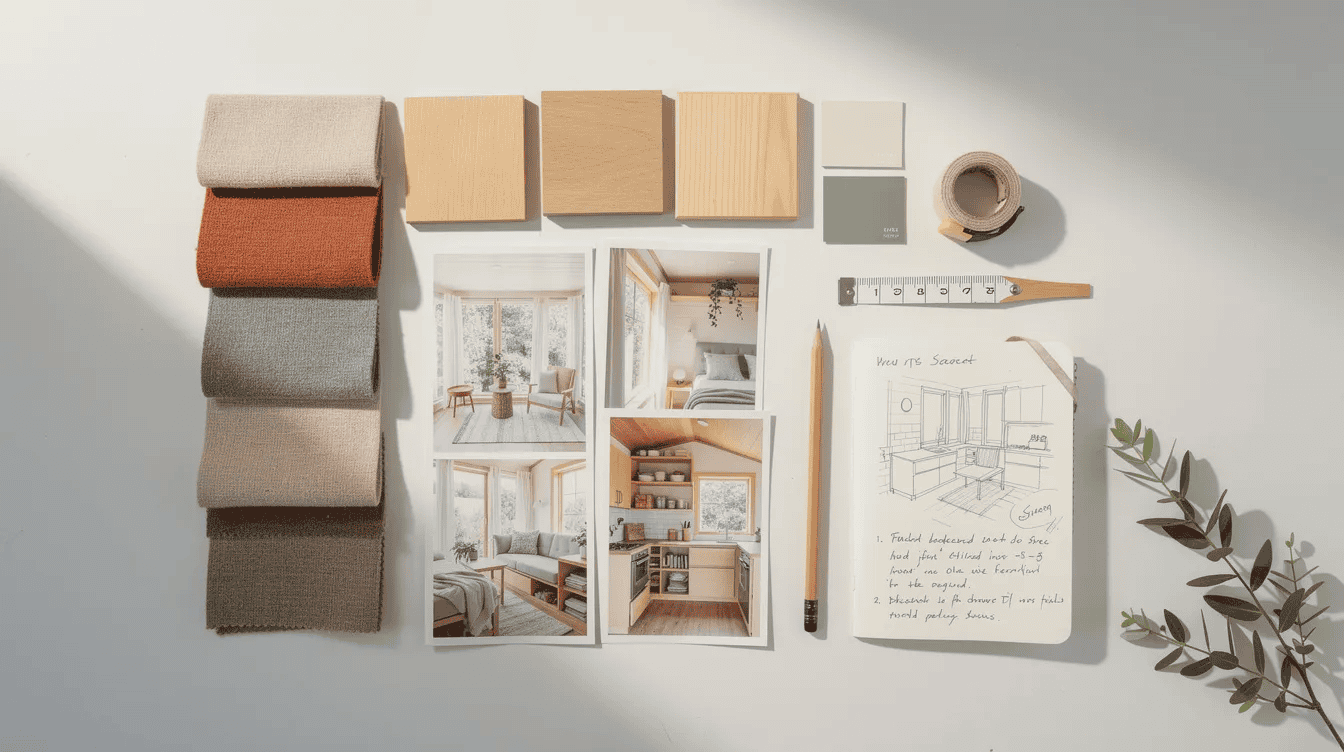
With your vision locked, it’s time to collect images. Gather 30 to 40 diverse reference images from platforms like Pinterest, Instagram, and tiny house galleries before you start curating. More is fine at this stage-you’ll edit down later.
- Mine real tiny house projects. Browse Explore Tiny House’s best tiny house designs gallery, Tiny House Festival photos from 2024–2026, small Japanese homes from the 2020s, and Scandinavian cabin archives. These give you buildable, photographed reality-not just renders.
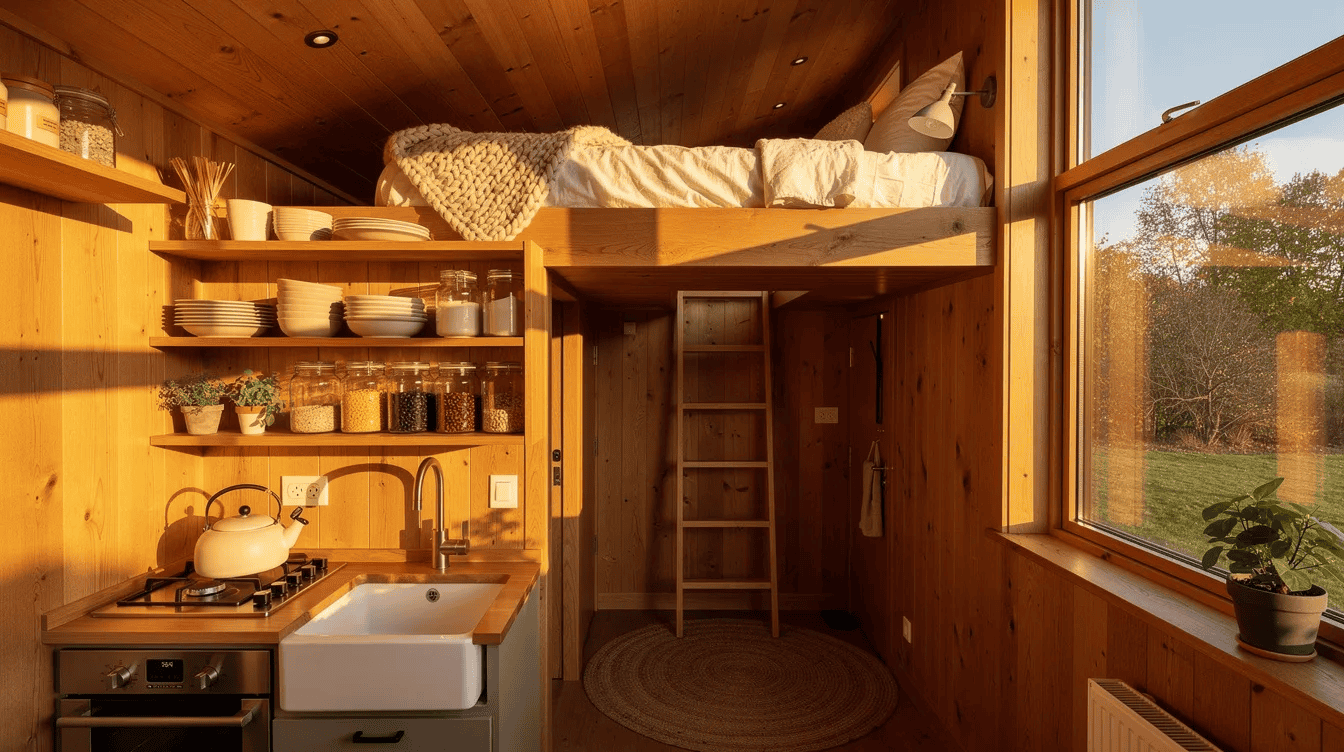
- Save full interior angles. Capture kitchen shots, loft views, bathrooms, exteriors, and storage details. Pay attention to fold-out decks, convertible furniture, and multi-use zones.
- Hunt micro-features. The details make tiny homes work: under-stair drawers, slide-out pantries, pocket doors, ceiling-hung storage, flip-down desks, and Murphy beds. Compile diverse ingredients such as colors and fonts during the collection phase alongside these functional details.
- Mix different aesthetic directions. Try one cluster for “Japanese tiny homes with cedar cladding,” another for “boho coastal skoolie conversion.” Include different types of references such as typography, textures, and patterns-not just room photos. They inspire new ideas by combining various concepts you wouldn’t have paired on your own.
- Use social platforms as feedstock. Pinterest boards, Instagram hashtags (#tinyhouse, #vanconversion, #japanesetinyhouse), and curated galleries on Explore Tiny House all serve as visual inspiration banks.
Choosing Between Physical and Digital Mood Boards for Tiny Homes
Mood boards can be physical or digital collages of ideas. Both have a place in tiny house design, depending on where you are in the creative process.
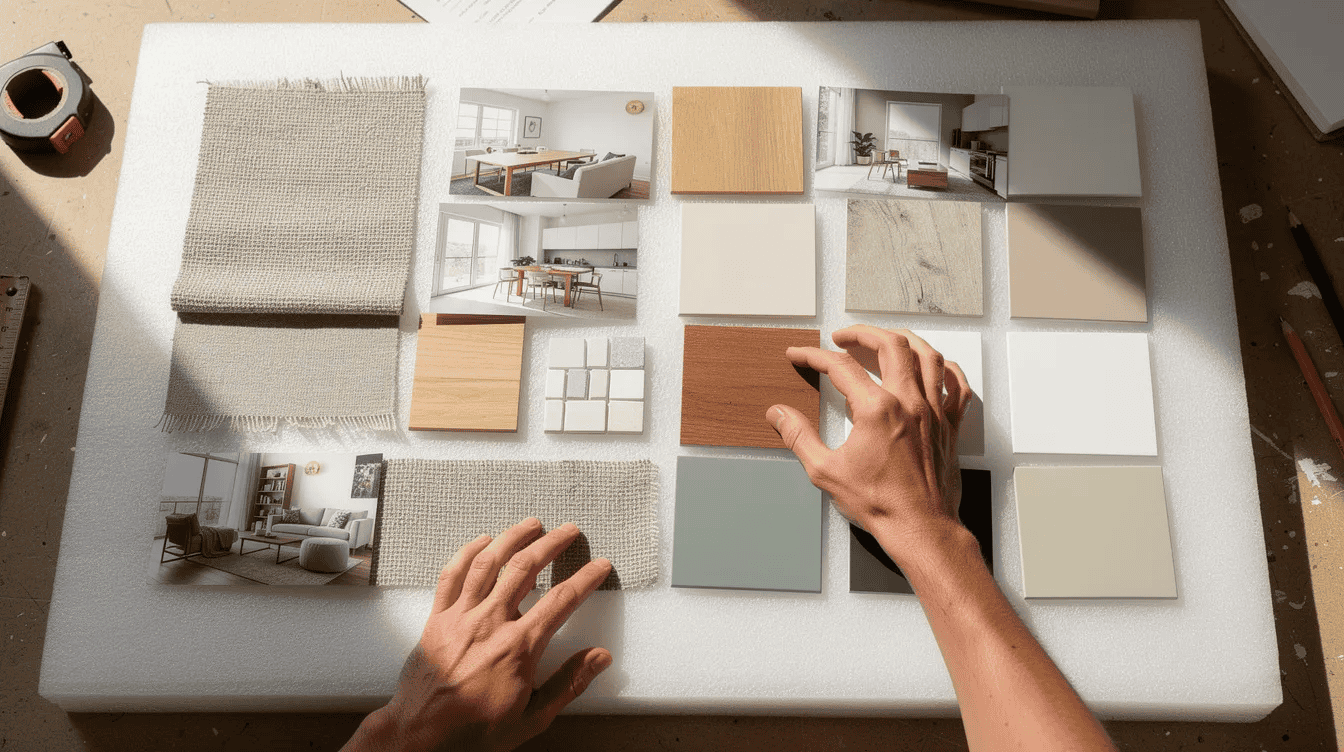
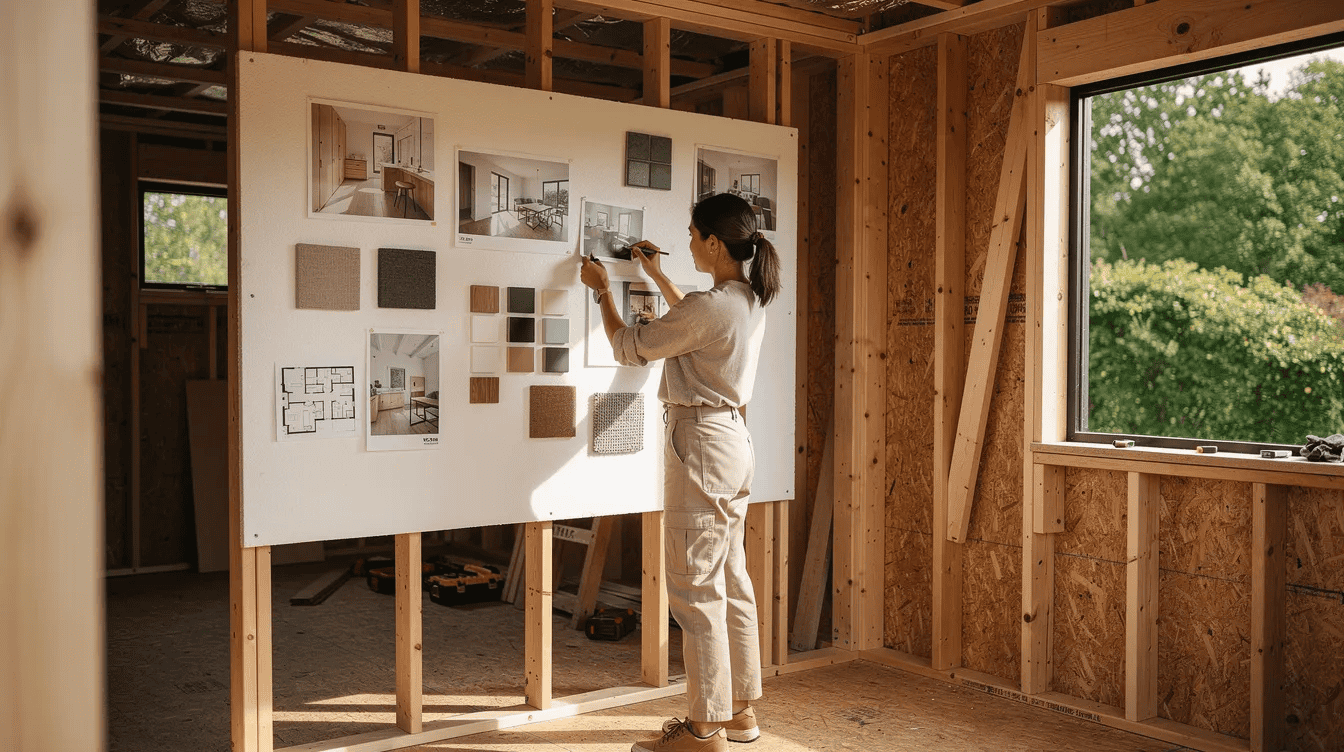
- Physical boards work best on-site. Pin printed photos, fabric swatches, wood chips, tile samples, and paint cards onto foam core. Builders and cabinetmakers can touch materials, compare textures under real light, and feel grain. The limitation: they’re hard to duplicate, share remotely, or rearrange without reprinting.
- Digital mood boards are easy to update, share, and present remotely. You can duplicate versions to test different floor plans, swap color palettes in seconds, and export a PDF for your builder across the country. They’re ideal for exploring multiple built-in furniture concepts within the same footprint.
- Most creative professionals designing tiny houses now start on a digital canvas, then print selected snapshots to bring to hardware stores or build sites. This hybrid approach gives you the flexibility of digital with the tactile reality of physical.
Start digital. Go physical when you’re ready to touch materials.
Set Up Your Digital Canvas: Tools, Sizes, and Structure
Your digital canvas is the foundation of your mood board design. Set it up with intention so the board stays organized as it grows.
- Pick your canvas size. A 16:9 ratio works well on laptops and tablets. An A3 ratio is better if you plan to print. Either way, set dimensions before adding a single image.
- Choose your mood board tool. Adobe Express is browser-based and accessible. Firefly Boards offers an infinite digital canvas with generative AI integration. Canva offers millions of professional design elements with drag and drop simplicity. Miro and Figma work well for team collaboration. StudioBinder integrates mood boards with production workflows if your project involves video documentation. Pick the perfect tool for your workflow-no single best app fits everyone.
- Divide the canvas into zones. One strip for your color palette, one for materials and finishes, one for layout sketches or floor-plan vibes, one for lifestyle images. This structure keeps the visual elements from bleeding into an unreadable collage.
- Add a faint grid or invisible columns to keep design elements aligned and tidy-especially important for detail-heavy tiny house boards where you’re packing many references into limited space.
- Name your file with specifics: “240sqft-Nordic-Cedar-Offgrid-Moodboard-v01-2026.” You’ll thank yourself when you have three versions and a builder asking for “the one with the cedar.”
You can also explore mood board templates and customizable templates within these platforms-they combines templates with blank canvas flexibility, so you’re not starting from zero but aren’t locked into someone else’s vision either.
Build an HDR, Photoreal Tiny House Image Mood Board
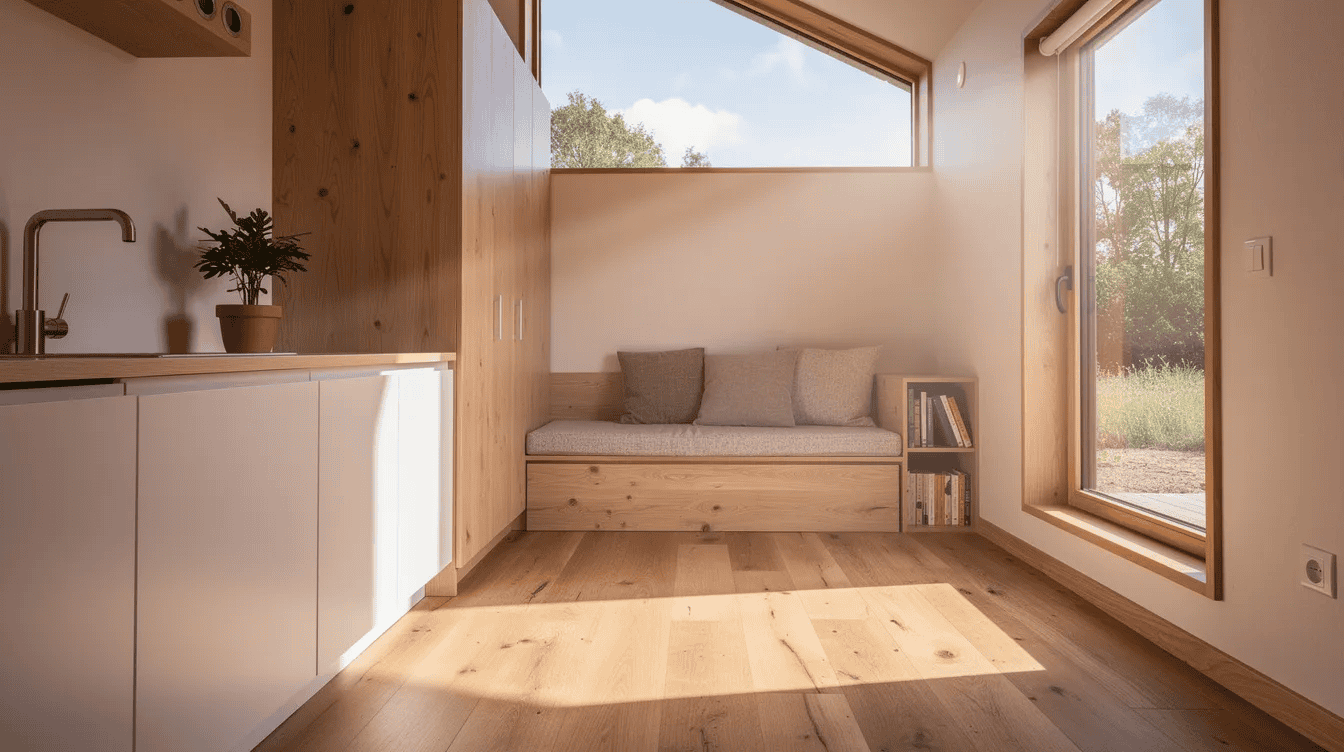
HDR (High Dynamic Range) imaging merges multiple exposures of the same scene-underexposed, properly exposed, overexposed-into a single photo that retains detail in both bright windows and dark corners. In tiny house interiors, where a skylight can blow out while a storage alcove goes black, HDR photography is essential for accurate visualization.
Architectural photographers typically use a fixed aperture of f/8 to f/11 for consistent depth of field, then bracket 3 exposures (-2, 0, +2 EV) for moderate contrast, or 5 exposures when bright windows meet dim interiors. Shutter speed varies-never ISO-to minimize noise across the bracket set.
Here’s how to build your HDR photoreal board:
- Source high-resolution HDR photos from real tiny homes shot at different times of day. Look for interiors showcasing natural light from clerestory windows, skylights, and south-facing glazing.
- Use AI tools like Adobe Firefly to generate images you can’t find: editorial-style, photoreal tiny home scenes from text prompts like “HDR interior of 200 sq ft Japandi tiny house with oak floors and floor-to-ceiling window at sunrise.” These fill gaps in your collection.
- Place 3–5 large hero images as anchors: one main living space, one kitchen, one bathroom, one exterior, one storage vignette. These set the overall concept and creative direction.
- Adjust color correction and exposure so all images share similar lighting and white balance. Mixing golden-hour warmth with cool-blue midday shots creates visual discord that undermines the general theme.
- Aim for a clean, cinematic layout with a mix of wide shots and close-ups that feel like a real HDR photo story of one tiny house-even if the images come from multiple sources. Refine images until they read as a cohesive set.
Curate a Tiny House Color Palette and Color Swatches
Color discipline is critical in a small footprint. Tiny houses get visually cluttered fast-a mismatched countertop or an overly bold ceiling can dominate a 200 sq ft space the way it never would in a 2,000 sq ft home.
- Establish a color palette with 3 to 5 primary and secondary colors. Extract them from a favorite inspiration image using Adobe Express or a color-picker tool. These become your core: primary wall tone, secondary trim/cabinet color, accent, and 1–2 neutrals.
- Add visible color swatches along one edge of the mood board. Label each with hex codes and plain names: warm white (#FAF3E0), soft sage (#B2C9AD), black hardware (#1A1A1A), light oak (#D4A76A). This strip acts as a quick reference during every subsequent decision.
- Try palette themes tied to your tiny house style: “forest cabin” (deep greens, charred wood tones, cream), “desert modern” (sand, rust, terracotta), “coastal tiny” (whitewashed wood, muted blues, stone grey). Browse colorful tiny houses for inspiration beyond neutrals.
- Include 1–2 warning swatches labeled “avoid.” For example, overly dark ceiling paint in a tiny house with 7-foot ceilings will visually crush the space. Flagging these on the board keeps the team honest.
Translate Abstract Ideas into Concrete Tiny House Elements
Mood boards help visualize abstract ideas and concepts-but only when those abstractions get mapped to buildable, buyable things.
- “Calm” → large window over desk + warm wall sconces + textured wool throws + muted color palette. The feeling has a parts list.
- “Cozy” → wood stove or electric fireplace insert + low-hung pendant light + reading nook with cushions + forest interior design tones.
- “Minimal” → flat-front cabinets + handleless drawers + concealed storage solutions + integrated appliances.
- “Off-grid independence” → rooftop solar array + bigger water tanks + composting toilet + battery bank cabinet. These visual ideas ground lifestyle aspirations in hardware.
- Add small text labels directly on or near images naming the concept: “calm lighting,” “hidden storage,” “pet nook under stairs.” This mapping step helps builders and fabricators understand not just the look, but the function and feeling you’re aiming for. Keep labels short, consistent, and in a single clear font-like sticky notes on the canvas.
Use AI Tools to Rapidly Prototype Tiny House Mood Boards
AI helps creative professionals move from a blank canvas to a solid creative concept fast, especially when no real photo of your dream tiny house exists yet. A generative first approach lets you explore visual ideas before committing to expensive material orders or floor plan drafts.
- Adobe Firefly Boards uses generative AI for mood board creation. Specify square footage, style (“Japanese tiny house with genkan entry”), materials (cedar, steel, shoji screens), and lighting conditions (HDR golden hour) in your text prompts. The tool generates editorial-style renders you can clip images from and place directly on your board.
- Miro’s AI tool generates images for mood boards in seconds, useful for quick early concepts and creative exploration. Figma Weave connects multiple AI models for mood board generation, letting you compare outputs from different aesthetic directions side by side.
- Combine stock assets and own assets with AI-generated details. Merge real flooring sample photos (your own images taken at a showroom) with AI-generated full-room renders to test how the material reads in context. Stock photography fills gaps where you don’t have personal shots yet-Adobe Stock and similar libraries offer architectural interior collections.
- Use AI generation to create variations of the same layout: loft vs no loft, galley vs L-shaped kitchen, different color palettes on the same base render. This is visual exploration at speed.
- Curate ruthlessly. AI outputs should match realistic buildability, local codes, and your actual budget. Keep only what’s achievable-label the rest “aspirational” or remove it entirely. The creative process is about selection, not accumulation.
Place 1–2 side-by-side AI image clusters on your board labeled “Option A: Nordic cedar” and “Option B: Dark cabin” to encourage structured comparison rather than scattered browsing.
Organize the Board: Zones for Layout, Materials, and Lifestyle
A successful mood board relies on cohesion rather than chaos. How you organize the board matters as much as what goes on it. Curate and review elements to maintain focus on the theme, and remove items that do not support the core narrative of the mood board.
- Divide the mood board into 3–4 clear zones: layouts and floor-plan vibes; materials and finishes; lighting and color palettes; lifestyle and context (people using the space, tiny house community shots, outdoor deck life).
- Place rough floor plan concepts (hand-drawn sketches or exported from design software) in one dedicated area. These aren’t final drawings-they’re style references showing spatial flow and furniture placement.
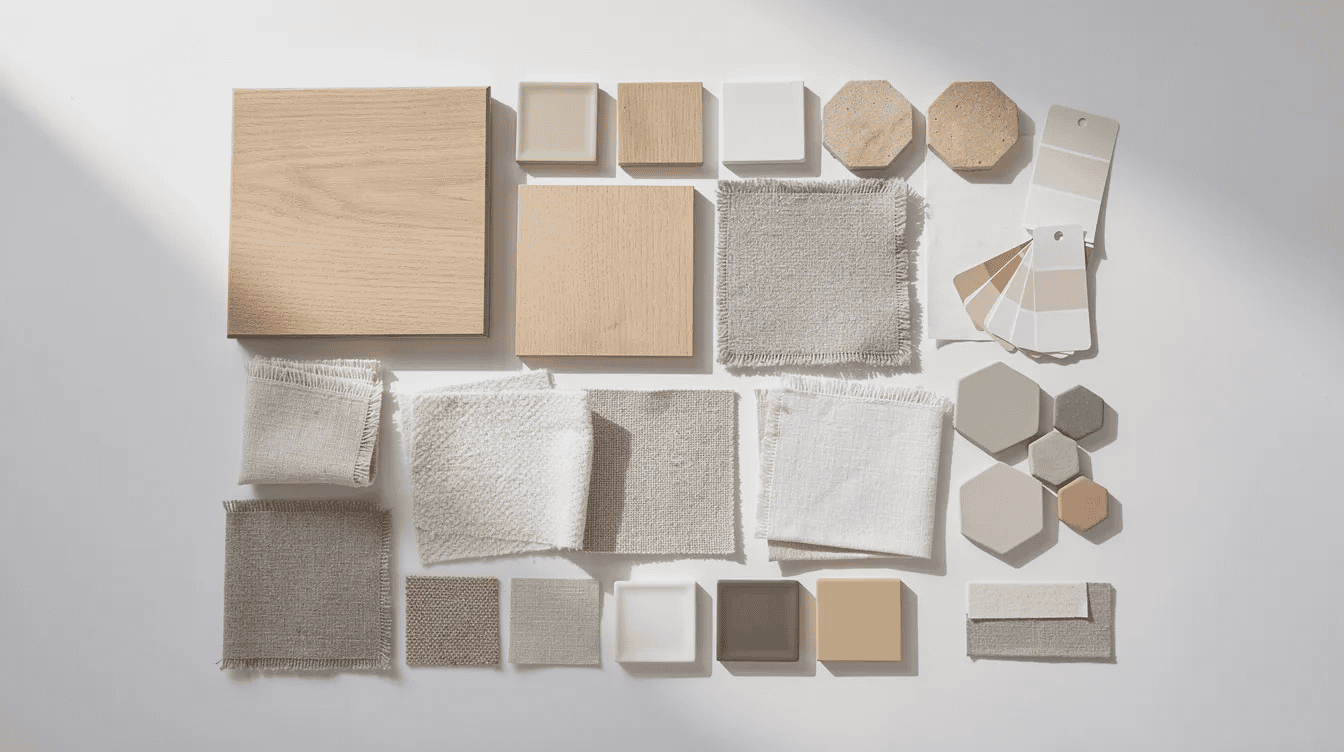
- Build a materials cluster: close-ups of cladding, flooring, countertop surfaces, tiles, hardware, and fabrics-all photographed or rendered in consistent HDR style for realism. Resize elements so they’re proportional to each other and easy to compare.
- Add a lifestyle strip: images of someone working at a compact desk, a dog curled in a nook, kids on a tiny bunk, a couple on a small deck with morning coffee. These keep human scale in mind and prevent the board from feeling like a catalog.
- Leave breathing room. Small whitespace gaps between zones prevent the visual clutter that can overwhelm decisions in tiny home design. This is one new project where less truly is more.
Craft Tiny House Mood Boards for Specific Themes
Creating 2–3 distinct mood boards can facilitate discussions on design direction. Each theme gets its own board-or its own clearly separated column on a shared digital canvas-so you can compare without muddling.
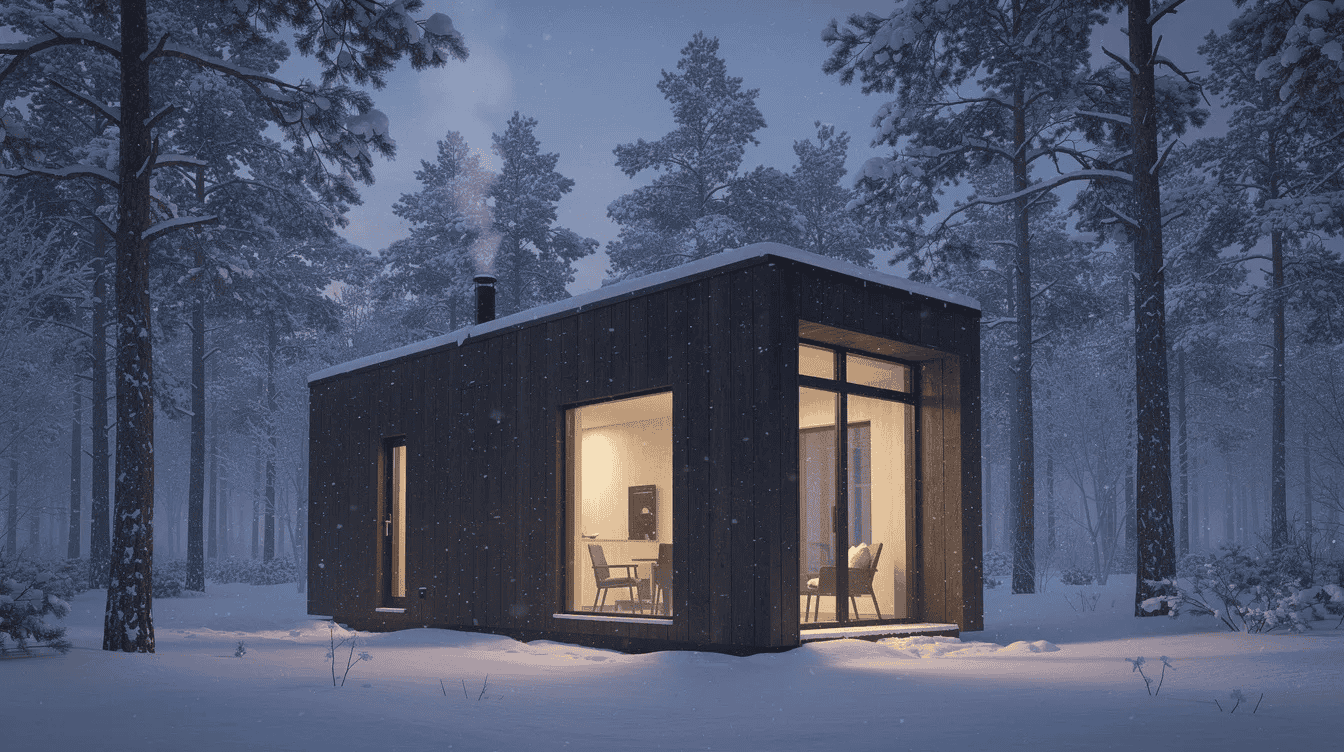
- Off-Grid Mountain Cabin (2026 build in Colorado): Dark exterior cladding, big south-facing windows for passive solar gain, rooftop solar panels, cast-iron wood stove, snow-dusted landscape shots, wool and leather textures, muted evergreen palette. HDR exterior shots showing the cabin against treeline at dusk anchor this board.
- Japanese Tiny House Inspired by Kyoto Machiya: Cedar and shou sugi ban cladding, low platform seating, tatami-inspired textures, shoji screen room dividers, simple black-and-cream color palette. Reference Japan small house design principles and include images of minimal entryways and hidden storage.
- Urban Micro-Loft in a 20ft Container: Industrial finishes, exposed steel framing, concrete-look flooring, one bold accent color (burnt orange or teal), built-in desk and vertical bike storage, city skyline night HDR shots as image backgrounds. Style references lean toward modern tiny house design.
- Family-Friendly Tiny House for Three: Bunk-style sleeping for a child, main-floor queen bed, brighter color palette with durable fabrics, integrated toy storage, convertible dining-and-learning area. Check 2 bedroom tiny house plans for layout ideas to clip into this board.
Create Tiny House Material & Finish Boards
Dedicated materials boards prevent expensive mid-build changes. In a space this small, swapping a countertop or floor finish after installation means ripping out work that’s inches from plumbing, wiring, and cabinetry. Incorporate real material samples for physical or interior projects whenever possible.
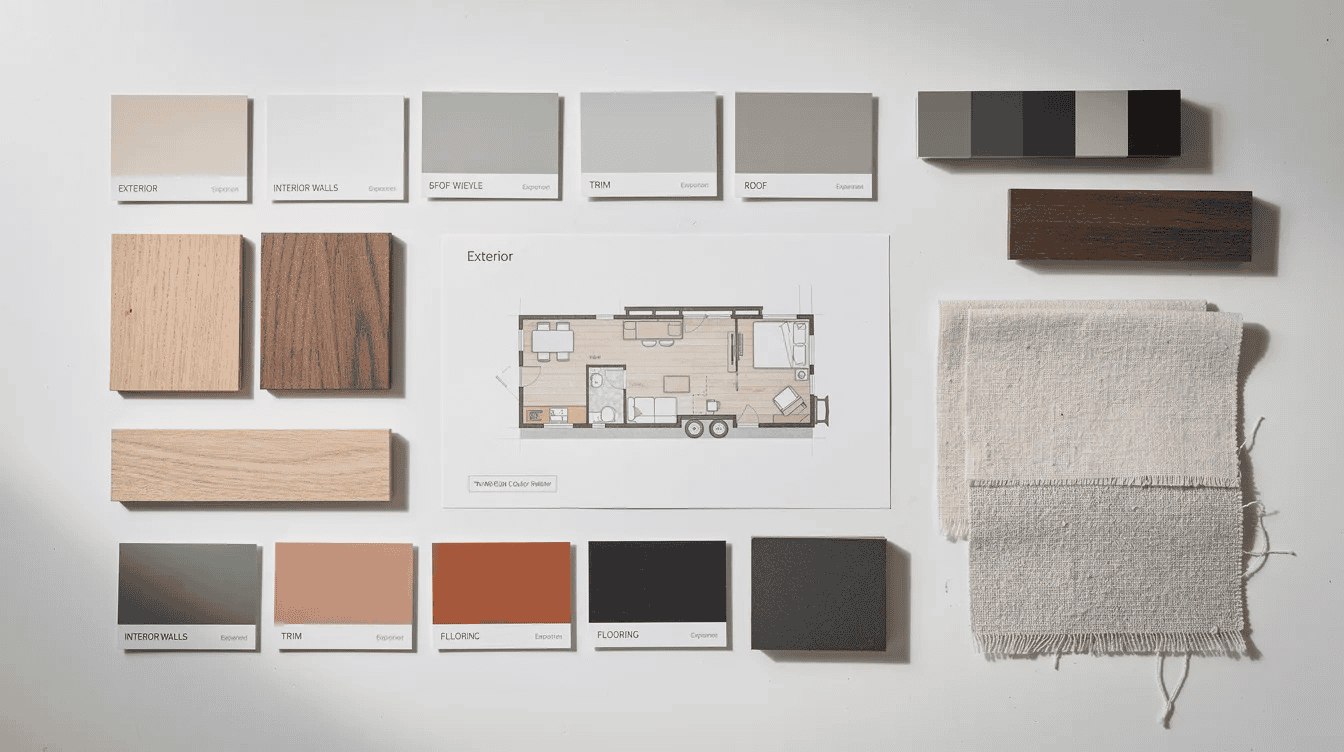
- Select a limited, coordinated set: one main floor finish, one wall treatment, one ceiling look, one countertop, one tile option, and 1–2 accent textures. That’s enough for a cohesive tiny house without material overload.
- Photograph or scan real samples (wood planks, backsplash tile, fabric cuttings) under even lighting or HDR conditions to keep texture accurate on the board. What you see on screen should match what you’ll see on site.
- Group materials as if they were on a tabletop: floor sample in the center, wall and cabinet finishes surrounding it, metal hardware chips on top. This visual collage simulates how materials will meet in real life.
- Label each material with supplier, product name, color code, and whether it’s designated for interior or exterior use. This doubles as a mini spec sheet your builder can reference.
- Export a separate materials board from the main mood board. Print it and bring it to cabinetmakers, tile shops, or appliance showrooms.
Collaborate with Builders, Designers, and Tiny House Communities
Designers use mood boards to align with clients and inspire concepts. Mood boards provide direction for design teams. Mood boards maintain brand consistency across projects-ensuring your tiny house brand identity stays coherent from concept to completion.
- Share your digital mood board with builders or prefab manufacturers via link sharing, PDF export, or a live screen walkthrough. Use collaborative tools for digital mood boards to facilitate remote feedback-this is especially important when your builder is in another state.
- Invite community feedback. Post anonymized board snapshots to tiny house forums, Reddit communities, or local meetups. Tiny house festivals in 2025–2026 are ideal for real time collaboration and in-person reactions to your visual style.
- Use annotation features. Most online mood board tools support comments, pins, or annotations on the digital canvas to discuss specific corners, loft headroom, or window placements. Interior designers and UX designers working on spatial projects use these same workflows.
- Version your boards. Keep v1 as the “dream” mood board, v2 as “budget-conscious,” and v3 as “permitted layout.” Shared libraries of past versions let you trace your design process and explain decisions to future collaborators. Video tutorials on each platform can walk you through version control if you’re new to it.
- Add a small feedback column on the board capturing constraints or ideas raised by builders: “loft headroom issue-check local code,” “plumbing wall must shift 6 inches,” “consider steel frame for next project.”
Turn Your Mood Board into a Tiny House Design Roadmap
Your mood board should lead into tangible next steps, not remain a collection of pretty visual collages. Assess whether the mood board conveys the intended feeling within seconds-if it doesn’t, keep editing before moving forward.
- Extract a one-page summary: chosen color palette, 5 anchor adjectives, target square footage, main materials, and 3–4 must-have features. This becomes the brief for your next project phase.
- Hand the mood board to a designer or architect as a formal brief for floor plans, elevations, and 3D models. The visual direction you’ve established saves hours of back-and-forth because everyone can see what “warm minimalism” actually means to you.
- Reference the board at every milestone: framing stage, rough-in, finish selections, and final styling. This keeps the creative vision alive through months of construction decisions.
- Print an A3 version of the final mood board and pin it in your workshop, on the fridge of your current home, or inside the build trailer. Physical proximity keeps the design direction top of mind.
- Browse Explore Tiny House’s galleries and guides to see real examples where early mood boards closely match finished tiny homes. That alignment is what great mood board work delivers.
FAQs About Creating Mood Boards for Tiny Houses
What should a tiny house mood board include?
A mood board is a visual layout combining images and text. For a tiny house, include HDR interior and exterior photos, color swatches with hex codes, material close-ups, 1–2 rough layout sketches, and lifestyle context images (people, pets, outdoor living). Add your anchor adjectives and hard constraints as text labels directly on the board. Professional templates can provide structure, but the content should be deeply personal to your build.
How many images are ideal on a single tiny home mood board?
A strong mood board typically includes 10 to 15 impactful images-aim for 10 to 15 high-impact images alongside small swatches and labels. Start by collecting 30–40 references, then edit ruthlessly. More than 20 images risks conflicting visual directions, which is especially damaging in tiny homes where coherence is vital. Remove anything that doesn’t reinforce your core creative concept.
Can I create a mood board on my phone or tablet?
Yes. Adobe Firefly released a mobile app in mid-2025 that supports mood board creation on iOS and Android. Canva and Miro also have mobile-friendly interfaces with drag and drop functionality. Capture sample images at showrooms, hardware stores, or tiny house shows and add them to your board immediately-your own images from the field add authenticity no stock photography can match.
How do I avoid falling in love with unrealistic ideas?
Cross-check every inspiration image against your hard constraints: square footage, budget, materials availability, climate, and local building codes. Wide-angle photography can exaggerate small spaces, making a 150 sq ft room look like 300. Always include a “reality check” layer on your board-notes about cost estimates, code requirements, and towing weight limits. If an image doesn’t survive the constraint filter, move it to an “aspirational” folder, not the active board.
How can AI tools help without making the design feel generic?
Use AI to generate images for creative exploration-testing different aesthetic directions, lighting scenarios, and material combinations at speed. But ground your final choices in personal photos, site-specific realities, and real materials you’ve touched and priced. Label every AI-generated image on the board so you know which visual references are renders and which are photographs of actual builds. AI generation accelerates the front end of the design process; human judgment and physical samples close it.
Your tiny house mood board is the first tangible step toward a home that fits your life-not the other way around. It turns abstract ideas into a clear visual direction your builder can follow, your partner can buy into, and you can hold onto through months of construction.
Start today. Open a digital canvas, pin down your 3–5 anchor adjectives, collect your first 30 images, and begin editing toward a great mood board that feels like the home you haven’t built yet. For more inspiration, explore our tiny house galleries, floor plans, and design guides here at Explore Tiny House.