A mood board is a decision-making tool, not just a collection of pretty images. For tiny house owners working within 100 to 400 square feet, it is the difference between a space that feels intentional and one that feels like a storage unit with a bed. This guide walks through every step of building interior decor mood boards tailored to tiny homes, from choosing your first color palette swatch to testing HDR-quality reference photos under real daylight conditions.
Key Takeaways
- A mood board is a visual planning tool that captures the essence of your design concept before you spend money on materials, furniture, or fixtures. In tiny homes, where a single wrong cabinet finish or oversized sofa can wreck the whole room, this planning step prevents costly rebuilds.
- Interior design mood boards hold special power in small spaces because every inch, color choice, and piece of furniture must serve at least two purposes. A well-built board lets you test material combinations and evaluate how elements work together visually before committing.
- At Explore Tiny House, we recommend using high-resolution, HDR-style imagery so your design boards feel like real, lived-in tiny homes rather than flat collages of stock photos.
- You will learn a chronological, step-by-step process for building a mood board specifically for tiny house layouts, lofts, multipurpose furniture, and storage.
- The article ends with a practical FAQ answering common questions about mood boards and tiny house interior design.
What Is an Interior Design Mood Board for Tiny Houses?
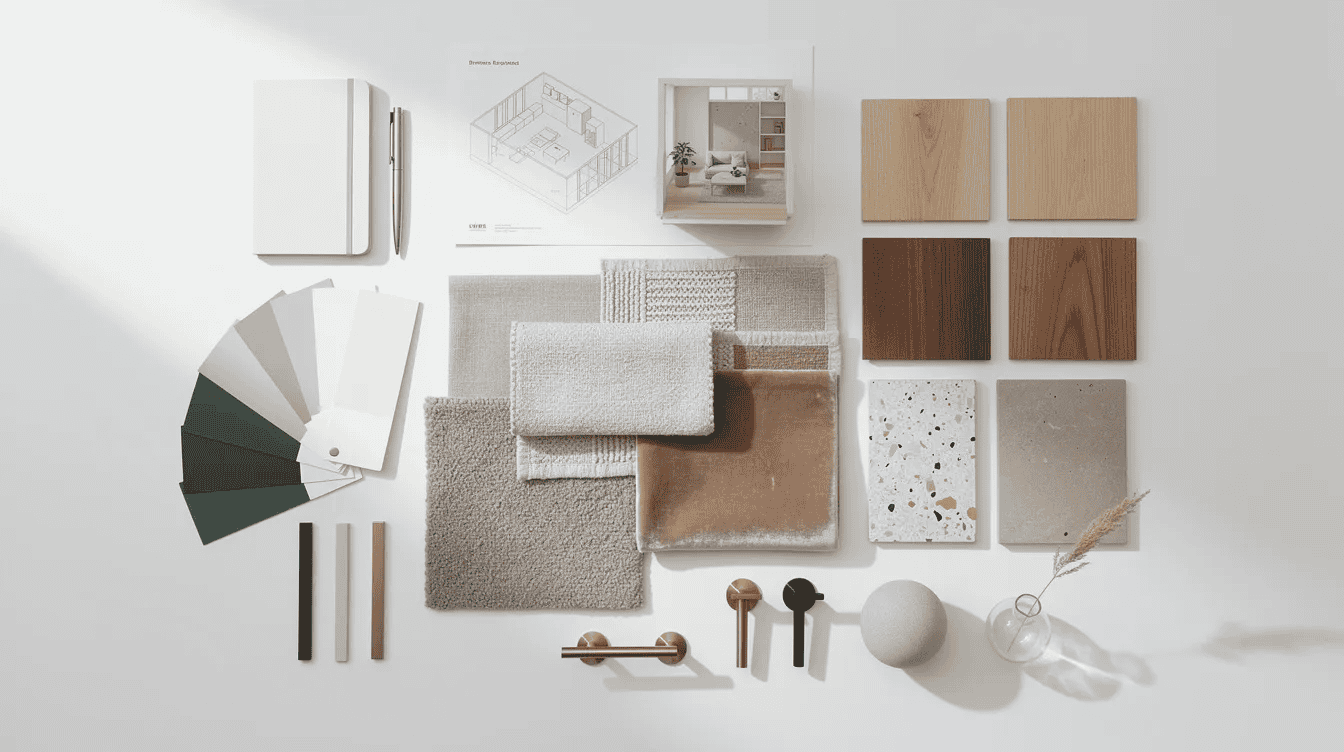
An interior decor mood board is a visual collage for design projects. It gathers images, textures, colors, fabric swatches, and materials into a single surface to describe the atmosphere, look, and feel of a room before anything gets built or bought.
The difference between a general mood board and an interior design mood board for tiny houses comes down to specificity. A general board might collect loose aesthetic ideas. A tiny house board must also address layout, storage solutions, and real products that fit in 100 to 400 square feet. Every item pinned to the board answers a question: does this sofa fit in 8 feet of width? Does this countertop material hold up in a kitchen that doubles as a workspace?
Mood boards establish the visual direction and feel of a space. In a 2,000-square-foot house, a mismatched end table or slightly wrong paint shade disappears among other furnishings. In a 200-square-foot tiny house, that same mismatch dominates the room. Limited square footage, multipurpose rooms, and the high risk of clutter or poor scale make the mood board a survival tool, not an accessory.
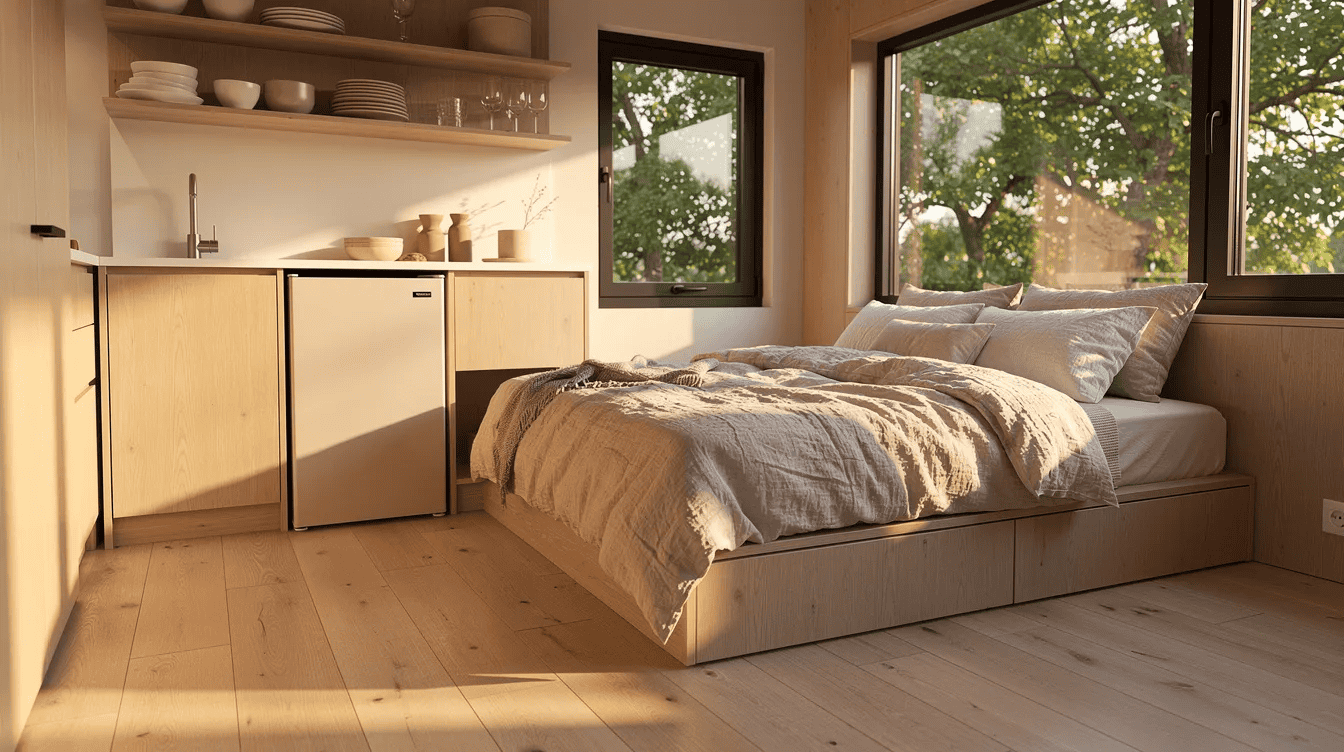
Here is a concrete example. Suppose you are planning a 26 ft tiny house on wheels for full-time living in 2026, and you want a Japandi aesthetic. Your board would include warm off-white walls (something close to hex #F4F1EA), pale oak flooring with visible grain in an oiled matte finish, linen curtains, matte black cabinet pulls, and a single walnut accent table. Each of those selections draws from Japanese minimalism combined with Scandinavian warmth, two traditions that prioritize natural materials, low-profile furniture, and restrained palettes.
Both professional interior designers and DIY tiny house owners use mood boards to align expectations, avoid costly built-in mistakes, and communicate ideas clearly. A mood board helps in communicating personal tastes and specific design expectations to builders, partners, or yourself. Mood boards also assist in defining a clear core style, so you stop second-guessing halfway through construction. Using mood boards can streamline the shopping process for design projects because a cohesive mood board guides purchasing decisions and communicates priorities to anyone working on your project. The board becomes a contract with yourself about what your home will look and feel like.
Key Elements to Include in a Tiny House Mood Board
This section acts as a checklist. Every interior design mood board for tiny spaces should show these elements at a glance.
Color palette
Include a color palette with specific shades to set the tone for your space. For a Japandi tiny house, a strong starting point is four to six swatches:
Swatch | Example | Role |
|---|---|---|
Off-white / warm cream | Benjamin Moore “White Dove” OC-17 | 60% of walls and ceilings |
Soft sage green | Farrow & Ball “Vert De Terre” No.234 | 10% accent (pillows, one shelf) |
Honey oak | Natural white oak, oiled | 30% of flooring, cabinetry |
Matte black | Hardware, window frames | Trim, fixtures |
Warm clay or terracotta | Accent ceramics, one throw | Seasonal decor swap |
Light tones visually expand a tiny house. Dark accent colors, kept to roughly 10% of the palette, create depth without shrinking the room. This follows the 60-30-10 rule that designers use to maintain visual balance.
Flooring and wall finishes
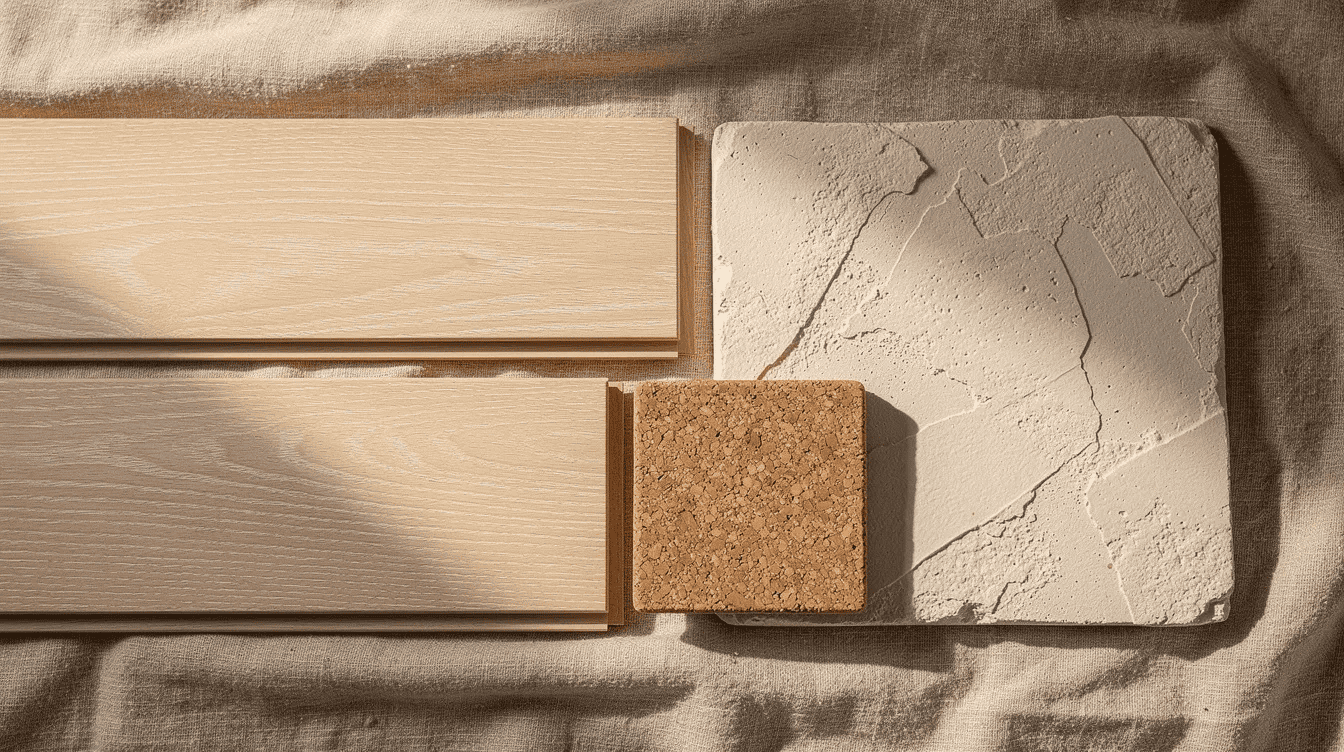
Key components of a mood board include color palette, texture swatches, and inspirational imagery. For flooring and walls, use close-up HDR texture images of options like whitewashed pine, cork floors, shiplap, or Japanese plywood. Photograph or source these in natural light so the grain, color shift, and sheen are honest. Using actual material samples on mood boards helps clarify textures and finishes that photos alone can flatten.
Furniture pieces
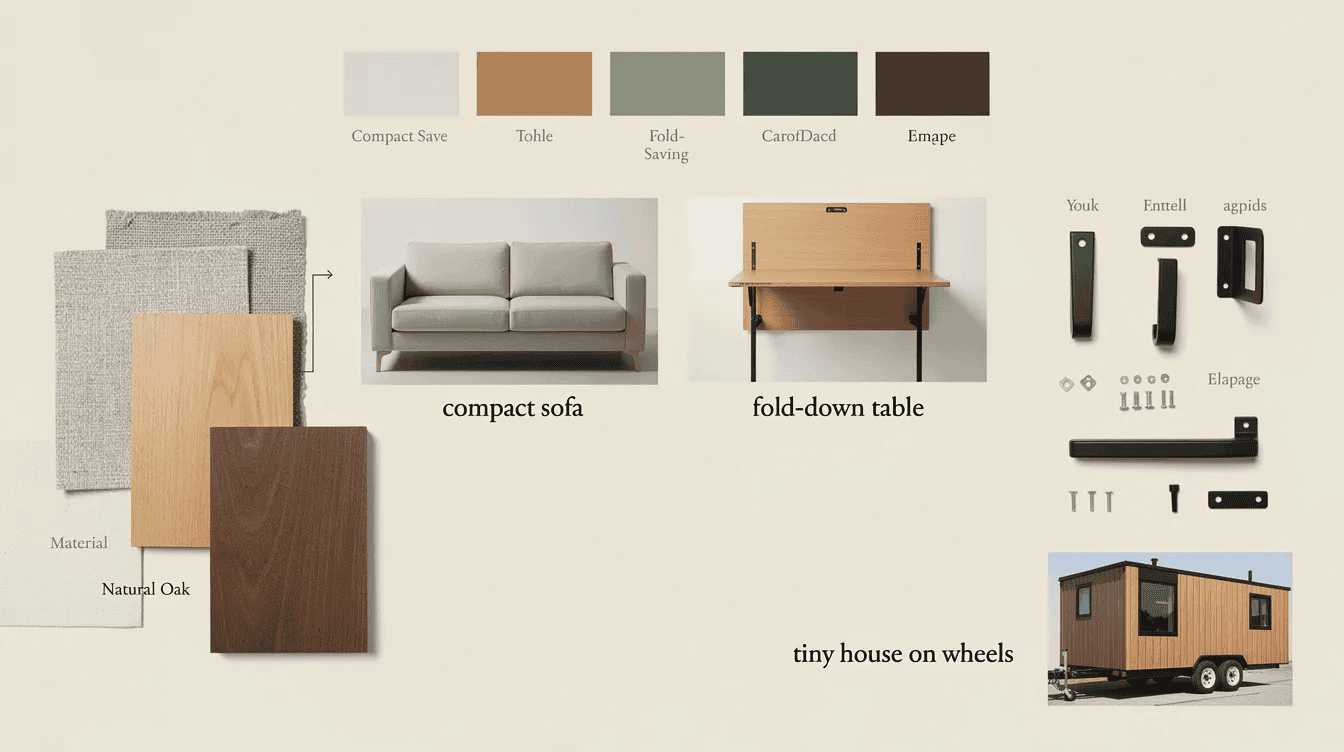
Select three to five key furniture pieces for the board. In a tiny house, these are the items that define both function and aesthetic:
- A sofa with built-in storage, no deeper than 32 inches (~81 cm)
- A lift-top coffee table that converts to a dining or work surface
- A murphy bed or platform bed with drawers underneath
- A fold-down wall desk
Include images of new furniture and decor items as cut-out product shots, ideally with real dimensions noted. A 60-inch sofa, for instance, fits a typical tiny house living zone; a 90-inch sectional does not. Browse tiny house furniture ideas for pieces that solve multiple problems at once.
Storage and built-ins
Show inspiration for under-stair drawers, toe-kick storage in the kitchen, loft shelving, and built-in benches. Each of these should be represented by one or two real photo references, not stock illustrations. Document existing elements like flooring and light fixtures if you are remodeling rather than building new, because these become constraints your board must respect.
Textiles and soft furnishings
Incorporate textures and materials for depth and interest. High-quality HDR images of linen duvet covers (look for fabric weights of 230 to 300 gsm for durability), wool throws, woven jute rugs (low pile, ¼ inch or less, so furniture sits stable), and blackout curtains sized for tiny house windows all belong on the board. Textiles are where a board goes from “flat color exercise” to something that feels livable.
Fixtures and hardware
Faucets, cabinet pulls, wall sconces, and mini split units need visual consistency. Decide early: are you working with brushed brass, matte black, or dark bronze? Mix two metallic finishes at most. Mood boards help test material combinations before you order a brass faucet that clashes with nickel cabinet pulls.
Decor and personal touches
Plants suitable for small spaces (pothos, snake plant, air plants), art prints sized for narrow walls, tiny Japanese ceramics, and compact ambient lighting (paper lantern shades, LED strips at 2700 to 3000K for warm ambiance) round out the board. These objects bring life and personality without taking up counter space.
Exterior thumbnail
Design boards should also include one small thumbnail of the tiny house exterior. This keeps the interior mood aligned with the outside look. If your siding is natural cedar with black window frames, your interior matte black hardware and warm wood tones should read as a continuation of that same story.
Step-by-Step: How to Create a Tiny House Interior Decor Mood Board
This is a chronological guide from first idea to final polished board, written for readers designing or remodeling a tiny house in 2026. The process of creating a mood board includes gathering inspiration and refining selections across several passes.
Step 1: Define your tiny house goals. Before gathering a single image, write three to five priority statements. Are you building for full-time living or a weekend cabin? Off-grid with solar, or hooked up to utilities? Single person or a family of three? These answers shape every material and layout choice. An off-grid project, for example, needs compact high-efficiency appliances and passive solar window placement on the board from the start.
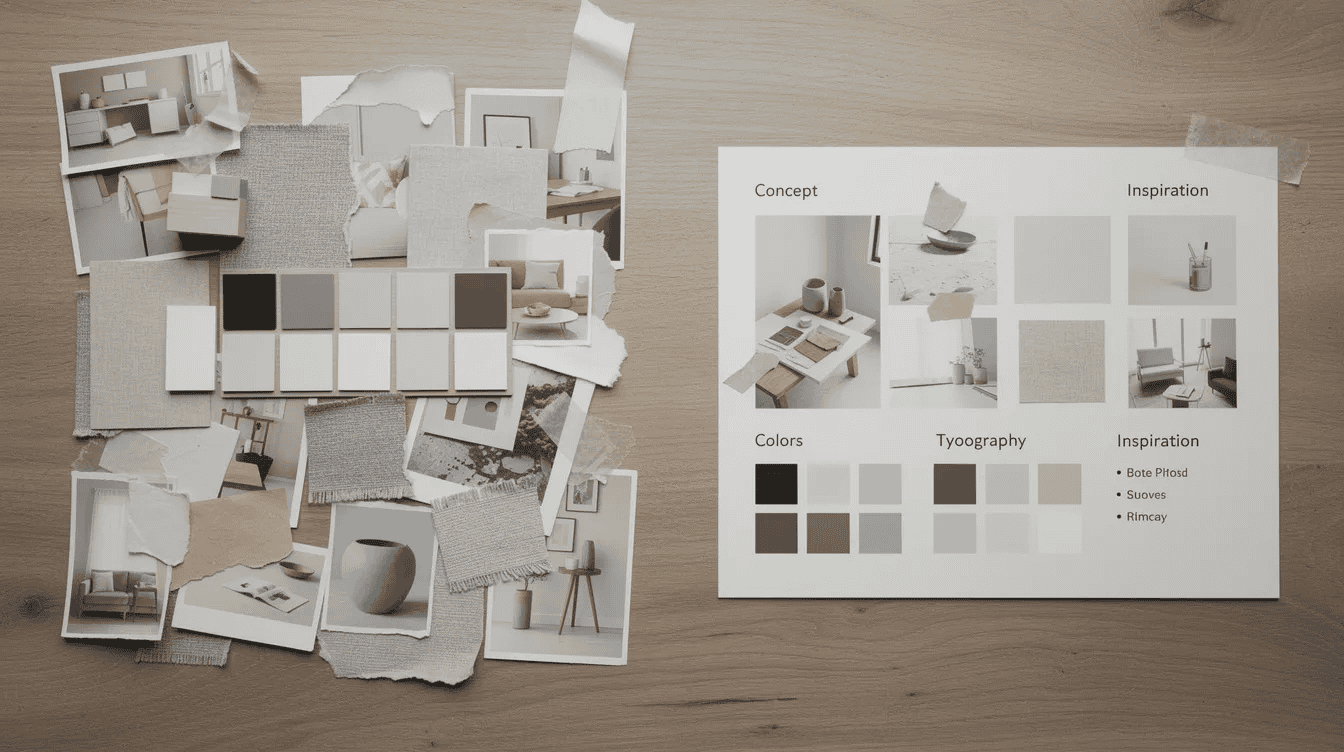
Step 2: Gather inspiration broadly. Use platforms like Pinterest to save and organize images into boards. Pinterest allows users to save and organize images into themed collections; search “tiny Japandi loft,” “compact kitchen storage,” or “tiny house built-in bench” to find relevant pins. Gather inspiration images from magazines or social media, from Explore Tiny House galleries, and from photos snapped on your phone during show village visits or Airbnb stays. Inspirational imagery in mood boards includes photos of architectural styles or lifestyle shots that resonate with how you want your home to feel.
Step 3: Choose a platform. Physical boards can be made using corkboards or poster boards. Tack up printed photos, paint chips, and real fabric swatches. For digital mood boards, Canva offers customizable templates for creating mood boards, and Morpholio Board allows users to create digital mood boards easily on a tablet. Adobe Photoshop provides advanced editing capabilities for mood boards if you want pixel-level control over layouts. A simple Google Slides canvas sized to 1920 x 1080 pixels also works.
Step 4: Source high-quality images. Use high-resolution, HDR-quality room photographs and product images from reputable brands. HDR captures a wide range of light values, showing bright sun through windows and deep interior shadows simultaneously. When every image on your board shares this quality level, you can better predict how finishes will look in a real tiny house with limited windows.
Step 5: Build structure first. Place flooring, wall colors, and large furniture images on the canvas before layering in smaller decor, textiles, and storage snapshots. Define an overarching theme for your mood board at this stage. If your theme is “warm minimal zen,” every image added from here must pass that filter.
Step 6: Keep it realistic. Include at least some items with real 2026 prices and dimensions. A 24-inch apartment stove, a 60-inch sofa, a 30-inch pocket door. Mood boards can identify must-have items and nice-to-have elements for budgeting. Mark each as “must-have” or “nice-to-have” directly on the board.
Step 7: Annotate zones. Add labels and short text notes directly on the design boards. Mark areas like “sleep loft,” “fold-down dining for 4,” or “gear storage under built-in sofa.” Sketches of rough floor plan zones placed beside the imagery connect the look to the layout.
Step 8: Edit ruthlessly. Editing is crucial to a mood board to achieve a coherent design direction. Remove any image that doesn’t match the core color palette, introduces a clashing texture, or makes the space feel crowded. Effective mood boards keep designs focused and prevent visual clutter. A board for a 200 to 300 square foot home should contain no more than 15 to 20 images total.
Step 9: Review and refine. Review and refine your mood board to ensure it communicates your vision. Share it with a friend, partner, or the Explore Tiny House community and ask: can you identify the mood in under 10 seconds? If someone says “cozy minimal cabin” and that matches your intent, the board is working. If they say “I’m not sure,” prune further.
Digital vs. Physical Mood Boards for Tiny Spaces
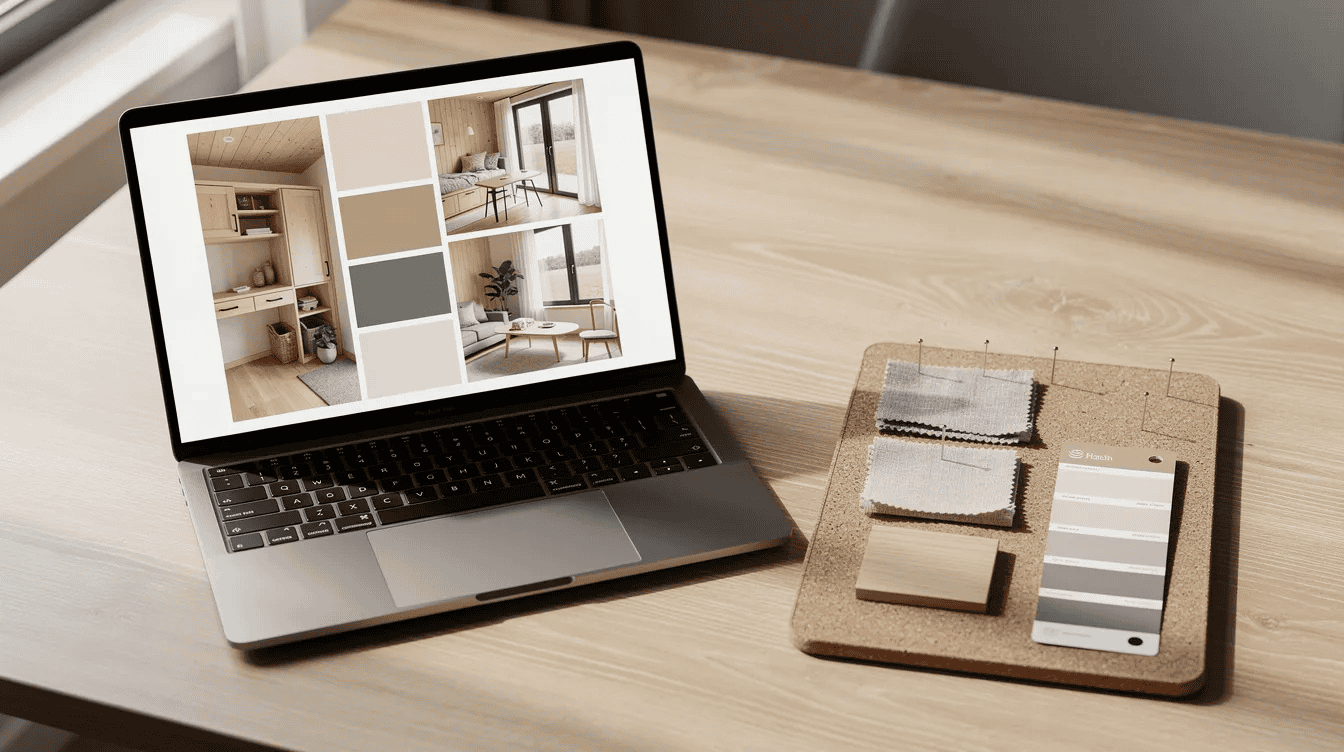
Digital mood boards are easy to duplicate, share with interior designers and builders across state lines, and quickly swap products in and out. If you are ordering a prefab tiny house from a builder in another state, a digital board sent as a PDF or shared Canva link becomes the primary communication tool. Remote collaboration on finishes, colors, and layouts happens faster when everyone can watch changes in real time.
Physical boards solve a different problem. They let you touch real materials. When you visit local showrooms, you can pin actual paint chips from brands like Benjamin Moore, test linen against daylight in your parking spot, and hold a cabinet door sample next to your flooring choice. Using actual material samples on a physical board helps clarify textures and finishes that screens distort; a matte ceramic tile and a glossy one look identical on a laptop but feel completely different in your hand.
The best approach is a hybrid. Keep a digital master mood board as the shareable, editable reference. Alongside it, maintain a small physical tray of samples: a countertop offcut, a flooring plank, a cabinet door sample, and an upholstery swatch. These selections should exactly match the images on your digital board so there is no gap between what your team sees on screen and what the builder installs.
Using Mood Boards to Plan Real Tiny House Layouts and Photo-Realistic Scenes
A mood board that looks beautiful but ignores the floor plan is decoration, not design. The board should directly inform layout decisions: where to place a loft ladder, how much kitchen counter you need, and how traffic flows in an 8-foot-wide space.
Linking board to floor plan. Place a small, labeled sketch of your tiny house floor plan next to the mood board. Use color codes or numbered arrows to match zones to their imagery. Zone 1 (kitchen, north wall) maps to the oak cabinet fronts, matte black pulls, and butcher block counter on the board. Zone 2 (loft bedroom) maps to the linen bedding and walnut accent shelf. This step transforms a mood board from an aesthetic exercise into a spatial plan.
Separate but coordinated zone boards. For complex builds, create a mini mood board for each zone: entry and gear storage, kitchen, bathroom, loft bedroom, and outdoor deck. Keep the color palette and finishes consistent across all of them. The patterns, textures, and materials should flow from one zone to the next without jarring transitions.
Testing daylight with HDR images. Choose reference photos shot in natural light at different times of day. A pale oak floor under harsh afternoon sun reads differently than the same floor under soft morning light. In a tiny house with limited windows, these shifts are amplified. HDR mood board images capture both bright window glare and interior shadow detail, letting you predict how matte finishes, dark cabinets, or a bold accent wall will actually look.
Consider a concrete scenario: a 24 ft off-grid cabin on wheels with a south-facing window wall. Your mood board for this build would prioritize glare-friendly matte finishes (no high-gloss countertops reflecting midday sun), thermal curtains in earthy tones, and self-sufficient system components like a compact solar panel array visible in the exterior thumbnail.
Sustainability on the board. Include reclaimed wood samples, low-VOC paint chips (lime wash or clay-based paints over standard latex), compact high-efficiency appliances, and solar-friendly roof layouts. These reflect both Explore Tiny House’s focus on sustainable living and a growing 2025-2026 trend toward material honesty. House of Nuances notes that solid wood over veneer, natural oil finishes, and reclaimed timber are increasingly treated as baseline expectations rather than premium upgrades.
From mood board to 3D visualization. Some interior designers and builders can turn your mood boards into 3D renders that let you walk through the space virtually. This adds cost (typically $500 to $2,000 for a full tiny house render), and for many DIY projects, a well-constructed mood board paired with a simple floor plan is enough. The 3D route makes sense if you are building custom cabinetry or unusual loft configurations where scale errors are expensive to fix.
FAQ: Tiny House Mood Boards and Interior Decor
These are practical questions tiny house readers ask most often after creating their first mood board.
How detailed should my interior design mood board be for a tiny house build?
For a new build, the mood board should show specific colors, finishes, and at least the main furniture pieces. You do not need every accessory or decorative object. Focus on elements that are hard or expensive to change later: flooring, wall finishes, cabinetry material, countertop, and any built-in furniture. Hardware finishes (pulls, faucets, light fixtures) should also be locked early because replacing them after installation means patching holes and redrilling. Accessories like throw pillows, plants, and art prints can remain flexible.
Can I use a single mood board for both interior and exterior of my tiny house?
Yes. Many owners prefer one unified mood board that covers siding color, roof material, window frame finish, and the main interior palette. This ensures the tiny home feels cohesive inside and out. Include the exterior as a thumbnail or a dedicated corner of the board rather than letting it dominate. If your Scandinavian tiny home has dark charcoal vertical siding, your interior matte black trim and warm wood tones should read as a natural extension of that exterior.
What if my partner and I have different styles for our tiny home?
Create two separate mood boards first, one reflecting each person’s vision. Then build a third “blended” design board that combines overlapping colors, textures, and materials. Where tastes diverge (one person wants industrial metal shelving, the other wants warm wood), the blended board forces a conversation about which elements matter most. Use that merged board as the guide for shared decisions. In a tiny house, there is no room for two competing aesthetics; the blend has to feel like one voice.
How often can I change my mood board during the design process?
Refining the board several times in the early creative process is normal and healthy. Experiment with swapping accent colors, testing different wood tones, or trying a bolder textile. But recommend “locking” the core color palette, flooring, and major furniture choices before ordering materials or starting construction. After that lock point, changes to the board should only affect accessories and soft furnishings, the items you can swap for under $200 without structural consequences.
Do I need professional interior designers to turn my mood board into a real tiny house?
Many people build or renovate tiny homes themselves using only a strong mood board plus basic floor plans. A mood board that includes real dimensions, annotated zones, and tested material samples gives a DIY builder confidence to order and install. That said, working with designers or experienced tiny house builders prevents costly errors with custom cabinetry, plumbing rough-ins for compact bathrooms, and multi-use furniture that requires precise tolerances. If your budget allows, hire a professional for the built-in elements and handle the styling yourself using your board.