

A tiny house wet bathroom can be the perfect solution for squeezing a fully functional bathroom into an impossibly tight footprint. But getting it right requires more than just waterproofing a small room and calling it done. This guide walks you through layout, materials, costs, ventilation, and the honest trade-offs so you can decide whether a wet bath belongs in your tiny home.
Key Takeaways
- A tiny house wet bathroom turns the entire room into a waterproofed shower area where the toilet, sink, and shower share the same drain and floor. It can shrink a bathroom footprint down to roughly 4′ × 4′ or 5′ × 5′, freeing up precious square footage for your kitchen, living area, or storage space elsewhere in the house.
- The biggest advantages are space savings, simpler plumbing layouts, and easier accessibility thanks to a curbless floor. The biggest drawbacks are constant dampness, more frequent cleaning, and a real risk of mold issues if waterproofing or ventilation falls short.
- Success depends on three non-negotiables: high-quality waterproofing membranes on every surface, a strong ventilation system rated for at least 50 CFM, and compact fixtures built to handle daily water exposure. Skimping on any of these turns a clever design into an expensive repair.
- This article covers concrete 2024–2025 price ranges (DIY builds from about $1,200 to $5,000+), layout dimensions, fixture recommendations, and styling ideas so you can plan a wet bathroom that actually works for your lifestyle.
What Is a Tiny House Wet Bathroom?
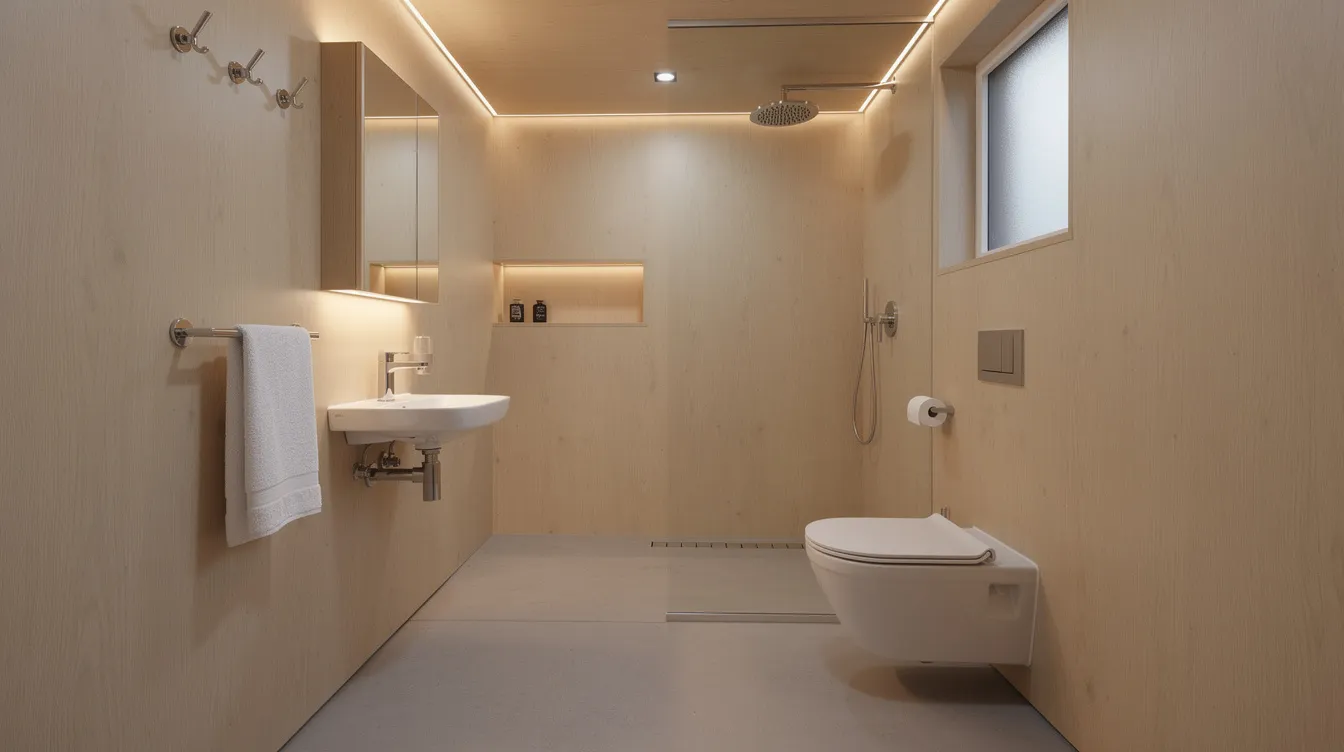
A wet bathroom is a space where the shower, toilet, and sink all share one waterproofed floor and wall zone. There is no separate shower stall, raised pan, or glass corner shower enclosure. Instead, a wet bathroom turns the entire space into a shower area, with the floor sloped toward a central or wall-adjacent drain.
In the tiny house world, this concept is sometimes called a “wet bath,” especially in RVs, skoolies, and tiny houses on wheels. It differs from a larger wet room in a conventional home mainly in scale: you are compressing every bathroom function into as little as 12 to 25 square feet.
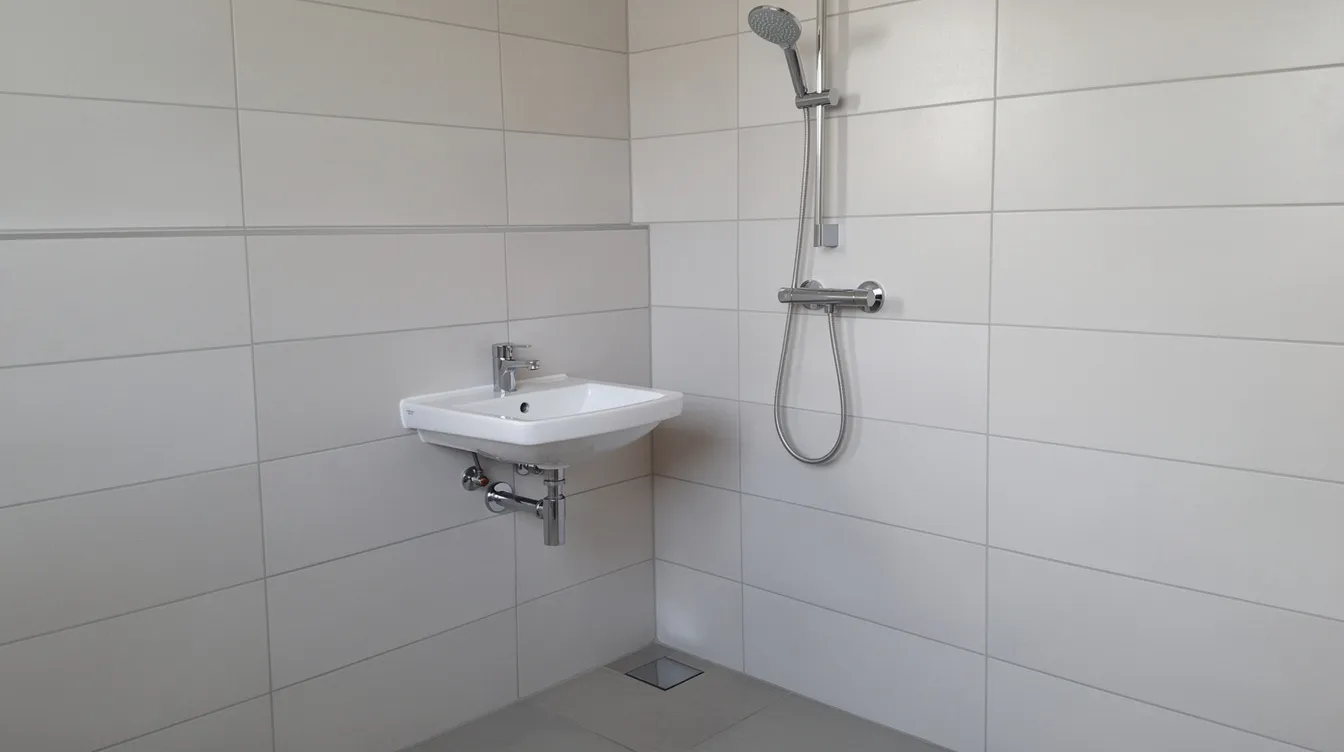
Typical fixtures include a handheld shower head mounted on one wall, a compact toilet positioned in the splash zone, and a small sink (often wall-hung or corner-mounted). Every surface must be waterproof or highly water-resistant since the entire bathroom gets wet during each shower.
Use cases cluster around mobile tiny homes, vans, and ultra-small cabins under 200 square feet, especially for people pursuing self-sufficient, off-grid tiny homes. By contrast, a traditional tiny house bathroom attempts to preserve a dry zone with a dedicated shower enclosure, a separate area for the toilet, and sometimes even a small tub or combination shower and bathtub unit to save space.
Is a Wet Bathroom a Good Idea for Your Tiny House?
A wet bathroom is a great fit when space is extremely tight or when the tiny home is used part-time for weekends and travel, but it still has to coordinate with your overall tiny house design and floor plan. For full-time living, it works well only if designed with excellent ventilation, proper drainage, and waterproof storage solutions.
Who tends to love wet bathrooms:
- Solo travelers and couples in 18’–24′ trailers on wheels
- Vanlifers and skoolie owners where every inch matters
- Minimalists who value reclaiming floor space for living areas
Who often regrets them over time:
- Families with young kids (water goes everywhere, constantly)
- People working from home who want a dry, comfortable bathroom for quick use
- Mobility-limited users who need grab bars, dry floor areas, and enough clearance to maneuver safely
Climate matters too. Dry mountain air is forgiving; humid coastal weather makes moisture management significantly harder, and cold regions demand winter-ready composting toilets and robust ventilation so waste systems and finishes keep working when temperatures drop. How many people share the tiny bathroom and how often they shower per day are lifestyle factors that matter more than raw square footage.
One concrete example: a builder of a 24′ × 8.5′ THOW designed a 5′ × 4′ wet bath and gained an extra two feet of counter length in the kitchen. Meanwhile, another owner in a 32′ tiny house regretted choosing a wet bath after living with damp toilet seats and limited storage, eventually rebuilding to a standard 3′ × 7′ dry bath.
The sections below cover pros, cons, design tips, and real costs so you can make an informed choice and coordinate your wet bathroom with tiny house floor plans that work.
Pros and Cons of Tiny House Wet Bathrooms
Every bathroom design involves trade-offs. In such a small space, those trade-offs are amplified. Here is what you gain and what you give up with a wet bathroom in a tiny home.
Advantages. The most obvious benefit is space savings. A wet bathroom can function in as little as 16–25 square feet, compared to the 25–50 square feet that tiny house bathrooms typically occupy. You eliminate the bulky shower base, glass doors, or tub surround, which creates a seamless, minimalist look. Plumbing can be simpler since everything routes to one drain. A curbless floor increases accessibility for all users, meaning there is no step or lip to trip over. Non-slip flooring is recommended to prevent falls, but the flat entry is inherently easier for guests and anyone with limited mobility.
Drawbacks. Everything in the entire room gets splashed. That means the toilet seat, bathroom sink, any shelving, even the medicine cabinet door. You will need to squeegee or wipe surfaces after every shower, which adds a daily chore. If ventilation or waterproofing is imperfect, you face a higher risk of mold and mildew. Wet bathrooms can be challenging for daily living due to moisture; walking in just to wash your hands or grab hand soap means stepping onto a damp shower floor. Fixtures must be corrosion-resistant since stainless or plastic hardware replaces anything that could rust.
There is also a comfort and privacy factor. Toilet paper must be stored in sealed containers. Towels need waterproof hooks or a spot outside the wet area. The space can feel utilitarian unless you invest in styling.
Before committing, make a list of your personal daily annoyances versus space gains. If constant dampness is a big deal to you, a hybrid or dry layout may serve you better.
Planning the Size and Layout of a Tiny House Wet Bathroom
Layout is the single most critical bathroom design decision for a wet room because there is no dry zone to hide mistakes. Every inch of slope and every fixture placement matters.
Dimension ranges:
- Ultra-compact wet baths: about 4′ × 4′ (≈16 sq ft), common in vans and 20’–22′ tiny houses
- Comfortable wet baths: 4′ × 5′ or 5′ × 5′ (≈20–25 sq ft), adequate for a toilet, sink, and shower space with room to move
- Ceiling height minimums: at least 6’4″ is allowed in some tiny house codes, though 6’8″ or more is ideal for comfortable standing under a shower head
Common layouts:
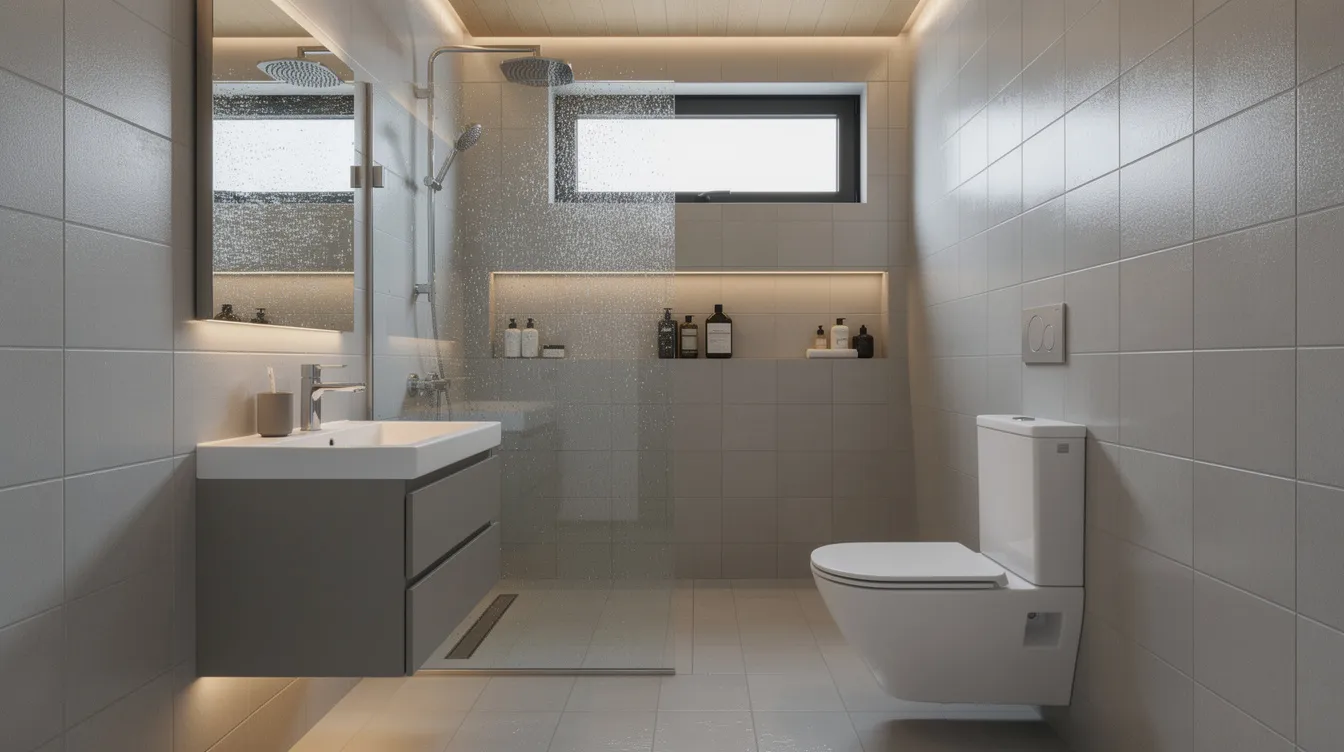
- Linear: Toilet on the short wall opposite the door, shower head above or adjacent on the same wall, small sink on the opposing wall.
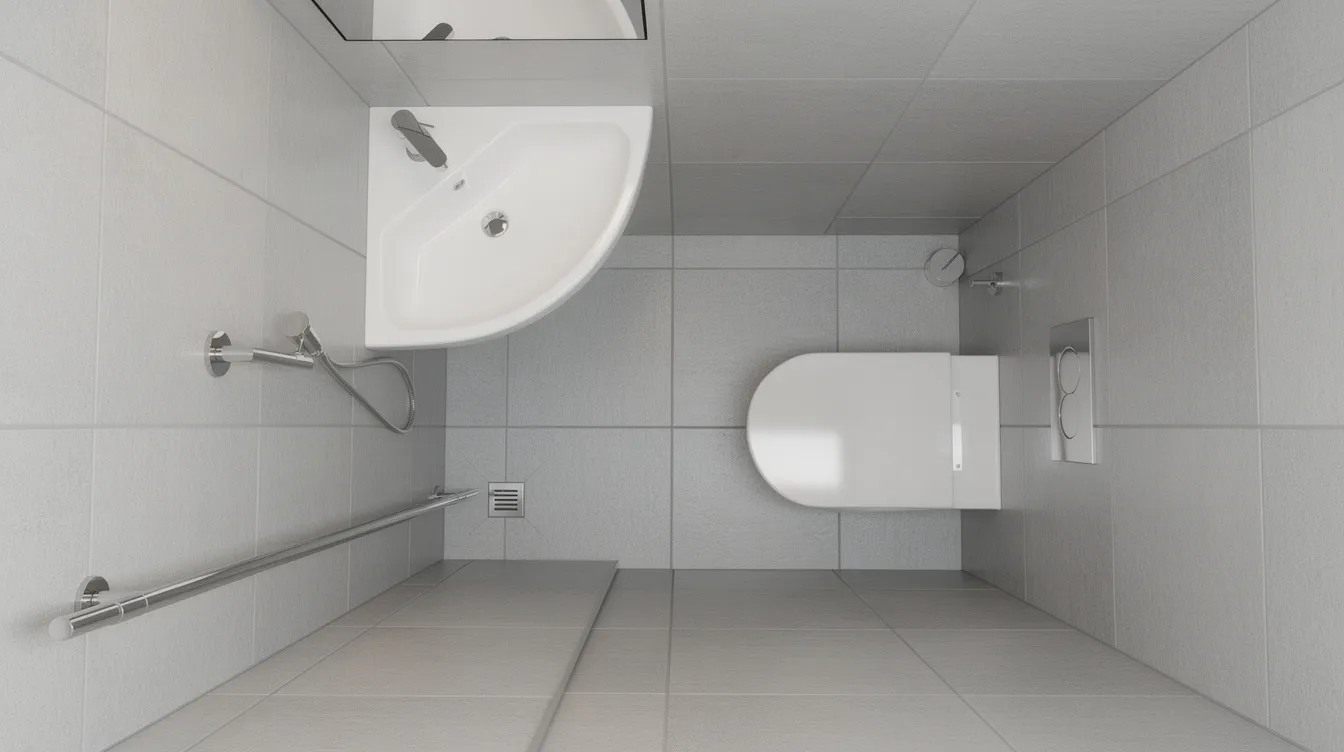
- Corner: Toilet in a corner, wall-mounted sink on the opposite wall, drain centered.
- Hybrid pocket: Sink and medicine cabinet placed just outside the wet zone in a hallway alcove, keeping the wet area dedicated to shower and toilet only.
Wall-mounted toilets can help keep the floor clear for easy cleaning and make slope-to-drain construction simpler. Plan for at least 21″–24″ of knee room in front of the toilet and approximately 32″ minimum shoulder width for a comfortable shower. A pocket door saves space over a swinging door, and the main floor drain should sit as far from the doorway as possible to prevent water pooling at the threshold.
Using large format tiles reduces the number of grout lines in small bathrooms, which simplifies maintenance and creates a cleaner visual.
Waterproofing and Drainage: The Non-Negotiables
Waterproofing and drainage are the make-or-break factors for any tiny house wet room and tie directly into your broader tiny house waterproofing strategy. A failure in a small wooden shell, especially one sitting on a trailer, can cause rot, mold, and structural damage within months. One documented case in Sacramento saw water pooling beneath a bathroom floor due to a loose toilet flange; the resulting rot and mold repair cost nearly $8,000.
The watertight box approach. Apply a continuous waterproof membrane on the floor and walls at least six feet up (full height is better in tiny houses). Wrap all corners, niches, and penetrations. Products like RedGard (roughly $1.84 per square foot) or Schluter Kerdi systems are standard. Wet bathrooms require high-quality waterproofing to prevent leaks and mold, and this is not the place to cut your budget.
Floor slope. The floor of a wet bathroom slopes toward a drain at roughly ¼ inch per foot. The lowest point should be near the showering area, ensuring water cannot pool at the doorway or under the toilet base.
Weight concerns on wheels. Tiles are often used to waterproof wet bathrooms, but tiles in wet bathrooms can be heavy and require careful installation, especially on a trailer. Lighter alternatives include fiberglass shower panels, PVC wall panels, sheet vinyl, or waterproof LVT. These reduce load while still providing a sealed surface and should be planned alongside your overall tiny house waste management system so drainage, grey water, and finishes all work together.
Common problem areas: shower valve penetrations, the toilet flange seal, and any recessed wall niches. Use stainless fasteners and high-quality sealant at every penetration.
Budget for a 4′ × 5′ wet bathroom: plan $250–$700 for membranes, sealants, and drain hardware alone. Do not cut corners here. Moisture management is crucial in wet bathrooms to prevent damage to the rest of your tiny home.
Choosing Fixtures for a Tiny House Wet Bathroom
Every fixture in a wet bathroom sits in the splash zone, so durability and compactness matter equally. Here is how to approach each one.
Toilet. A composting toilet saves plumbing space in tiny house wet bathrooms and eliminates the need for a sewer or septic connection. For detailed comparisons, look at the best composting toilets for tiny houses. Options like the Separett Villa or DIY urine-diverting systems run $150–$500. A flush toilet connected to plumbing costs $500–$1,500+ but requires water lines and a drain. For either type, choose plastic seats and stainless or plastic hinges to avoid rust. Wall-mounted toilets are another option that keeps the floor clear for easier cleaning.
Sink. Small sinks fit snugly into tight corners of tiny bathrooms. Look for corner wall-mount models in the 10″–14″ wide range or tiny rectangular wall sinks. A compact bathroom vanity maximizes space if you need under-sink storage, though in wet rooms, exposed wall-mount plumbing is often simpler. Some ultra-small tiny houses skip the bathroom sink entirely, relying on the kitchen sink instead.
Shower hardware. A handheld shower head on a slide bar offers flexible rinsing and makes cleaning the entire space easier. Low-flow options (1.5 GPM or less) work well for off-grid water systems. A shutoff valve on the wand conserves water between lathering.
Medicine cabinet and storage. A recessed medicine cabinet with a gasketed door keeps toiletries dry. Choose stainless or powder-coated hardware and use in-wall niches with solid-surface shelves that can handle daily soaking. A mirror on the cabinet door helps create a sense of openness.
Ventilation, Heating, and Moisture Control in Tiny Wet Rooms
A tiny house is effectively a sealed box. When you convert the entire bathroom into a wet room, steam and humidity spike fast. A strong ventilation system is necessary to prevent moisture buildup, and a wet bathroom requires effective moisture control to prevent mold from spreading into the rest of the house.
Fan requirements. Install a quiet exhaust fan rated at 80–110 CFM for most tiny house bathrooms. Per IRC-aligned code, the minimum is 50 CFM intermittent or 20 CFM continuous. Run the fan during showers and for at least 30 minutes afterward. A humidity-sensor switch automates this and ensures you never forget.
Window strategy. If local codes and privacy allow, an operable window with vinyl frame and privacy glass brings in natural light and cross-ventilation. In a wet room, the window jamb, sill, and trim need full waterproof detailing.
Heating and drying. A small electric towel warmer keeps towels dry and adds gentle warmth. Radiant floor heating mats can help dry the shower floor between uses. Keep air vents off the floor (wall or ceiling registers) to prevent water from entering ductwork.
Dehumidification. In humid climates, a small whole-house dehumidifier or a portable unit protects not just the bathroom but the entire tiny home interior. HVI recommends sizing ventilation at roughly 1 CFM per square foot for bathrooms under 100 square feet.
Maintain the space by squeegeeing walls after each use, applying mildew-resistant grout or caulk, and periodically checking hidden corners for moisture buildup.
Storage and Organization in a Tiny Wet Bathroom
Storage is trickier in wet bathrooms than in standard small bathrooms because everything has to tolerate getting splashed or temporarily soaked. Wet bathrooms require specialized waterproof storage solutions due to constant water exposure.
Water-safe options:
- Recessed wall niches with tile or solid-surface shelves for shampoo and hand soap
- Sealed or marine-grade cabinets with rust-proof hinges
- Plastic or metal baskets that drain and dry quickly
- Stainless steel hooks for towels and loofahs
Creative vertical storage:
- Above-the-door shelving utilizes vertical space effectively for extra towels or supplies
- Floating shelves above the toilet for daily items stored in lidded containers (toilet paper, grooming kits)
- Magnetic or suction accessories rated for wet rooms
- Pull-out organizers maximize storage in narrow bathroom spaces
For the medicine cabinet, consider a recessed pull-out model that slides out for access while still allowing you to stand in front of the mirror. Gasketed doors, integrated mirror, and internal dividers keep small items tidy and dry.
One practical system: each person in the tiny house gets a labeled waterproof caddy that hangs in the wet room only during showers and stores in a dry wardrobe or closet the rest of the time. This keeps toiletries protected and the wet area uncluttered.
Decluttering matters as much as clever organizers when the entire bathroom is only 20–25 square feet. If you do not use something weekly, it probably does not belong in the wet room.
Costs of Building a Tiny House Wet Bathroom (2024–2025)
A typical tiny house bathroom costs between $1,000 and $7,300 depending on materials, fixtures, and whether you are building on-grid or off-grid, and how you handle tiny house septic and waste treatment. Here is how those numbers break down for a 4′ × 5′ wet bathroom.
DIY material costs (2024–2025):
Category | Budget Range |
|---|---|
Waterproofing & membranes | $250–$700 |
Drain, plumbing lines, valves | $300–$900 |
Wall & floor finishes (vinyl/fiberglass) | $300–$800 |
Wall & floor finishes (full tile) | $800–$2,000 |
Toilet (composting to flush) | $150–$1,500 |
Small sink | $80–$350 |
Shower set & hardware | $100–$500 |
Total DIY build ranges: |
- Budget builds using fiberglass or PVC surrounds and a basic composting toilet: $1,200–$2,000
- Midrange with tile, glass accents, and decent fixtures: $2,500–$4,500
- Premium custom wet rooms with high-end fixtures: $5,000+
Professional installation in North America often doubles or triples material costs, especially for waterproofing and tile work. Realistic professional install ranges sit at $4,000–$8,000+ for a fully finished wet bathroom.
Hidden costs to plan for: reinforcing the trailer or framing to carry tile weight, upgrading ventilation, plumbing inspections if tying into city sewer or septic, and potential floor leveling or rot repair discovered mid-build. Budget a contingency of 10–20% above your estimates.
Styling and Aesthetic Ideas for Tiny House Wet Rooms
Even the most compact wet bathroom in a tiny home can feel intentional and spa-like rather than purely utilitarian. Wet bathrooms can create a seamless, minimalist look when the materials and color palette are chosen with care.
Three styles that work well in small wet environments:
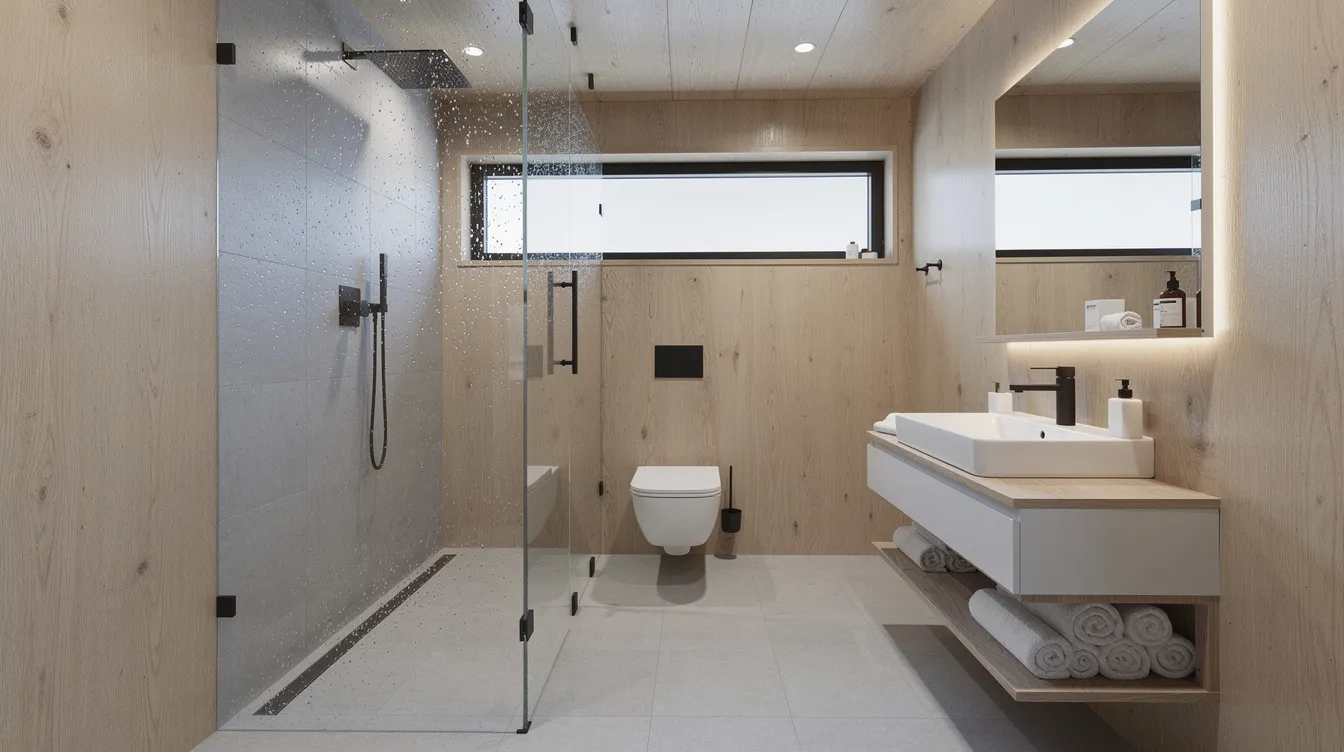
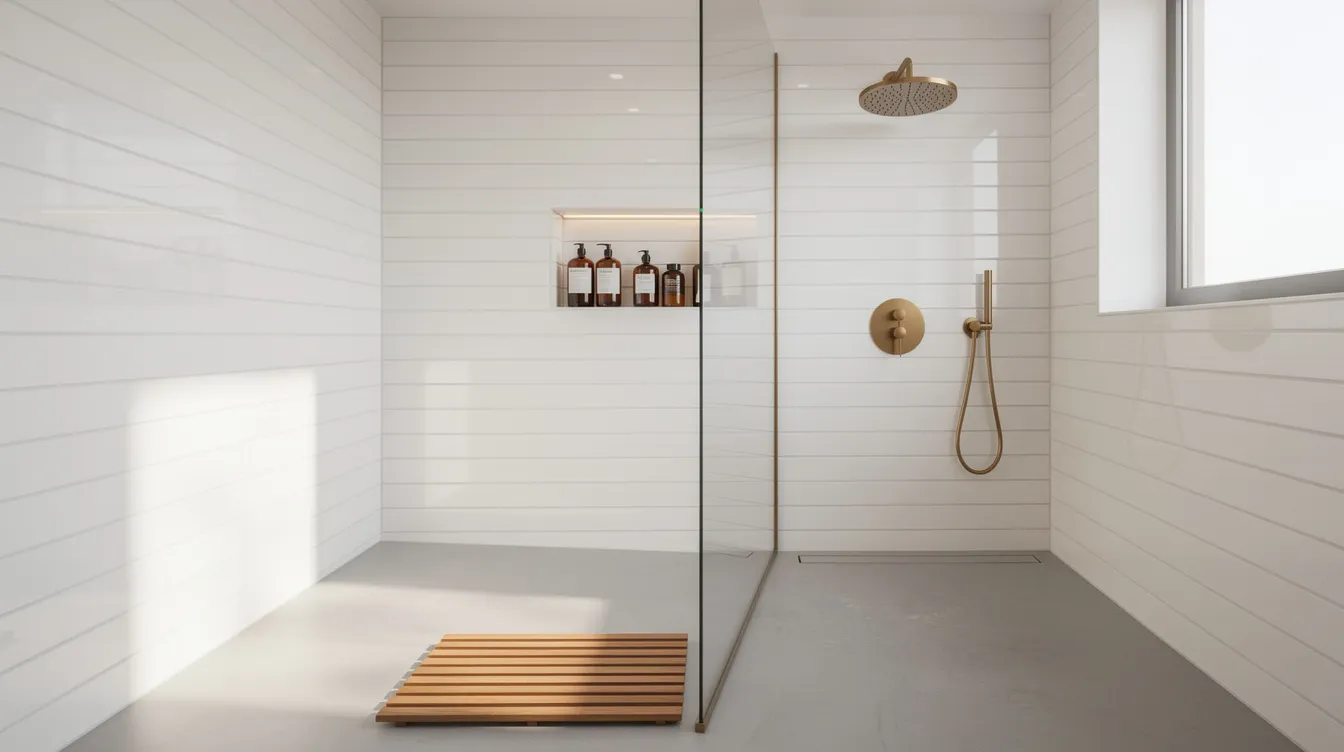
- Minimalist white and light gray. Seamless flooring, a frameless mirror, and white large-format wall tile visually enlarge the tiny bathroom. Mirrors create an illusion of spaciousness in tiny bathrooms, so go as large as the wall allows.
- Natural spa look. Sealed concrete walls, teak floor mats, pebble drain surrounds, and warm brass or copper fixtures. The natural textures add warmth without bulk.
- Modern black-and-white. Hex tile on the floor, matte-black shower hardware, and a single bold accent wall in color or pattern.
To make a narrow wet room feel larger, consider a skylight above the shower in a tiny house loft, reflective surfaces, or glass partitions that stop some spray without closing off the entire space. A shower curtain on a curved rod can also contain splash while maintaining an open feel when pulled back.
Coordinate the tiny bathroom design with the rest of your tiny home’s palette so the space feels integrated rather than like an afterthought. Waterproof vinyl planks that continue from the hallway into the bathroom create visual flow and make the room look bigger.
Alternatives to Wet Bathrooms in Tiny Houses
Wet bathrooms are not the only way to plan a tiny house bathroom. Many tiny houses prioritize a partially or fully dry layout instead.
Compact dry bathrooms. A 3′ × 7′ layout with a dedicated 32″–36″ shower stall plus a separate toilet area keeps everything functional without constant dampness. A glass corner shower with a narrow vanity means the toilet area stays dry. Compact bathroom vanities maximize functionality in small spaces and give you countertop area for daily use.
Hybrid designs. A shallow curb or micro shower pan keeps most of the bathroom floor dry while still using waterproof finishes on the walls. A shower curtain or partial glass wall creates a quasi-wet room but preserves a small dry dressing area. This is often the perfect solution for people who want space efficiency without full commitment to a wet bath.
Off-grid and no-plumb options. Some ultra-rustic tiny homes or bath-only cabins use outdoor showers in warm seasons, simple sponge-bath setups with a composting toilet, or skip indoor showers entirely to save space and complexity, drawing on broader off-grid sanitation ideas to keep systems simple and legal.
How to choose: Map out your typical week. How often do you shower? How many guests do you host? What climate are you in? If you discover you only shower once a day and live solo, a wet bath might work beautifully. If three people share the space daily, a dry or hybrid layout will likely create less friction.
FAQ: Tiny House Wet Bathrooms
These FAQs tackle common questions not fully covered above. If you want more ideas for your build, each answer points you toward practical next steps.
Do tiny house wet bathrooms smell worse than regular bathrooms?
Odor usually comes from poor ventilation or improperly installed plumbing traps, not the wet-room concept itself. A proper P-trap on the drain, adequate plumbing venting, and a decent exhaust fan rated at 50+ CFM will keep any tiny bathroom fresh. If you notice sewer smells, check the P-trap first since they can dry out in tiny homes that sit unused for weeks.
How do you keep toilet paper and towels dry in a wet bathroom?
Wall-mounted sealed containers or plastic canisters work best for toilet paper. Mount them high and outside the direct splash zone. For towels, install stainless hooks behind a partial panel or higher on the wall where spray does not reach directly. Some owners keep towels outside the wet area entirely, hanging them on the back of the bathroom door or in an adjacent hallway. If you do use a vanity, choose a small bathroom sink cabinet with moisture-resistant materials and raised legs so it can handle occasional splashes.
Can I retrofit my existing tiny house bathroom into a wet room?
Yes, but it requires re-sloping the floor, upgrading the drain, and adding continuous waterproofing on every surface. Check your subfloor material and trailer weight capacity before committing. If the existing floor is particleboard or untreated plywood, you will likely need to replace it entirely with marine-grade plywood or a cement board substrate.
Are wet bathrooms allowed by building codes and campground regulations?
Most building codes do not forbid wet bathrooms as long as plumbing, electrical, and ventilation requirements are met. Campground rules may restrict certain toilet types, such as prohibiting composting toilets or gray water discharge. Always check local and park-specific rules before building, especially if your tiny home moves between jurisdictions.
How long does it take to build a tiny house wet bathroom?
An experienced DIYer can typically frame, plumb, waterproof, and finish a 4′ × 5′ wet bathroom in 2–4 weeks of part-time work. Professionals can complete it faster but often need to schedule inspections and wait for material deliveries, stretching the project across several weeks. Waterproofing membrane cure times (24–72 hours per coat) are usually the biggest schedule bottleneck.