
Key Takeaways
- A functional shower in a tiny home is absolutely possible in as little as 30″ × 30″ of floor area, and slightly larger sizes like 32″ × 32″ or 36″ × 36″ make daily use genuinely comfortable.
- The three main tiny house shower types are prefab inserts ($300–$900), wet rooms ($800–$2,000), and custom-tiled or metal-lined stalls ($1,000–$5,000+), each with distinct trade-offs in cost, weight, and installation difficulty.
- Smart layout choices like corner showers, a glass partition, natural light from a skylight, and shared walls with a composting toilet can make even the smallest tiny bathroom feel open and livable.
- Off grid setups work well in practice when you pair propane tankless heaters with low-flow showerheads, 12V pumps, and a greywater plan, and an outdoor shower can extend your options without adding square footage.
- Prioritize waterproofing and ventilation over decorative upgrades. Leaks and mold are far more expensive to fix in a tiny house than in normal houses, where wet areas have more structural buffer.
Introduction: Can a Tiny House Really Have a Great Shower?
Picture stepping into a 30″ × 30″ shower stall inside a 220-square-foot tiny home on wheels, warm water from a rain shower head pouring down, daylight filtering through a skylight overhead. It feels nothing like a compromise. That scene is playing out in thousands of builds right now.
A tiny house typically spans 150–400 square feet, and the shower is usually the trickiest part of the tiny bathroom to get right. You have to manage water supply, waterproofing, weight, and ceiling height, all within precious space. Some tiny house owners skip an indoor shower entirely, relying on gym or campground facilities. But most prioritize a fully functional shower at home because it is the daily ritual that makes tiny house living feel normal.
This article covers concrete layout ideas, shower base choices, real-world budgets, off grid solutions, and example setups spanning wet rooms, prefab stalls, and outdoor showers.
Planning Your Tiny Bathroom: Layout, Priorities, and Minimum Sizes
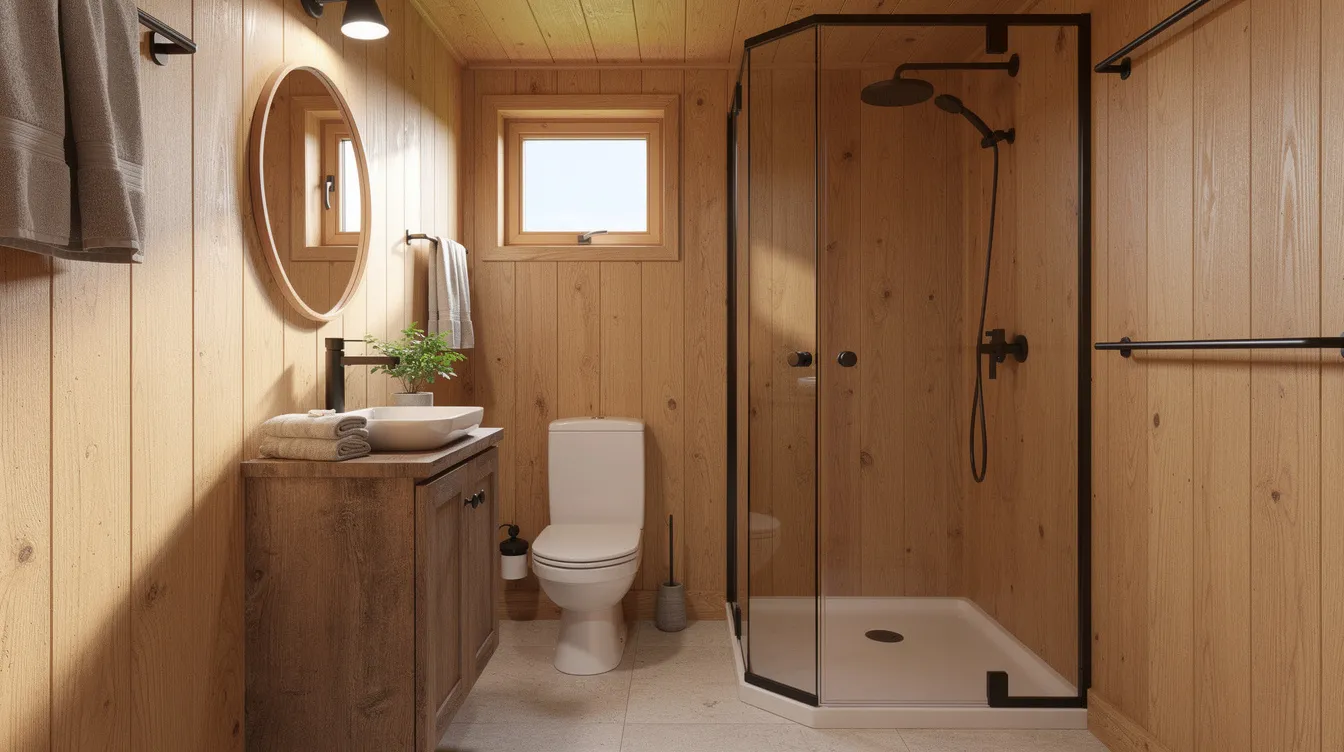
Every inch counts in a tiny house bathroom design, and coordinating it with tiny house plans that fit your life helps the bathroom work with the rest of the layout. Before choosing materials or fixtures, decide where the shower, toilet, and any sink will go relative to the entry and the rest of the house.
Compact walk-in showers can be less than three feet wide. Under the IRC plumbing code, a shower must have an interior area of at least 900 square inches (30″ × 30″). Most adults find 32″ × 32″ or 32″ × 36″ more comfortable for daily use, and 36″ × 36″ feels noticeably roomier if your floor plan allows it. Corner showers optimize space in tiny bathrooms effectively, tucking the stall into a corner that would otherwise go unused.
Common layout patterns include:
- 7′ × 5′ bathroom (35 sq ft): corner shower at one end, composting toilet beside it, straight vanity along the opposite wall.
- Long narrow bath: doorless shower at the far end, skinny tub or trough mid-room, toilet near the entry.
- Full wet room: the entire bathroom becomes the shower area, with the floor sloping to a central drain and no separate shower pan.
Using sliding or pocket doors instead of traditional swinging doors frees up critical floor space. A wall-hung vanity does the same. In very small builds under 180 sq ft, a shared wet zone for both shower and composting toilet is common, separated only by a shower curtain. Maximizing every inch through multifunctional design is essential in tiny house showers, and deciding on your layout early prevents costly changes later, especially if you are following a broader guide on how to build a tiny house from scratch.
Choosing a Shower Type: Prefab, Wet Room, or Custom Build
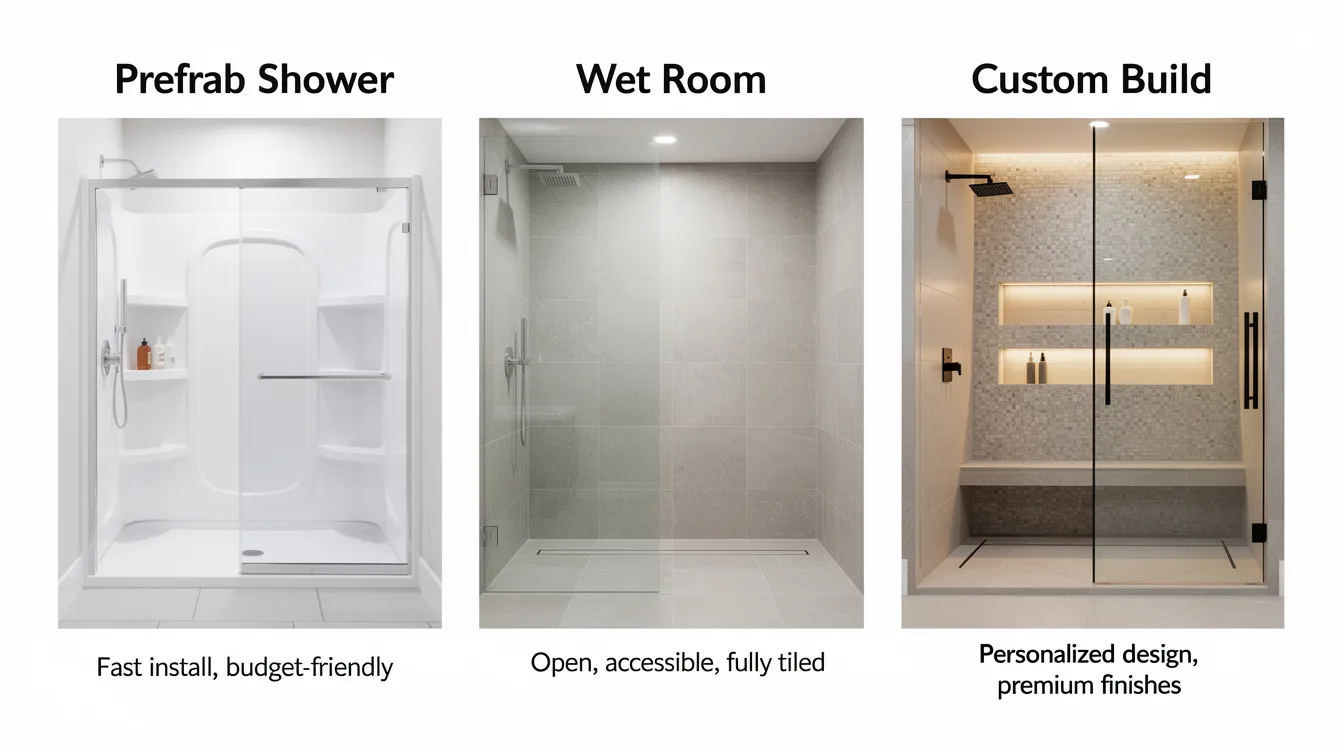
Choosing the right shower concept is the single biggest decision for your tiny home bathroom space. Here is how the three main options compare.
Prefab shower insert. Common sizes like 32″ × 32″ and 30″ × 36″ fiberglass or acrylic stalls are available at most home improvement stores. They are lightweight, factory-waterproof, and quick to install. Expect to pay roughly $300–$900 before installation. RV-style inserts and compact kits work well for mobile tiny homes that see road vibration.
Wet room. Wet rooms integrate the shower with the entire bathroom space, using a continuous waterproof floor and walls with no separate enclosure. A wet room can create an open and functional shower area that feels far bigger than its footprint. Wet rooms save space by eliminating separate shower enclosures, which matters when you are working with 25–35 sq ft of total bathroom space. Decorative tiles can enhance the aesthetic of a wet room. The trade-offs: moisture control can be a challenge in wet room designs, and you will need to dry surfaces regularly to avoid mildew. Materials like sealed concrete, vinyl, or corrugated metal walls paired with a central floor drain keep things practical.
Custom build. Custom-tiled stalls, stainless steel or aluminum-lined showers, or even stock tanks repurposed as shower bases give you a stylish, spa-like feel. Tile looks beautiful but adds weight and needs flexible grout in mobile tiny homes; metal panels are lighter and tougher on the road. Realistic costs run $1,000–$5,000+ depending on tile, fixtures, and labor.
Quick decision guide: pick prefab for speed and budget, a wet bath for ultra-compact and accessible spaces, and custom for the spa aesthetic.
Shower Bases, Floors, and Walls: Staying Waterproof in a Tiny Space
Leaks are more serious in tiny homes than in normal houses because water can quickly reach insulation, trailer framing, and wood structure, so understanding how to waterproof a tiny house holistically is crucial. Getting the shower base and wall waterproofing right is non-negotiable.
Shower base options:
- A 32″ × 32″ acrylic or fiberglass shower base is a reliable foundation for both on grid and off grid builds.
- Custom pans formed from poured mortar plus a flexible waterproof membrane allow non-standard dimensions. The floor should slope at least ¼” per foot toward the drain.
- A stainless steel shower pan fabricated to fit over a trailer tongue keeps weight down.
- Curved corner bases (~36″ × 36″) make the shower area feel larger.
Floor surfaces: Teak or cedar slat inserts laid over the drainable base warm up the feel underfoot and create a spa-like vibe. Pebble tile floors offer good grip but add extra grout maintenance.
Wall materials: Choosing moisture-resistant materials in the bathroom eases maintenance significantly. Compare fiberglass panels (lightweight, waterproof), PVC wall kits, ceramic tile (heavy but beautiful), corrugated metal, and shiplap sealed with marine-grade varnish. Metal sheets and fiberglass panels are light; fully tiled walls need strong framing and flexible grout for road movement.
Always install a waterproof membrane (liquid-applied or sheet with seam tape) behind tile or shiplap. Hire a pro for this step if budget allows, because details like framing and tiny house wall thickness interact with how you anchor and waterproof shower surfaces. Walls in shower compartments must have nonabsorbent surfaces to at least 6 feet above the finished floor.
Light, Glass, and Privacy: Making a Tiny Shower Feel Bigger
Natural light and transparent boundaries transform a cramped tiny bathroom into a calm, open-feeling room.
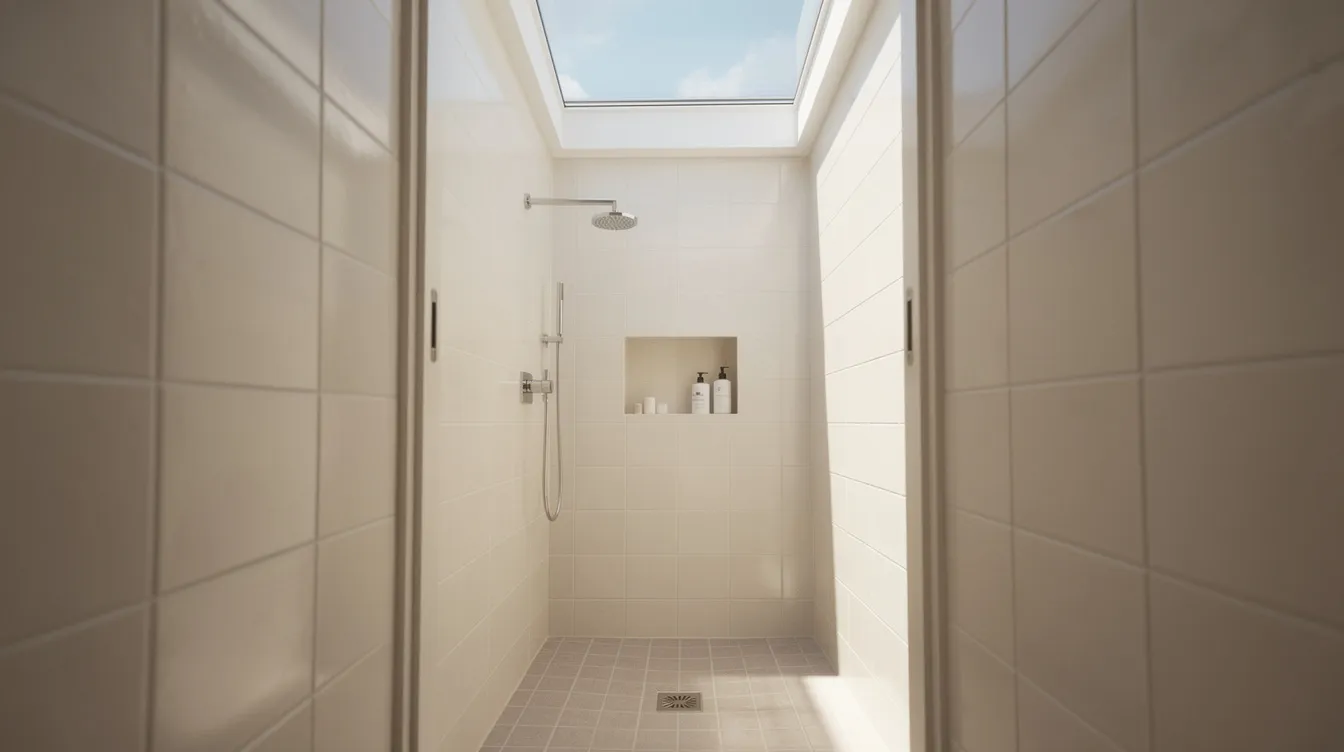
Natural light. A skylight can improve natural light and ventilation in tiny showers, making them feel larger. Even a small 14″ × 22″ skylight directly over the shower area mimics the openness of an outdoor shower. High horizontal windows, frosted glass, or porthole-style windows bring in daylight while preserving privacy in urban settings.
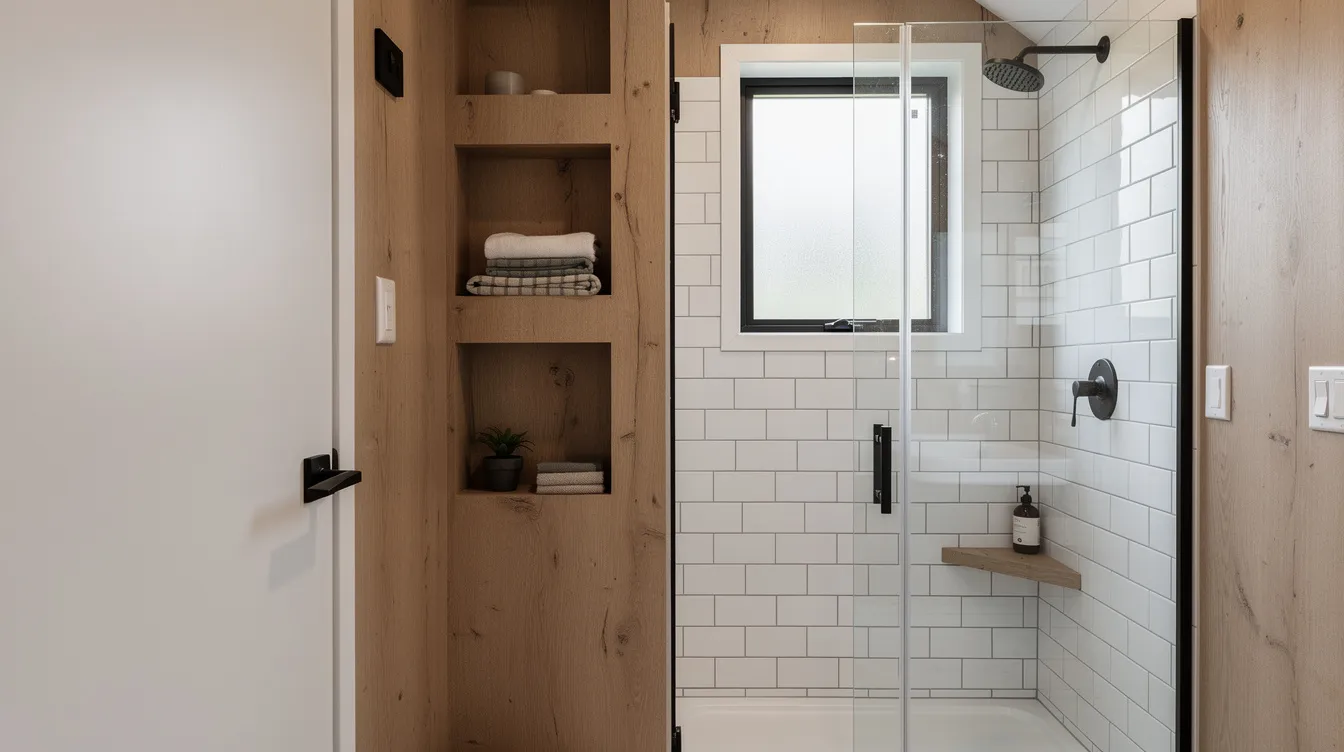
Glass partition and doors. Frameless glass doors enhance light and openness in small showers. A frameless glass door or fixed glass partition for corner and walk-in showers lets light flow through the entire bathroom, making the space feel continuous rather than boxed in. Compact walk-in showers with glass doors enhance openness dramatically. Curved glass doors matched to curved shower pans add a sleek look and easier movement.
Privacy solutions. Frosted acrylic panels work well for sliding bathroom doors. A shower curtain on a black pipe rail is a flexible, lightweight option for movable tiny homes. Full-height solid walls are worth the space loss only when separating a shower from a living area in a studio-style layout.
Styling tip: light-colored tiles and vertical lines visually stretch compact stalls. Using large-format tiles can reduce visual interruptions and make the space appear larger, while white penny tile on floors adds texture without visual clutter.
Plumbing, Hot Water, and Off-Grid Shower Setups
Think of your tiny house plumbing in three parts: water in, water hot, and water out.
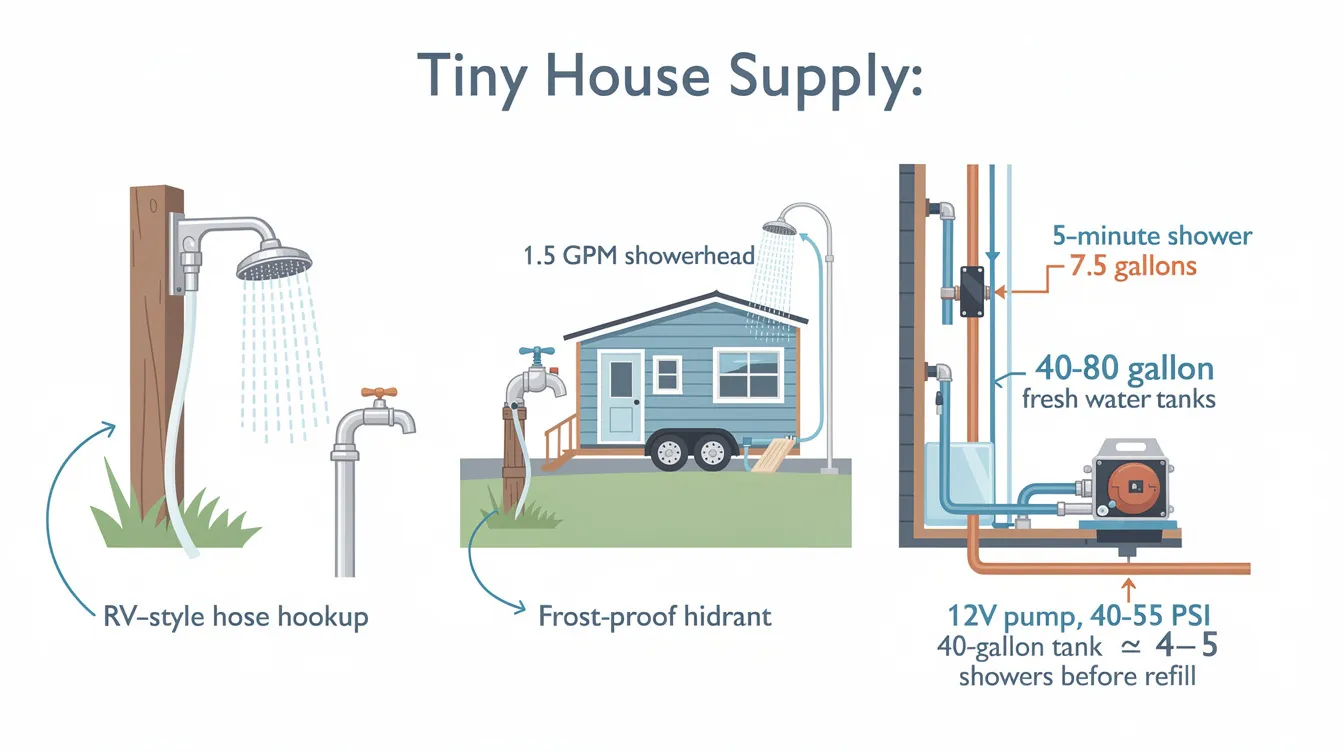
Water supply. Options include an RV-style hose hookup at a campsite, a frost-proof hydrant for stationary builds, or on-board fresh water tanks. Tiny house plumbing can function like RV systems, with 40–80 gallon tanks feeding a 12V demand pump at 40–55 PSI; for a full system overview, see how tiny houses get water on-grid and off-grid. With a 1.5 GPM showerhead and 5-minute showers, a 40-gallon tank supports roughly four to five showers before needing a refill.
Hot water. Propane tankless water heaters rated at 1.5–3 GPM are the most common solution, widely favored in off grid communities; choosing among the best water heaters for tiny houses will depend on whether you are on-grid, off-grid, or hybrid. Compact electric tankless heaters suit on grid installations with strong electrical service. Solar-preheated water makes a nice supplement for summer, especially paired with an outdoor shower.
Off grid considerations. Many off grid tiny houses pair a tankless heater with a 12V pump and pressure tank system, often alongside a tiny house rainwater collection system for true water independence. Low-flow showerheads conserve water and extend tank capacities, so consider 1.25–1.75 GPM heads to stretch both water and battery.
Drainage and greywater. Options range from direct connection to a sewer or septic system to a portable holding tank. A 50-gallon tank can store greywater for irrigation, or you can direct waste water into a legal greywater system; designing a grey water system for a tiny house correctly also keeps you compliant with local rules. Greywater can be drained into the ground for plant use where local codes allow. In cold climates, freeze protection via heat tape or interior routing is essential. Always install traps and vents on the drain line.
Toilets, Tubs, and Multi-Use Spaces: Making the Most of Your Tiny Bathroom
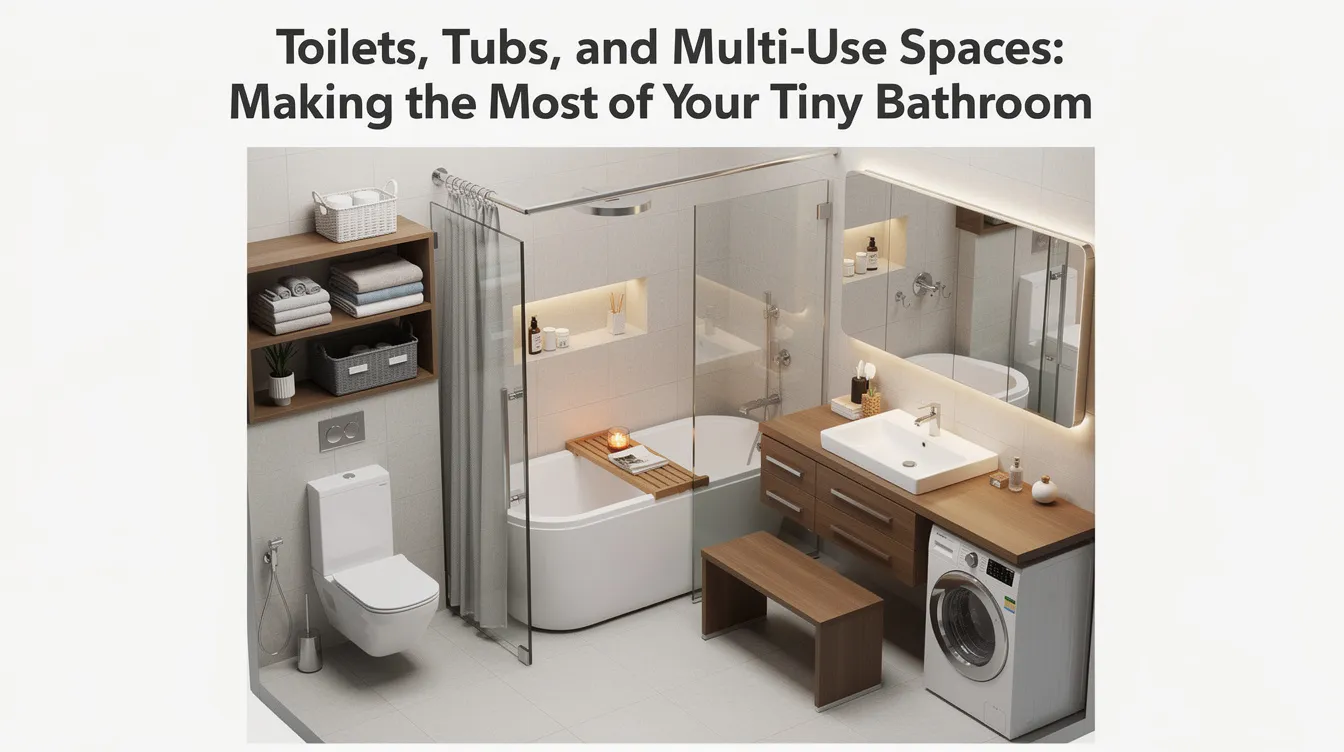
Most tiny house owners design the shower together with the toilet and any tub so the entire bathroom works as one compact system.
Composting toilet integration. Composting toilets don’t require plumbing or water, which simplifies the build, and choosing among the best composting toilets for tiny houses lets you match the unit to your space and maintenance preferences. A self-contained composting toilet paired with a small shower fits neatly in a 3′ × 6′ wet room. Place the toilet on a slightly raised platform or in a corner that still drains well when the shower runs. Alternatives like incinerating toilets or a bucket toilet handle black water differently but share the same space-saving advantage.
Shower and toilet combos. Semi-wet bathroom designs use a curtain or half wall to shield the toilet during a shower while both share the same waterproof floor. Pros include a tiny footprint and less plumbing. Cons include needing to dry the toilet seat after showers and extra ventilation.
Small tubs and sit-down showers. Stock tank or metal trough tubs double as both soaking bathtub and shower base. Built-in benches in showers can double as seating and storage, fitting in a 30″ × 42″ footprint for accessibility or comfort.
Storage and multi-use. Integrated vertical storage solutions are effective for saving space. Building storage into walls helps maintain an uncluttered shower space. Use built in shelves above the shower line for products and towels. Wall mounted storage, floating shelves, hooks, and fold-down racks keep everyday items high and dry. Multi-functional shower spaces can include built-in benches for storage containers, keeping the floor clear, and can tie into broader tiny smart home features like automated lighting, humidity sensing, and heated floors for comfort in a compact footprint.
Outdoor Showers: Expand Your Tiny Home Without Adding Square Footage
Adding an outdoor shower effectively enlarges your bathing options without consuming indoor bathroom space. Outdoor showers conserve bathroom space inside tiny homes, and outdoor showers are ideal for tiny homes in warm climates.
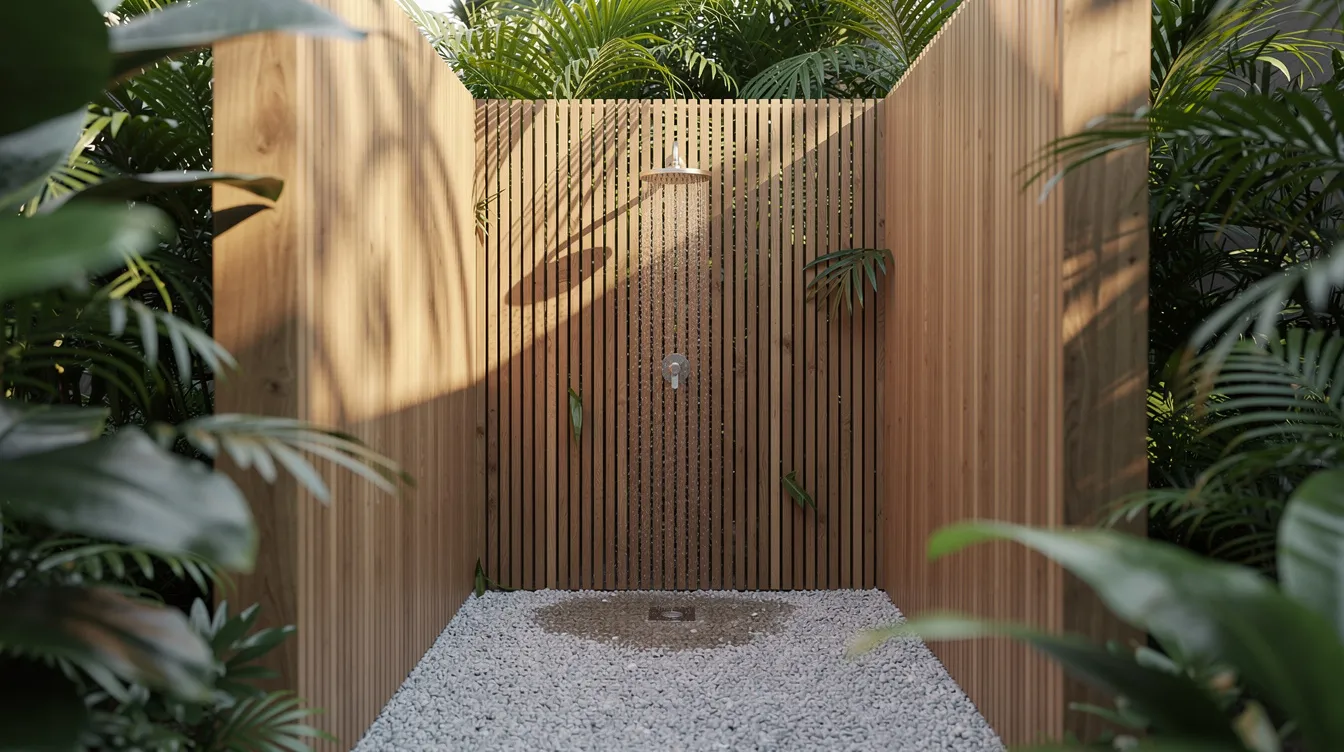
Simple outdoor shower ideas. A basic design is pretty simple: a hose-fed shower head mounted on a cedar post over flagstone, with a drain bed of gravel or mulch beneath. An outdoor shower can be fixed to the ground with privacy enclosures made from a wooden screen, reclaimed corrugated metal, or even a salvaged culvert. Outdoor showers are ideal for warmer climates and adventurous lifestyles.
Integrated indoor/outdoor shower. A sliding glass door or large window opens from the indoor tiny bathroom directly to an outdoor shower deck. Running both showers from the same hot/cold lines and mixer valve keeps plumbing costs down and the idea simple.
Off grid and greywater. Direct outdoor shower water into a garden bed or reed-bed filter, using biodegradable soap only. Wetland systems can filter greywater using plants before it reaches the ground. An outdoor shower also eases moisture load inside the house during humid summers.
Season and climate. Outdoor showers are most practical from late spring to early fall in temperate regions, or nearly year-round in hot climates. Winterize exposed plumbing in freezing areas by draining lines and adding shut-off valves.
Cost, Build Timeline, and DIY vs Professional Help
A shower in a tiny house can cost anywhere from around $700 for a basic DIY setup to over $5,000 for a fully tiled spa build.
Build Level | What You Get | Cost Range |
|---|---|---|
Budget | Prefab 32″ × 32″ stall, basic fixtures, curtain, vent fan | $700–$1,500 |
Mid-range | Glass partition, quality rain shower head, mixed tile or metal walls | $1,500–$3,000 |
High-end | Floor-to-ceiling tile, teak mat, skylight, designer fixtures | $3,000–$5,000+ |
Timeline. A prefab shower install takes 1–3 days once rough plumbing is in place. Fully custom tiled or concrete wet rooms may take 2–4 weeks including waterproofing, tile work, and curing time. |
DIY vs professional. Tasks that are DIY-friendly include framing, installing a prefab base, hanging a curtain, and basic tiling. Recommend professional help for waterproof membranes, complex tile layouts in mobile tiny homes, skylight installation, and final plumbing connections. Choosing to save money by skimping on waterproofing and ventilation almost always costs more later than paying for a few expert hours at the start. You do not need too much space or a huge budget to create a shower that works. You need the right plan.
Conclusion: Designing a Shower That Matches Your Tiny Lifestyle
A tiny house can absolutely have a functional shower that feels comfortable and even luxurious with smart planning and material choices. The key decisions to make early are shower type (prefab, wet room, or custom), indoor versus outdoor or both, off grid water and greywater strategy, and how the shower shares space with the toilet and any bathroom sink or small sink.
Sketch a few different layouts, check fixture dimensions carefully, and prioritize waterproofing and ventilation over purely decorative upgrades. A tiny home shower is not a compromise. It is the place where tiny house living can feel most indulgent, whether that means a rainfall head under a skylight or a simple outdoor rinse station surrounded by your garden after a day outside.
Frequently Asked Questions
These questions cover practical concerns that go beyond the main design overview, especially for people planning their first tiny home build.
What is the smallest practical shower size for a tiny house?
A compact shower layout can be as small as 24 × 24 inches, but that is rarely comfortable for daily use. Most builders consider 30″ × 30″ the lower practical limit. For full-time living, 32″ × 32″ or 32″ × 36″ is far more livable, and a 4-foot shower provides noticeably more comfort. Height matters too: aim for at least 78″–80″ of clear height above the shower floor. If your build has a sloped ceiling or loft above the bathroom, position the shower head where you have the most vertical room to access comfortably.
How do I control moisture and mold in such a small shower area?
Installing an exhaust fan is crucial for ventilation in small shower spaces to prevent mold. Choose a fan rated for your tiny bathroom volume, ideally 50 CFM or higher, vented directly outside. Run it for 15–20 minutes after each shower. Use mold-resistant surfaces, squeegee the glass and walls after every use, and leave the door or curtain open for airflow. In a wet room or shower-toilet combo, ventilation is even more critical because moisture spreads across the entire bathroom floor.
Can I rely only on an outdoor shower for my tiny home?
An outdoor shower works well for seasonal cabins or warm-climate locations, but it is rarely ideal for year-round, full-time tiny living. Rain, cold, and wind make it impractical through winter in most regions. At minimum, install a basic indoor rinse setup like a compact wet room or utility-style stall if the house will be occupied through multiple seasons or moved to different climates. Use the outdoor shower to fill the gap in summer and reduce indoor moisture.
Do I really need a separate bathroom sink if I already have a kitchen sink?
Many tiny house owners skip a dedicated bathroom sink to save space and plumbing runs, using the kitchen sink for toothbrushing and handwashing instead. This is a valid approach in solo builds. In shared households, a small wall-hung or corner vanity sink improves hygiene and convenience noticeably. You can also combine a small sink with the shower area in a wet room, mounting it on the wall just outside the spray zone.
Is a tiled shower a bad idea in a tiny home on wheels?
Tile can work if you install it with flexible, polymer-modified grout, proper cement backer board, and attention to how a trailer flexes during towing. Standard grout will crack. That said, tile adds weight and risk of damage if not done correctly. For tiny homes that travel frequently, lighter alternatives like fiberglass panels, metal sheeting, or waterproof wall boards are safer choices. Reserve full tile showers for tiny homes that remain mostly stationary, where the weight and rigidity are less of a concern and you can fill the space with the exact look you want.